Setup Flutter
My Flutter Setup on Windows OS
@required
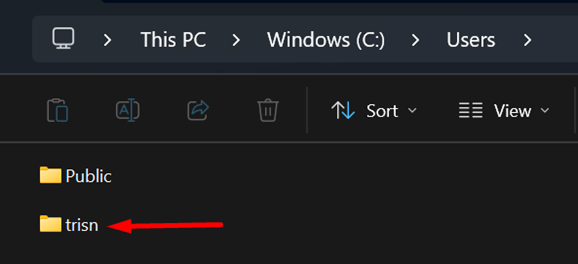
Check User Name
Make sure user path correct. User name must not contain space, if contain space then Android SDK cannot recognize.
My user path: C:\Users\trisn
If your username contains a space, try to rename it. If you are unable to rename it, try to add a new local user. The final alternative is to reinstall Windows and set up your username without spaces.
Flutter
I usually download flutter.zip instead of using git.
You can download the Flutter SDK from the official website: https://flutter.dev/
For official installation procedures, you can refer to this: https://docs.flutter.dev/get-started/install
Here's what I do:
-
Download the latest Flutter version (stable channel) from https://docs.flutter.dev/install/archive. On this day, it was
v3.32.2.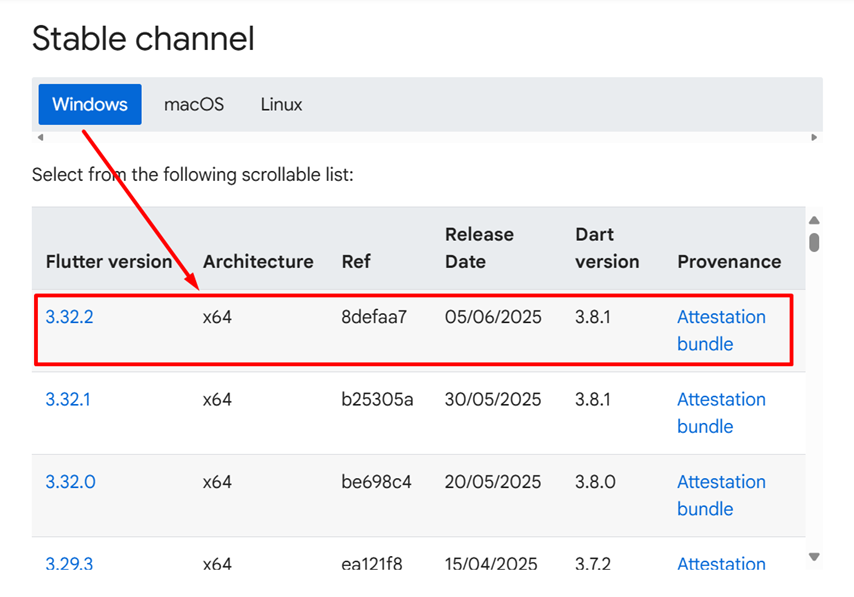
-
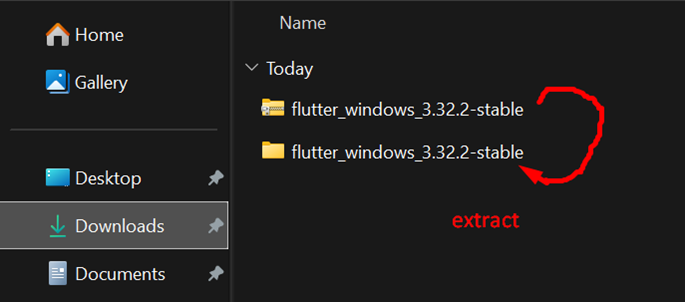
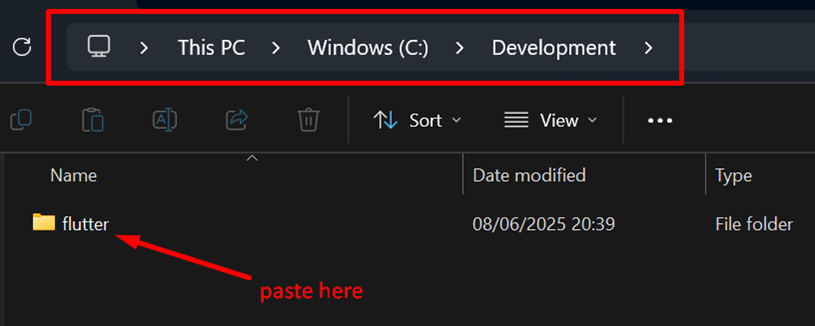
Extract and choose the directory where you want to place the Flutter SDK. Warning: Don't install Flutter to a directory or path that meets one or both of the following conditions:
- The path contains special characters or spaces.
- The path requires elevated privileges.
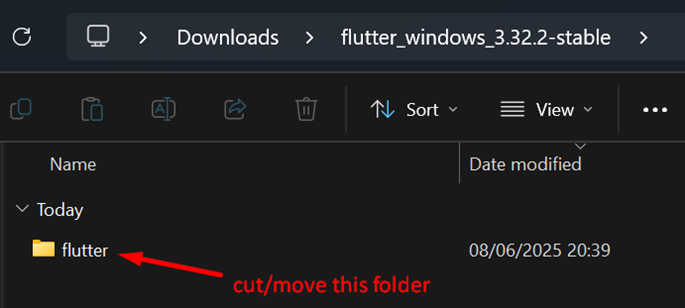
As an example,
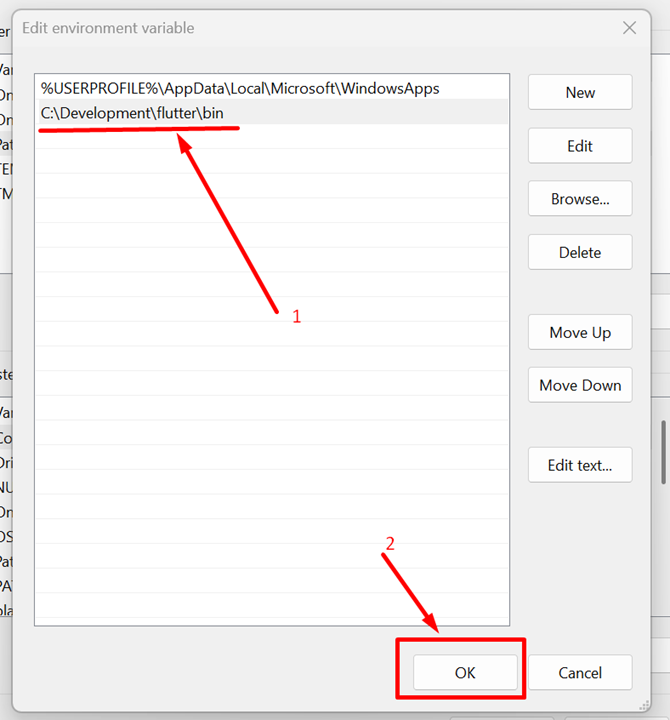
C:\Program Filesfails both conditions. My Flutter SDK directory:C:\Development\flutter.
-
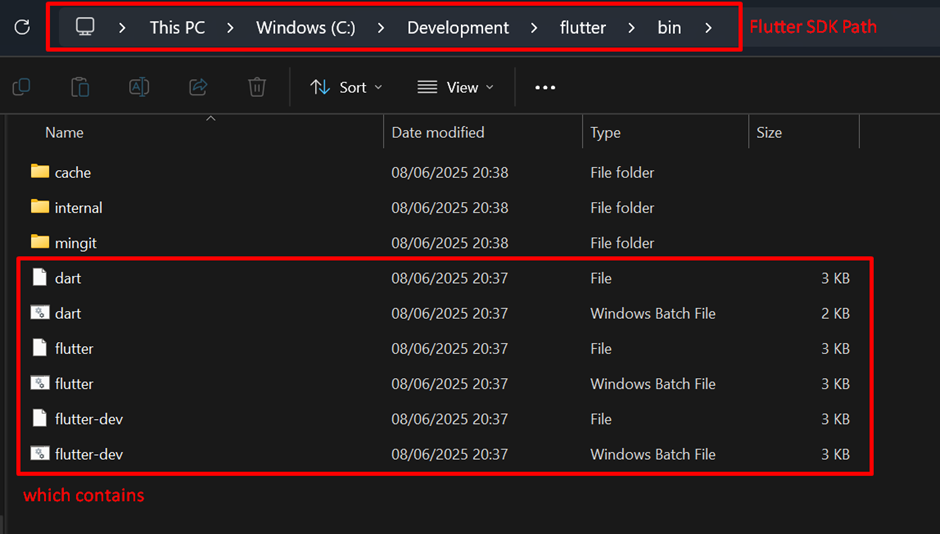
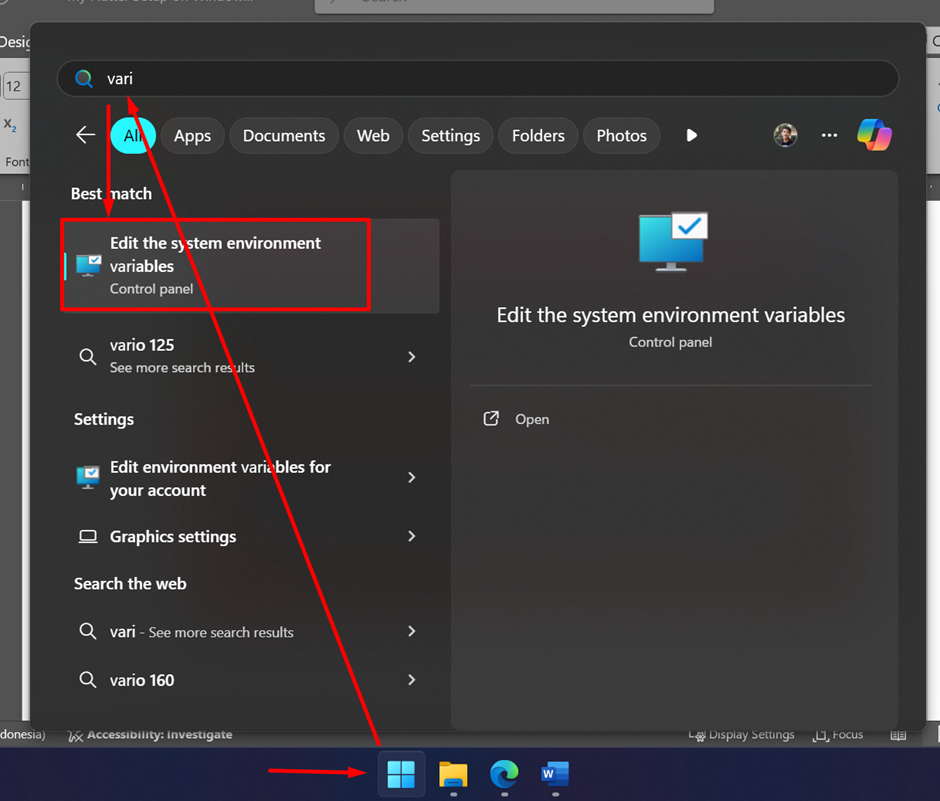
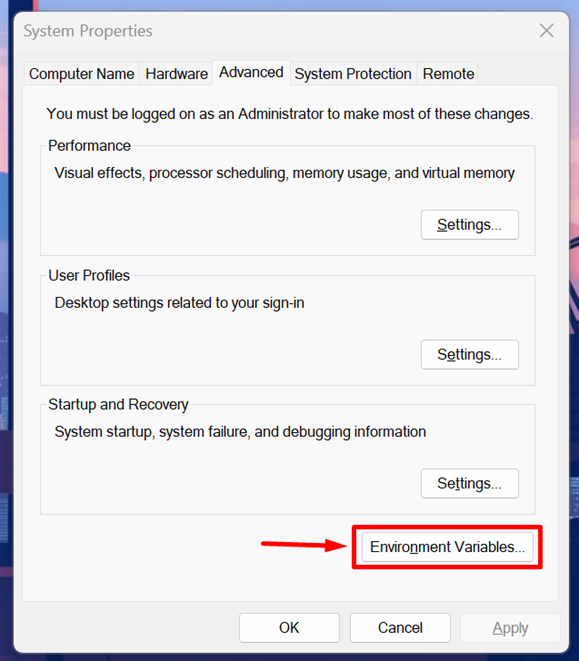
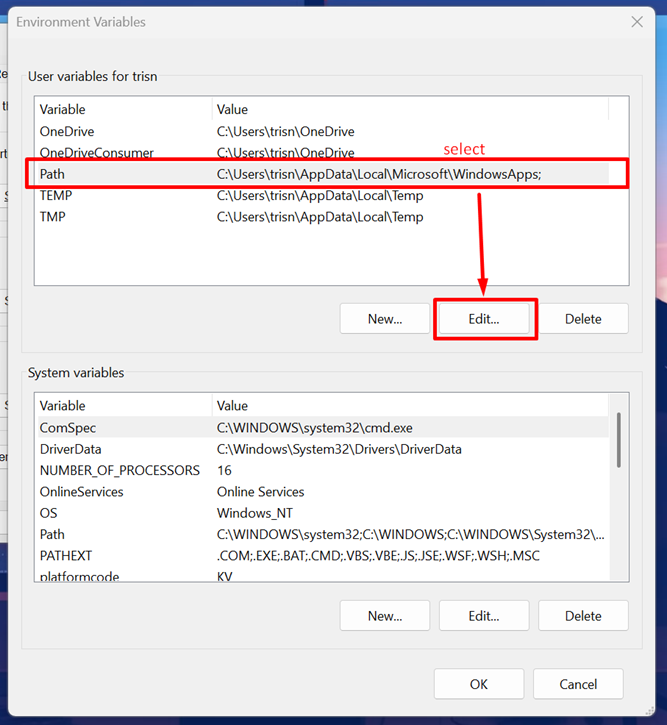
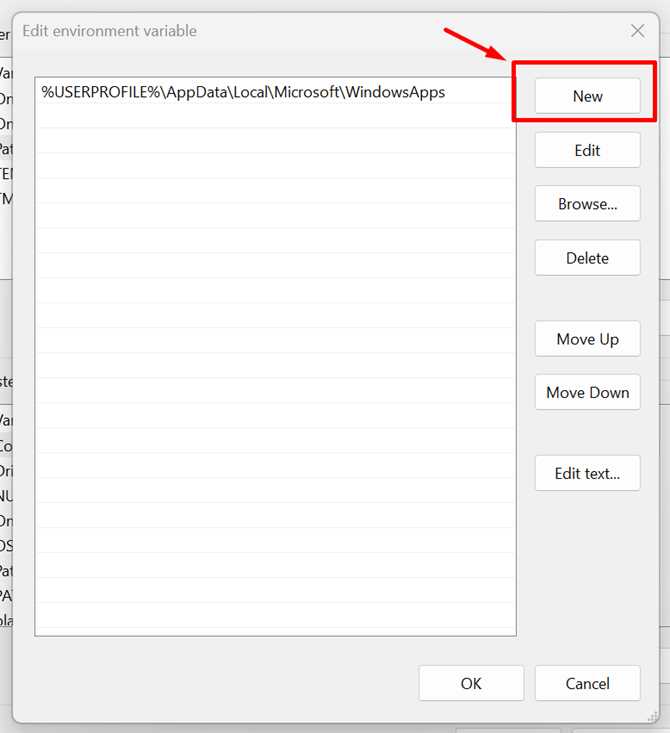
Register the Flutter SDK path to your PATH environment variable.
-
Check Flutter installation using the command:
flutter doctorYou can run this command on your terminal or command prompt.
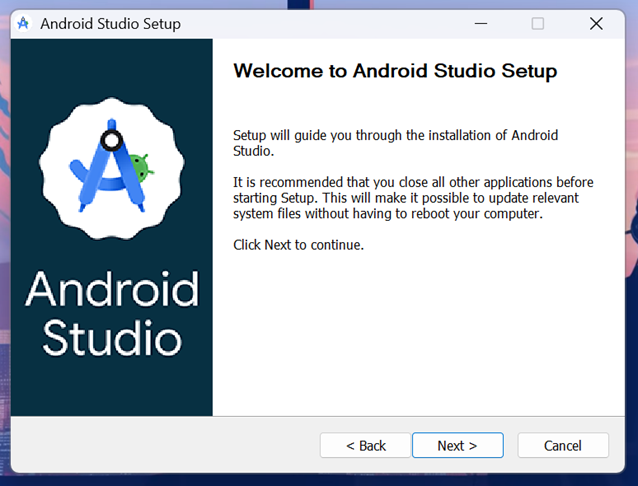
Android Studio
-
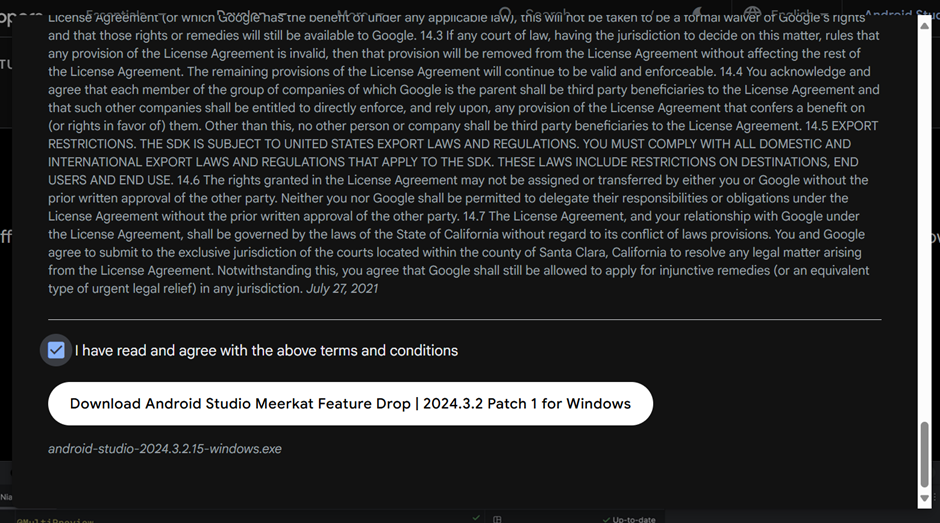
Open the official Android Studio website to download the Android Studio App: https://developer.android.com/studio?hl=en
-
If it shows a dialog agreement, accept and download.
-
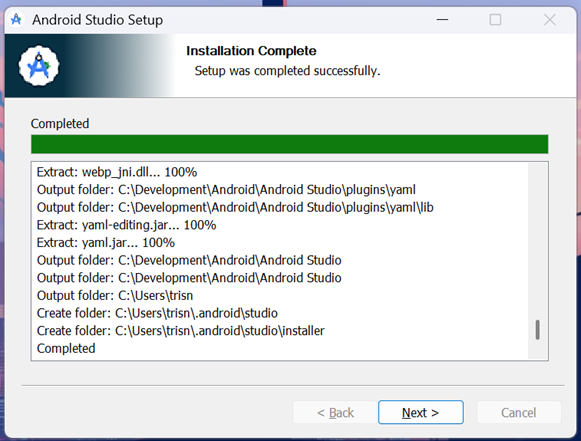
After it has downloaded, run it.

-
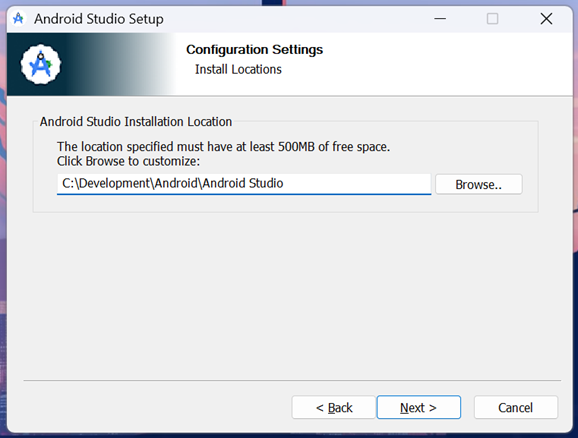
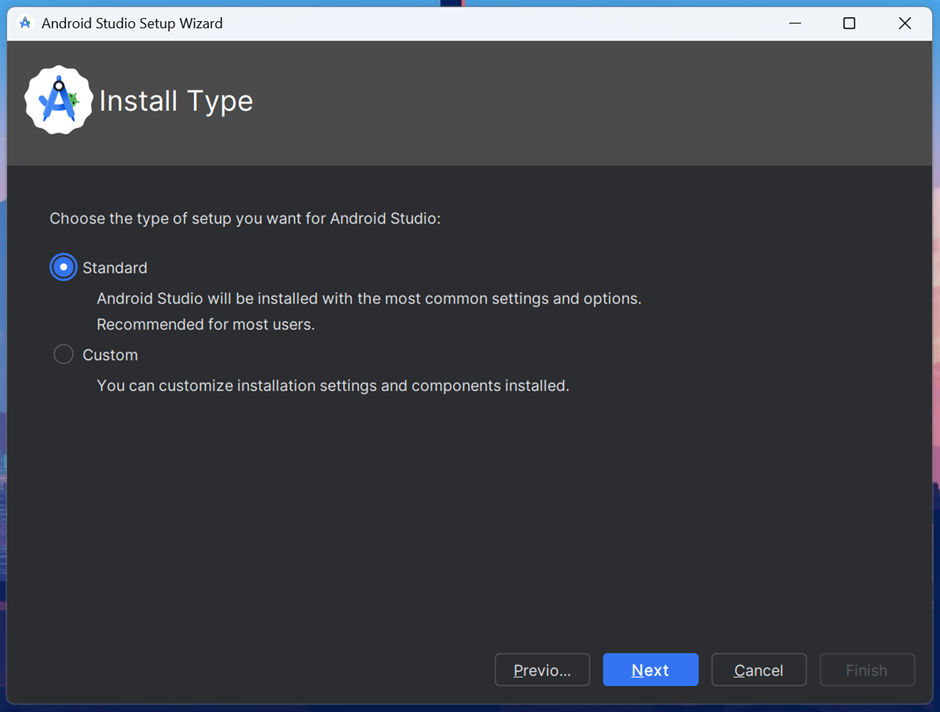
You can choose the default directory to install the app, or you can use a custom directory just like me.
-
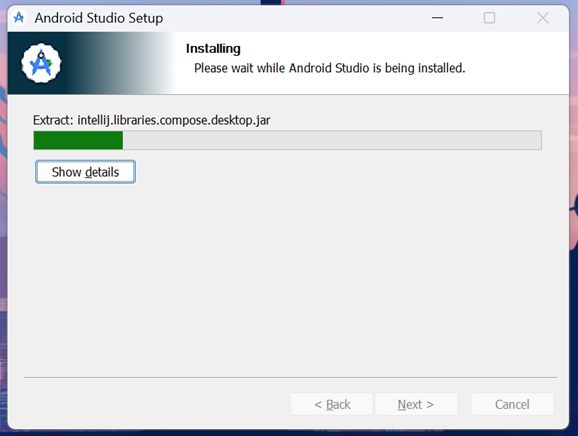
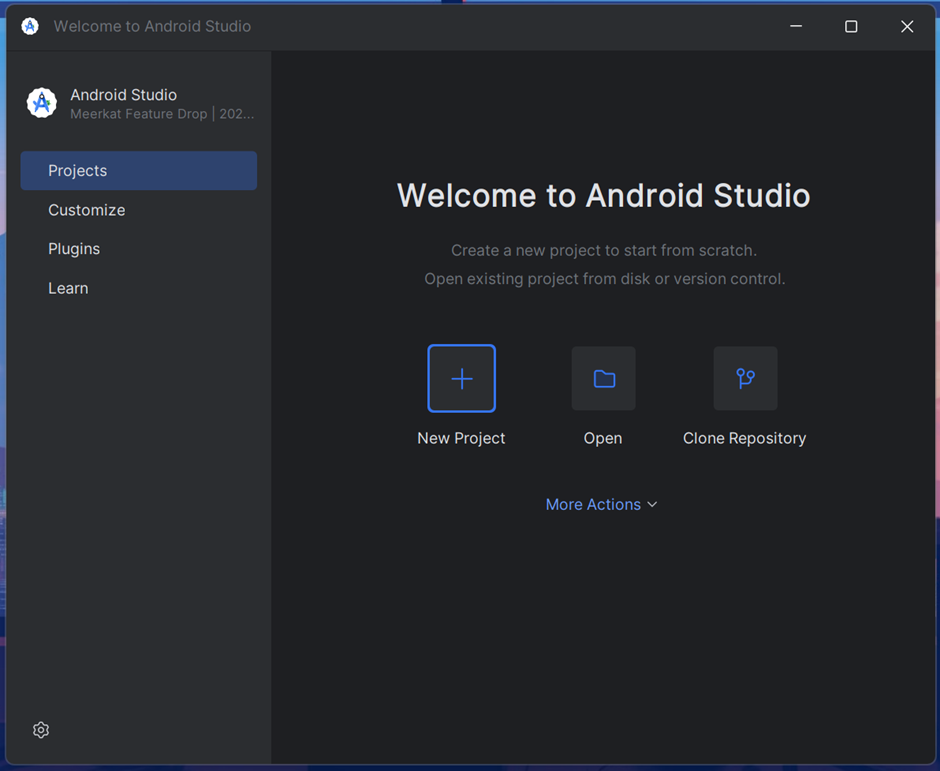
After Android Studio installation has finished, open Android Studio to configure the next setup.

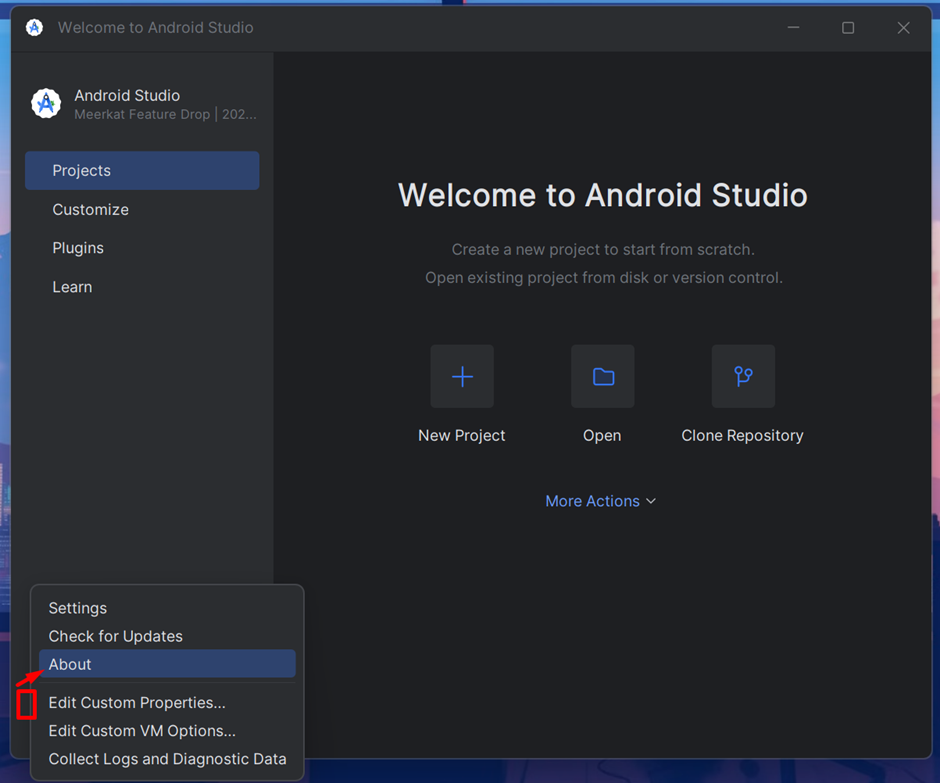
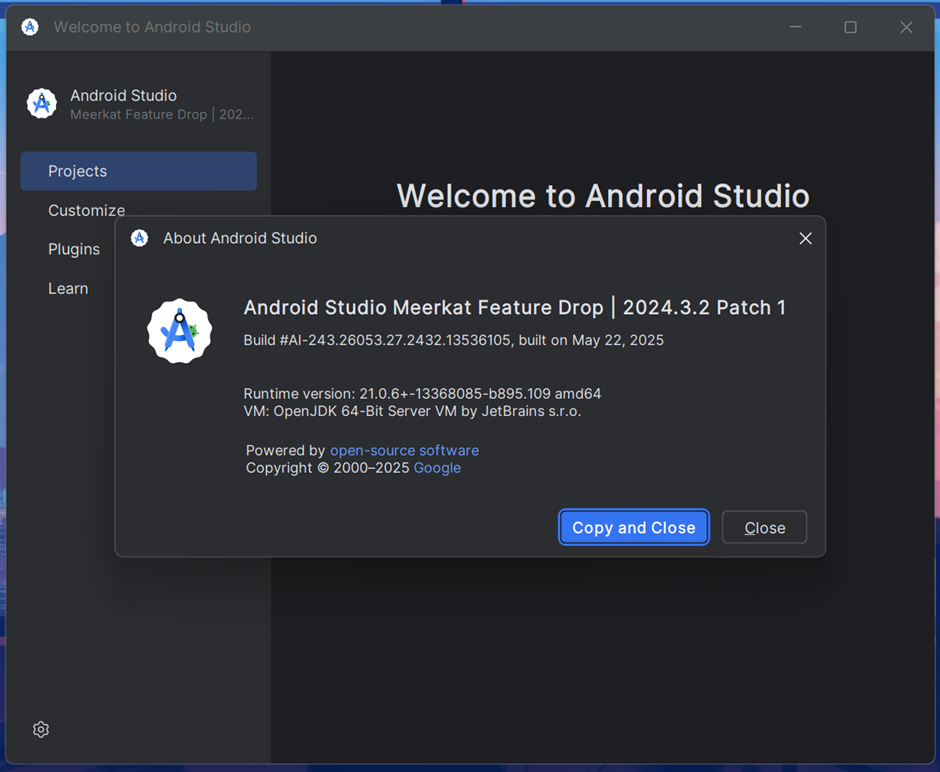
-
You can see the Android version in "About Info" from the settings icon on the bottom left. This Android Studio Installation includes OpenJDK, so you don't need to install JDK separately.
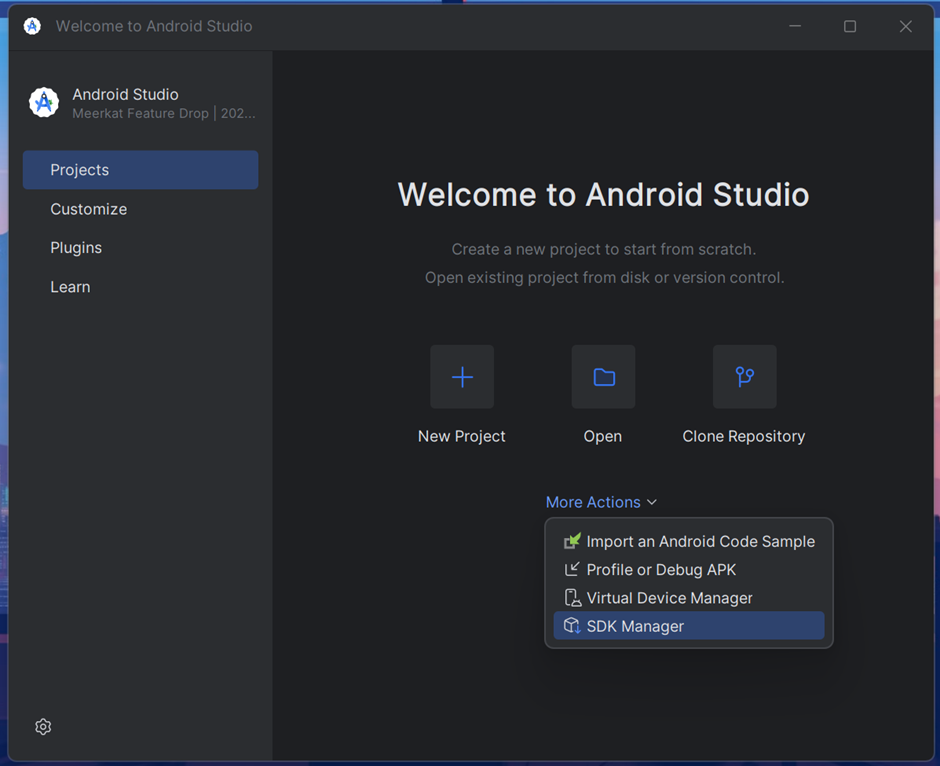
-
Open SDK Manager to set up or update Android tools. The Android SDK path auto pairs to your Flutter config after Android Studio installation and this setup. If somehow the Android SDK is not auto-configured, you can configure it manually to your Flutter config. Just copy the Android SDK path and run this command:
flutter config --android-sdk <path>Download the Android SDK Platform version you want to use to run Flutter on that Android version. This version is only needed while you debug or run a Flutter app on Android.
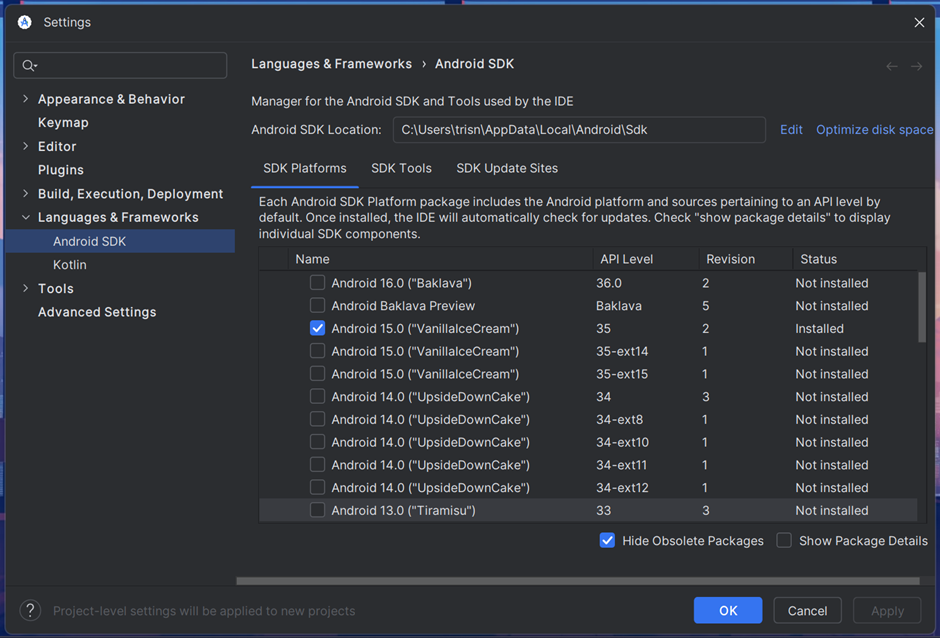
-
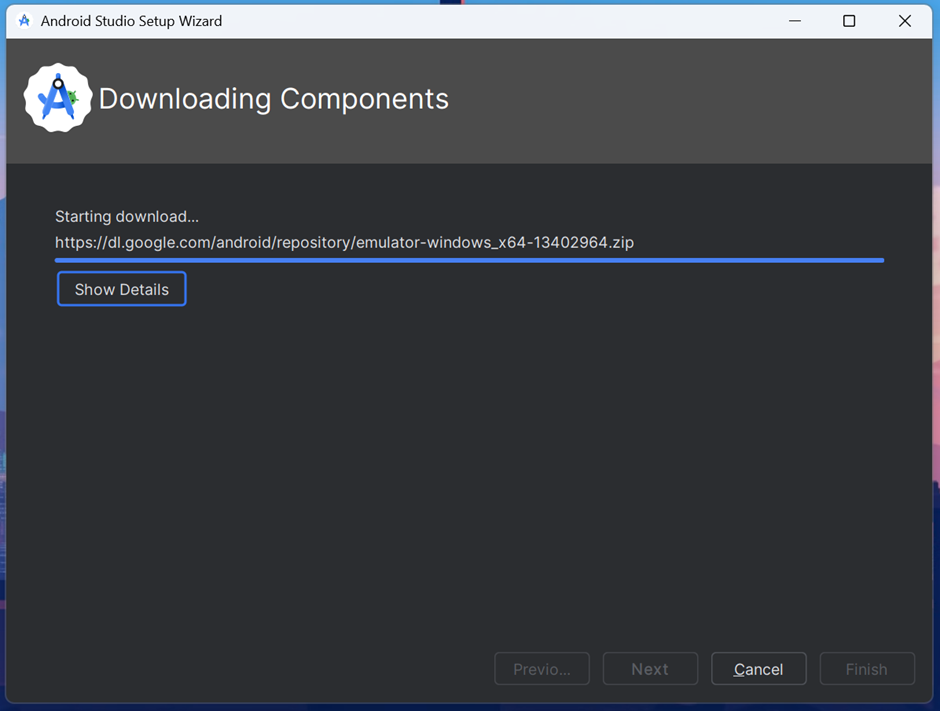
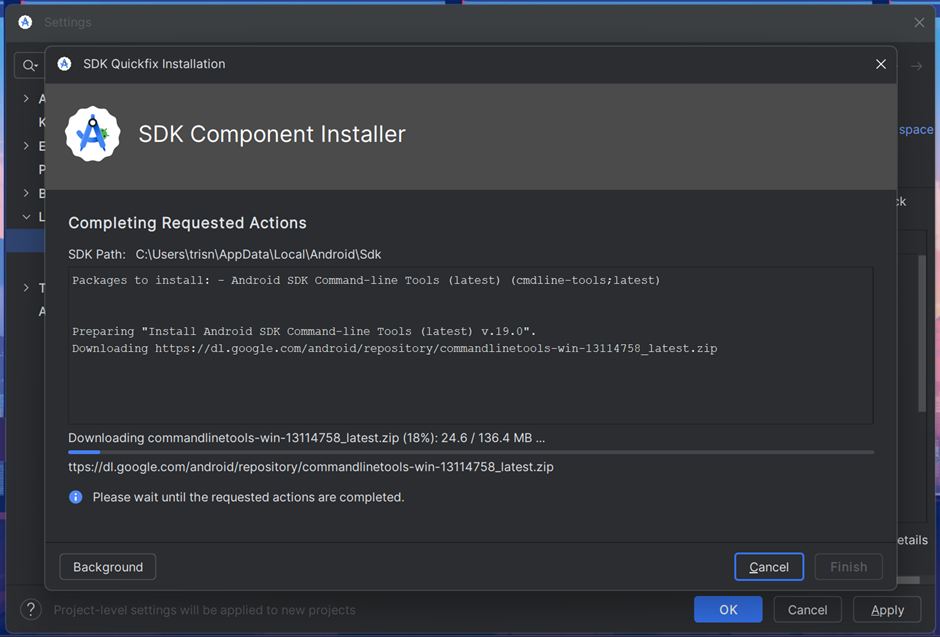
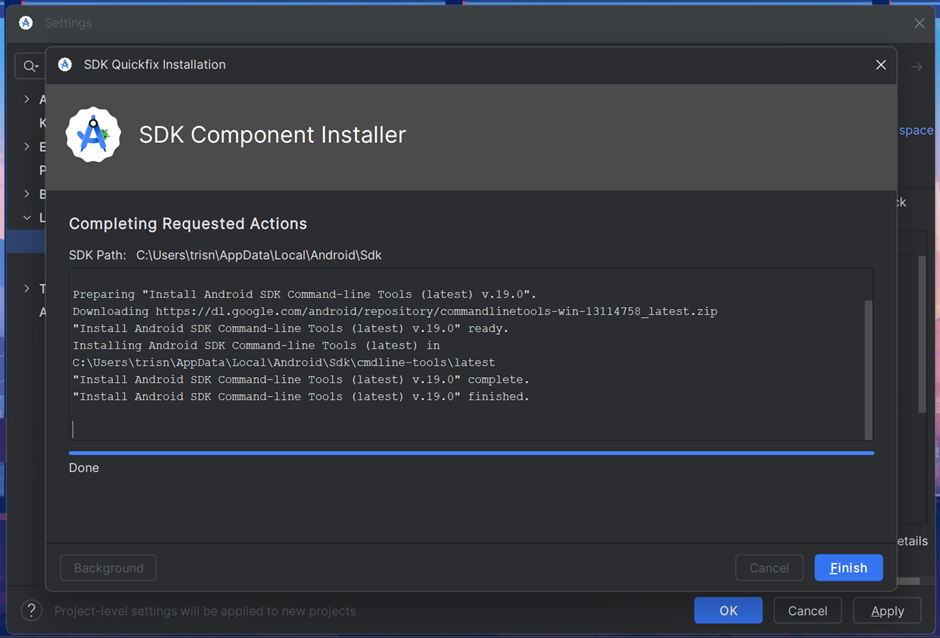
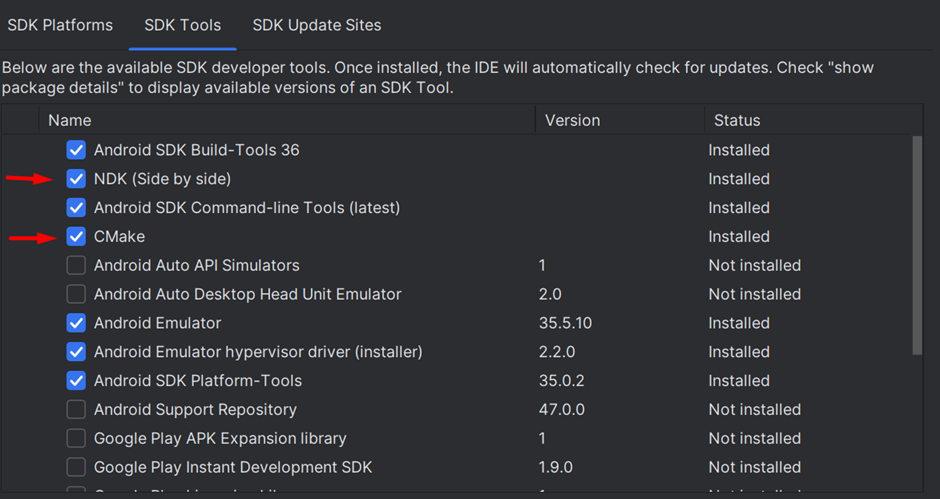
Open the SDK Tools tab to set up other tools. Download and install some important tools. Apply and OK.


-
Don’t forget to install NDK (Side by side) and CMake.
-
Now check
flutter doctoragain in your terminal or command prompt.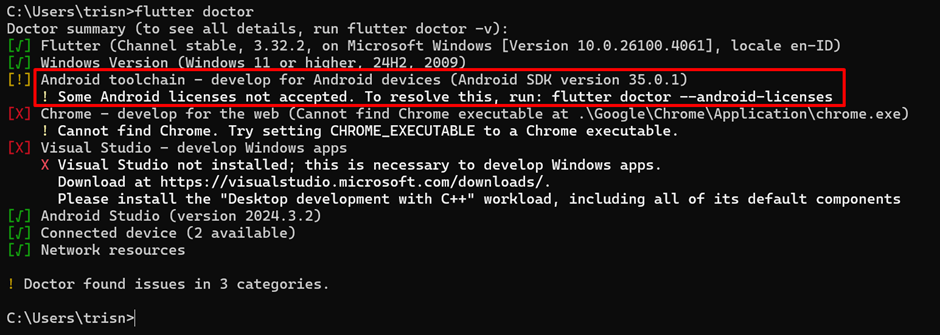
-
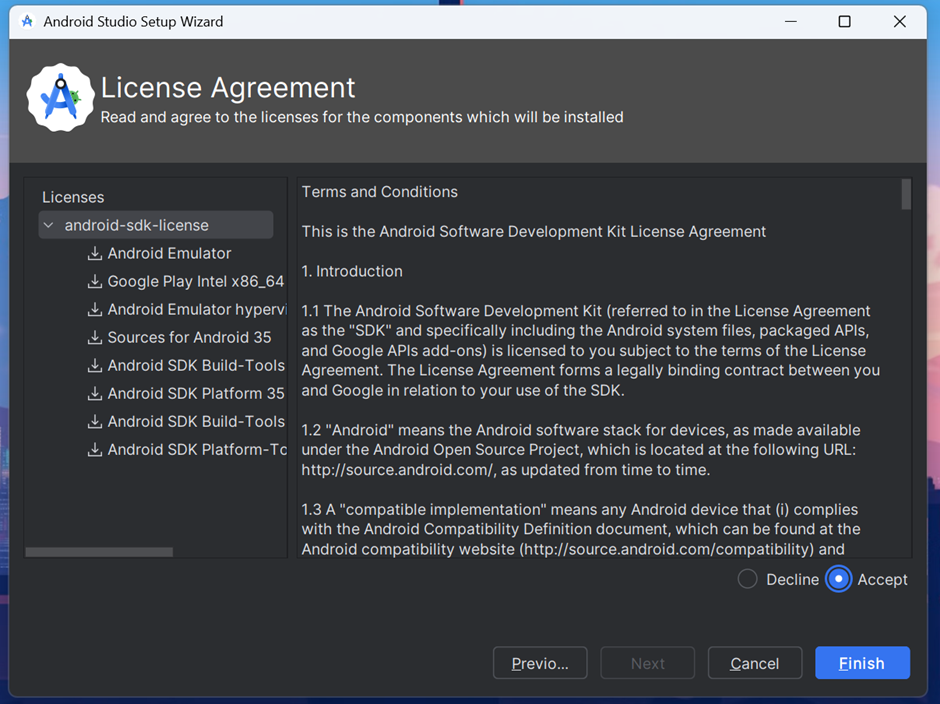
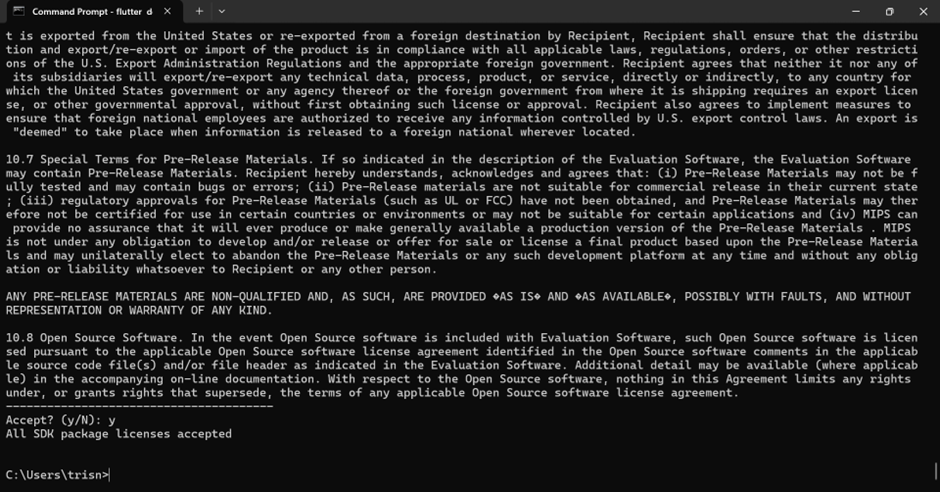
Accept Android licenses. Just run that command:
flutter doctor --android-licensesAfter that, just accept all licenses by typing ‘y’.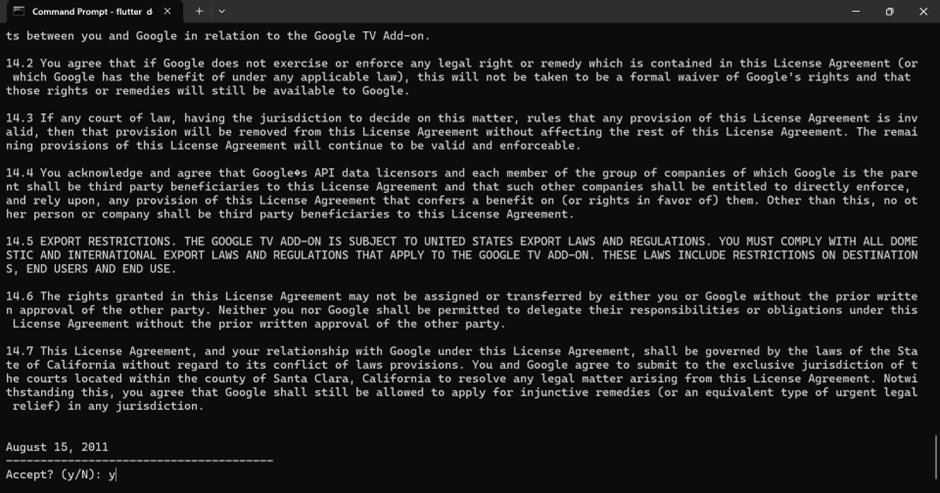
-
Check
flutter doctoragain but with detail info using command:flutter doctor -v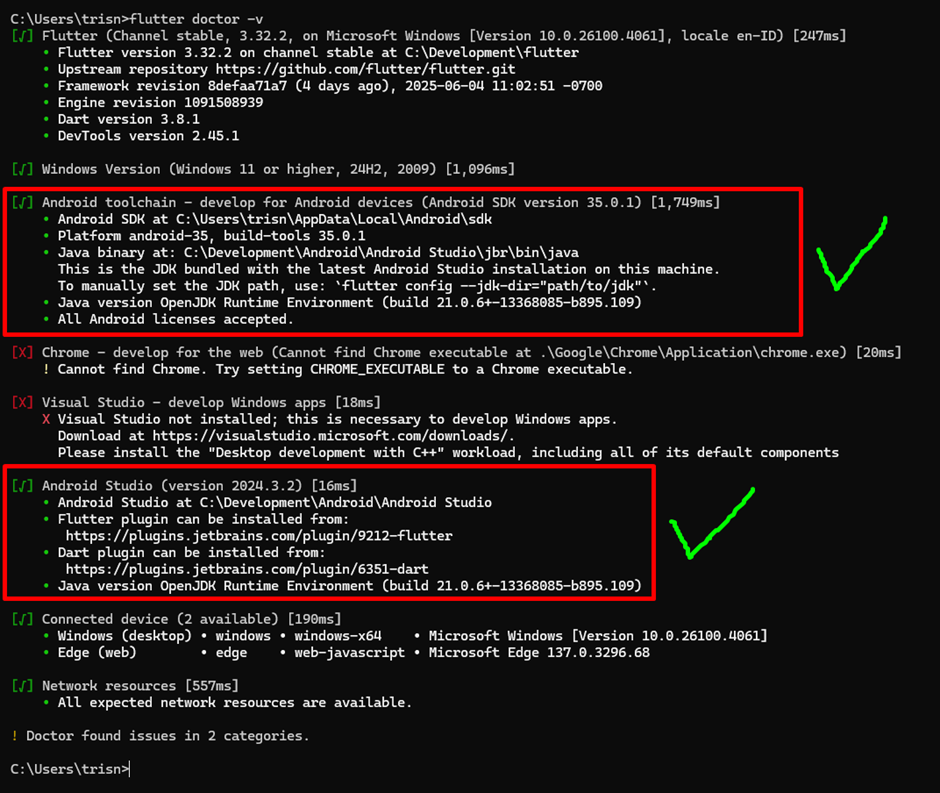
-
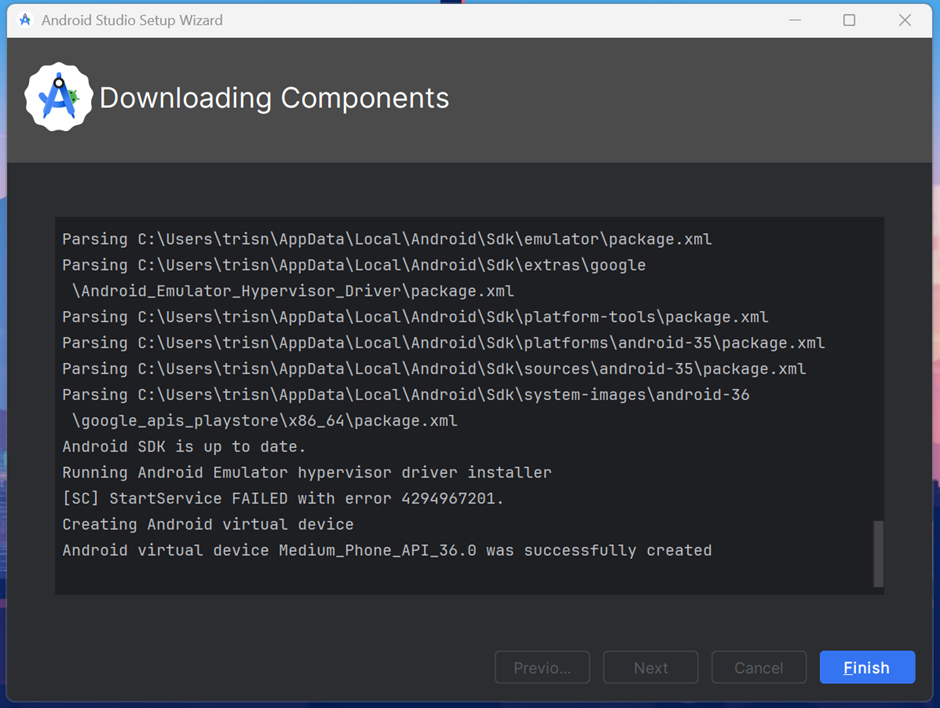
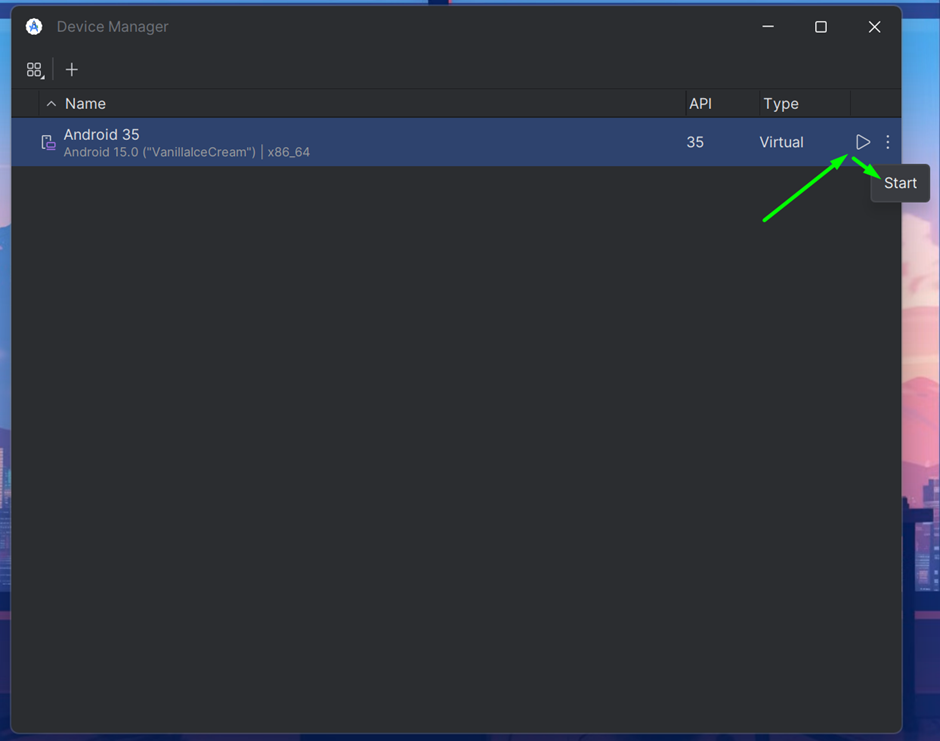
Open Android Studio again and choose "Virtual Device Manager" to prepare an Android Emulator to run your Flutter App.
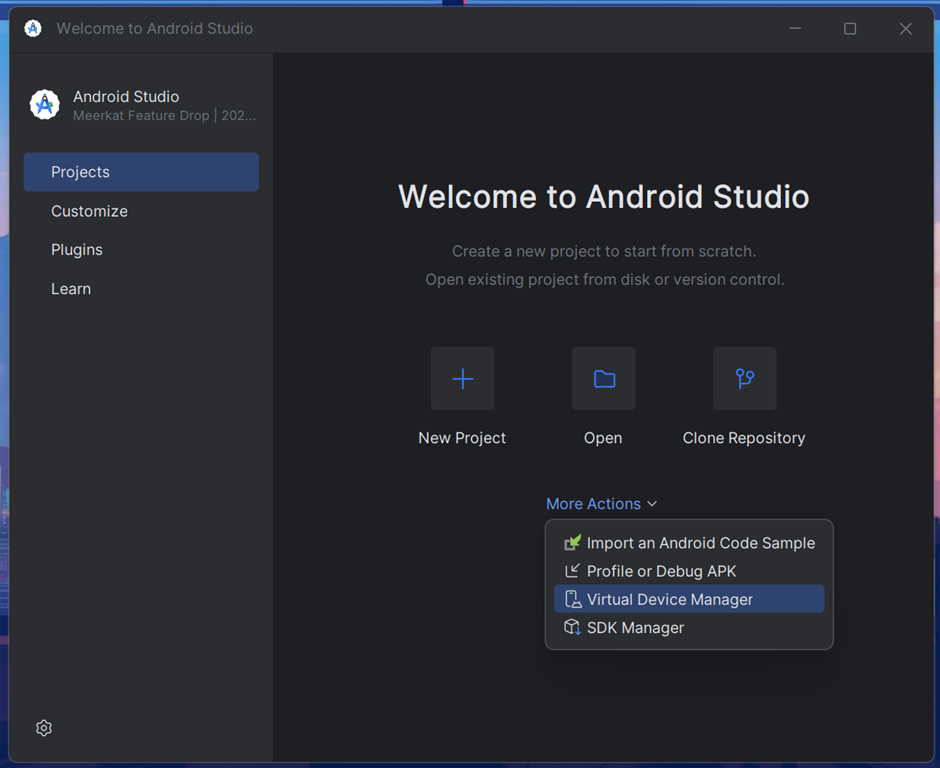
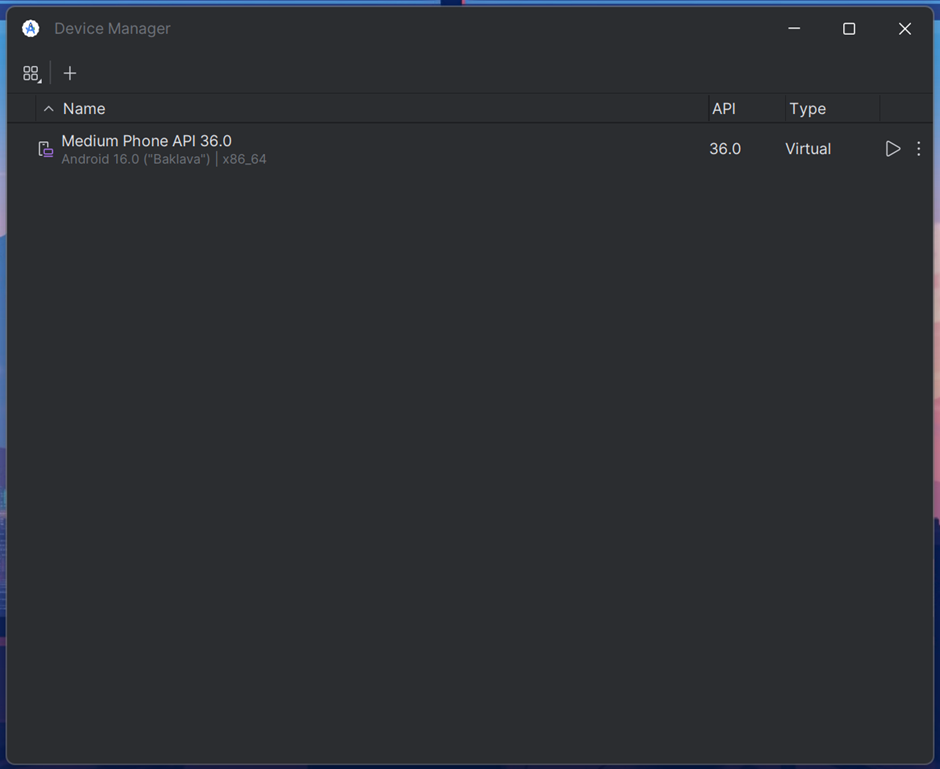
It seems like we have one by default. You can use that emulator or create a new one by clicking the add icon. If you want to create a new Android emulator, there are steps to choose the API version. You can refer to this website: https://apilevels.com/ for your consideration. Otherwise, we can edit the default Android emulator.
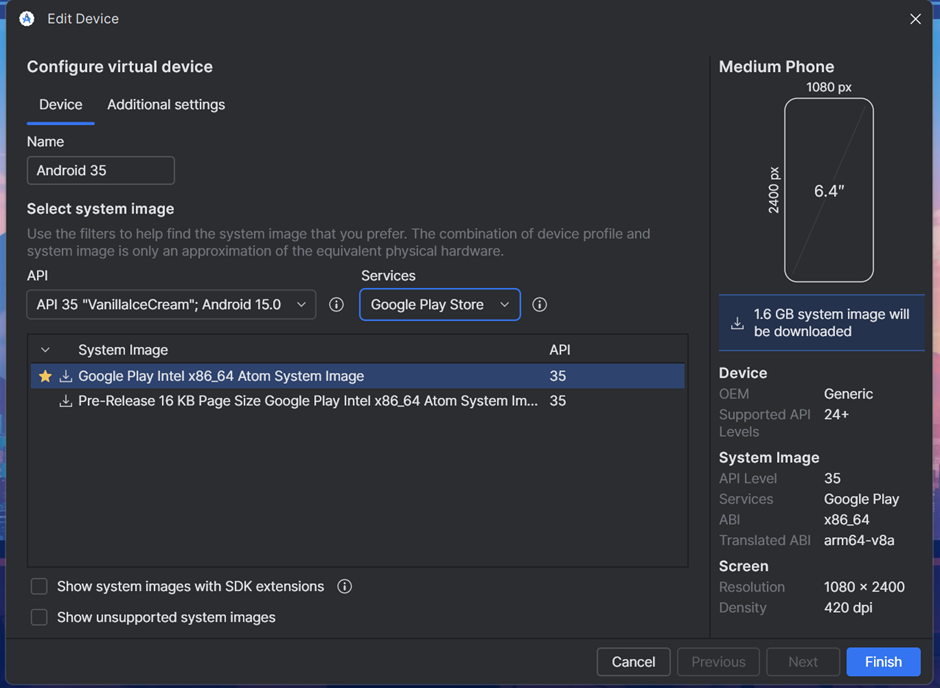
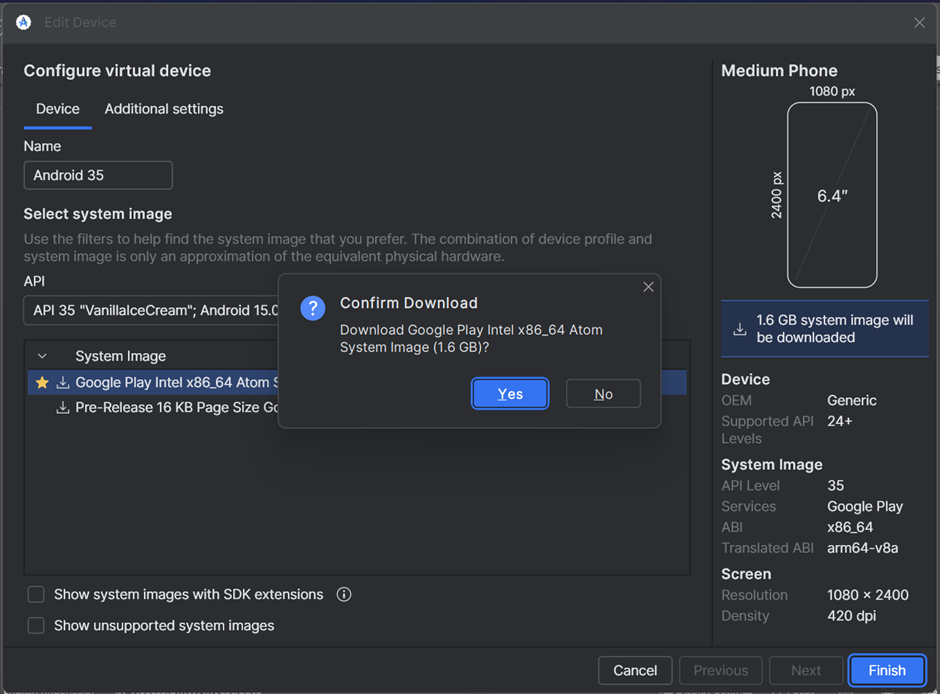
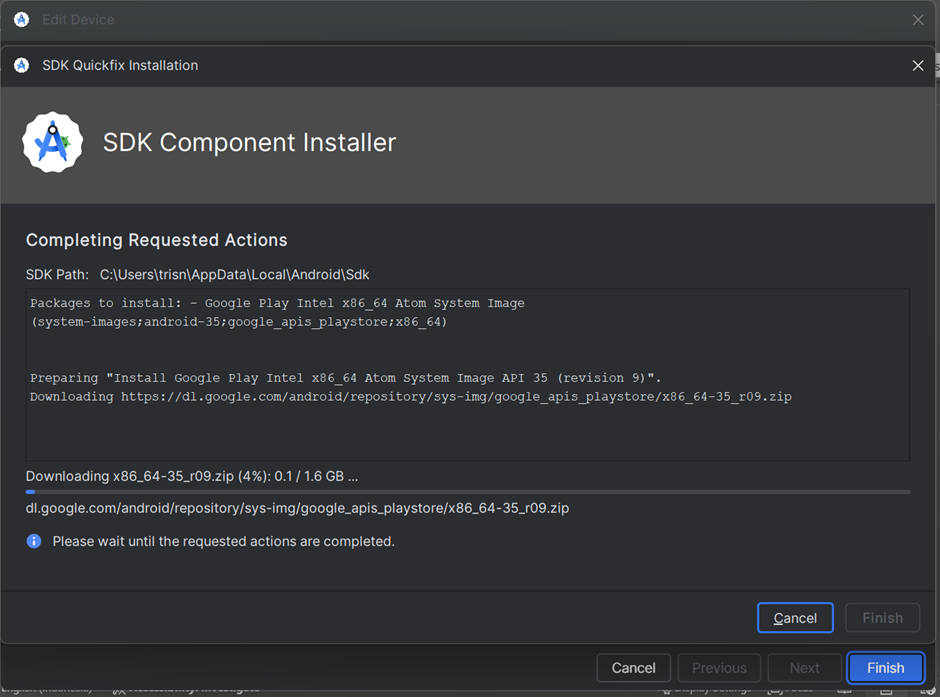
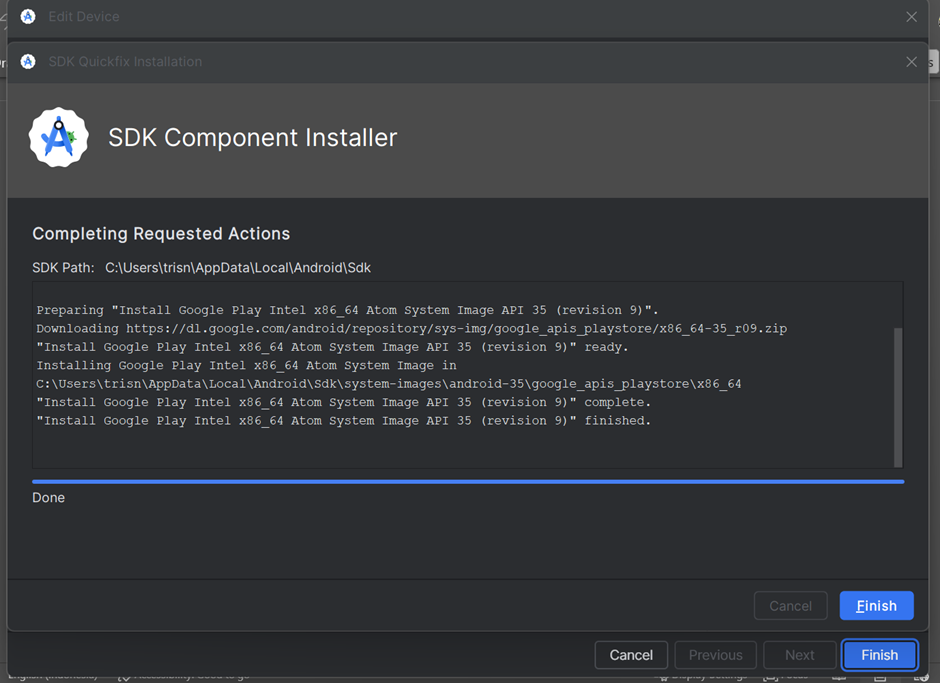
If it shows a dialog to confirm the download of the system image, just click yes.
-
Test drive.
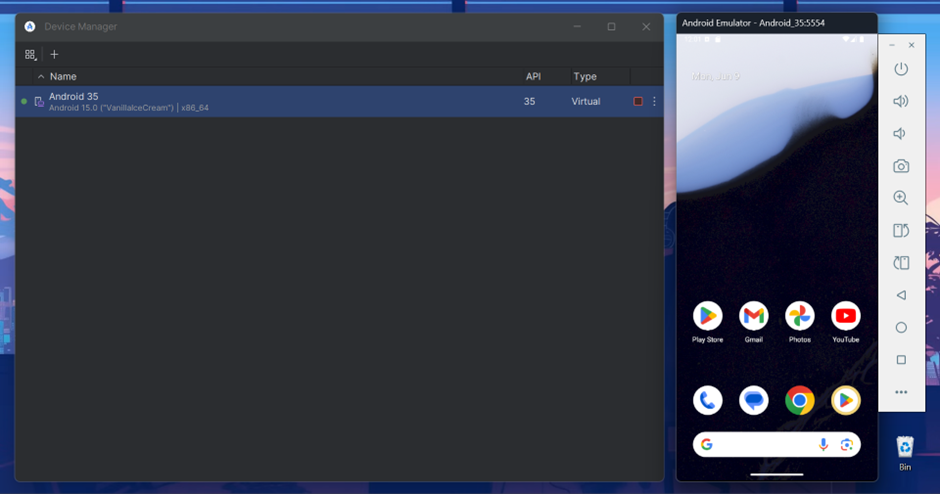
Now Android setup is done.
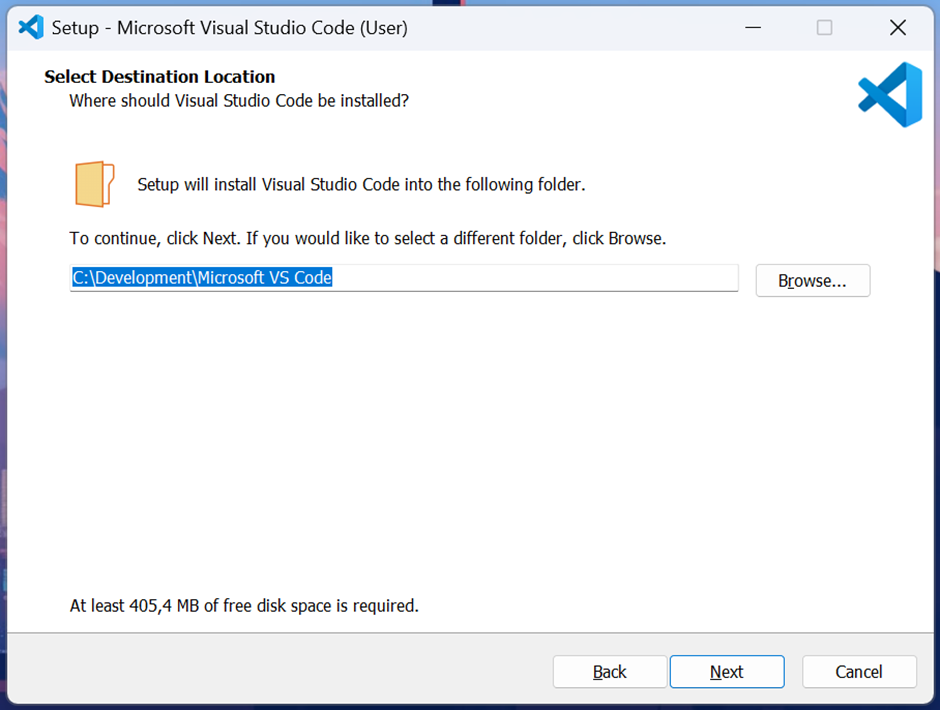
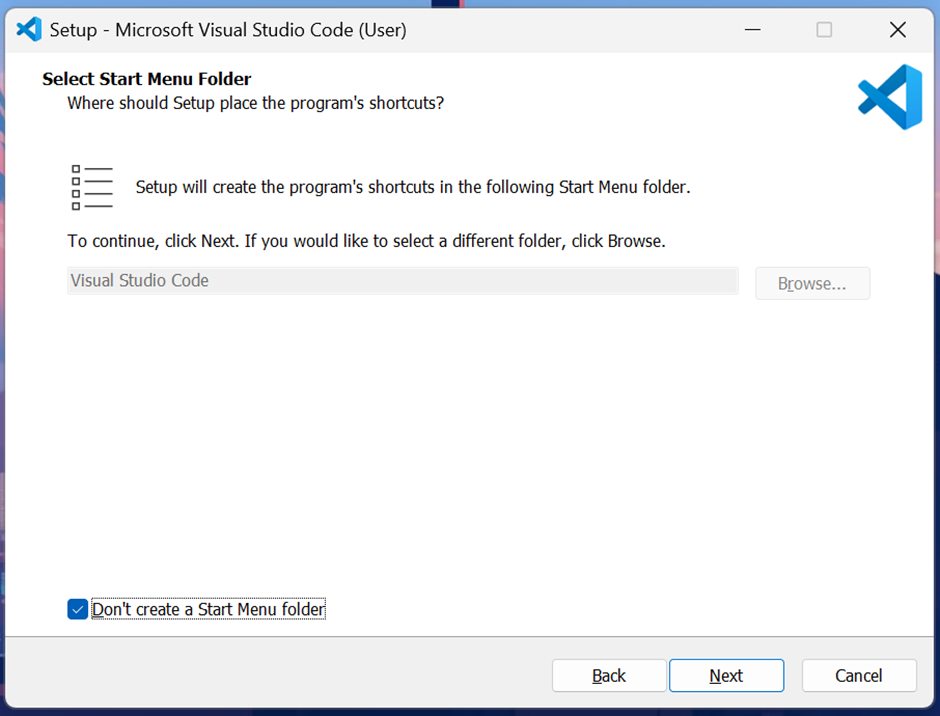
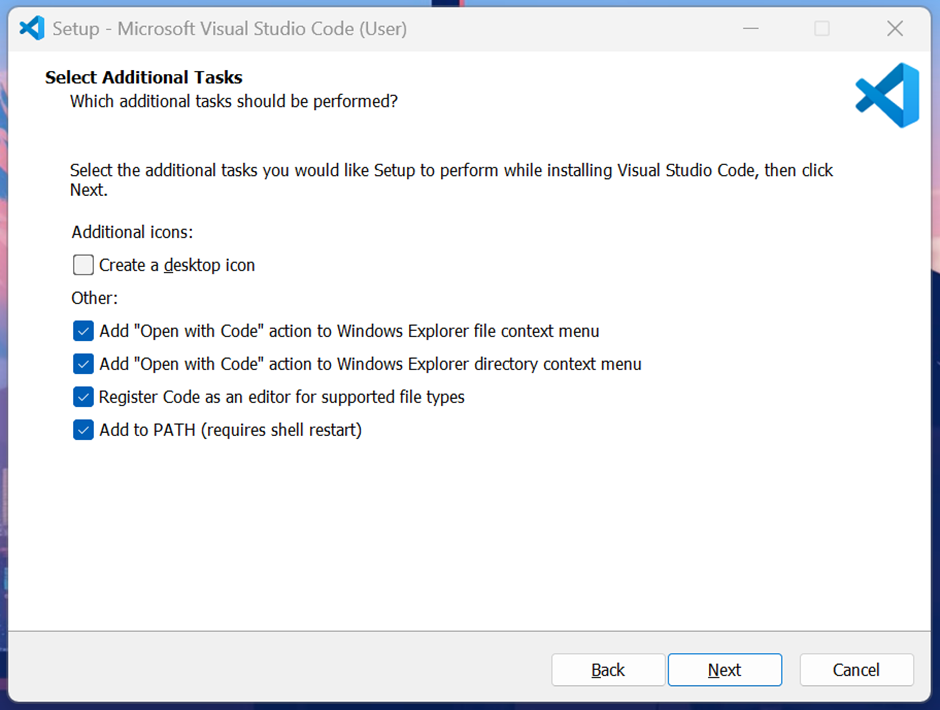
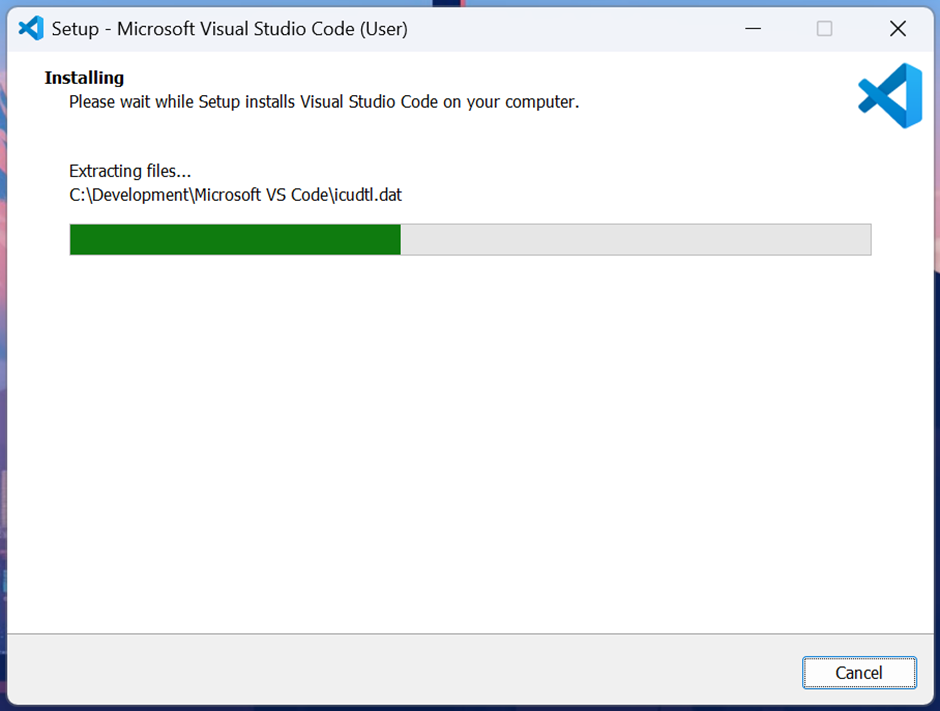
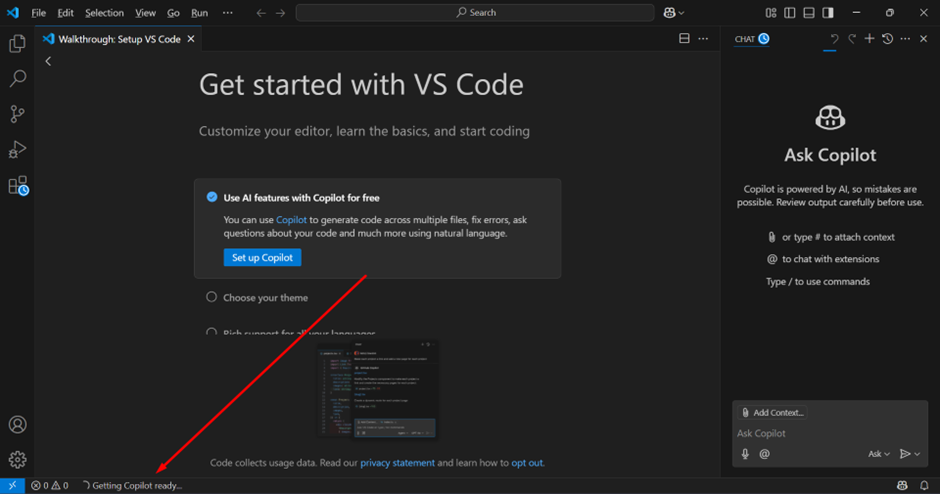
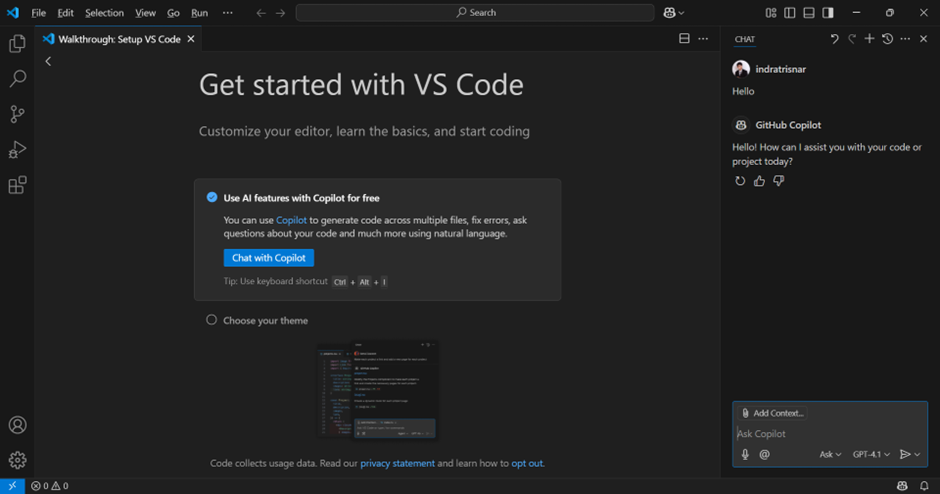
Visual Studio Code
I use Visual Studio Code as a code editor.
-
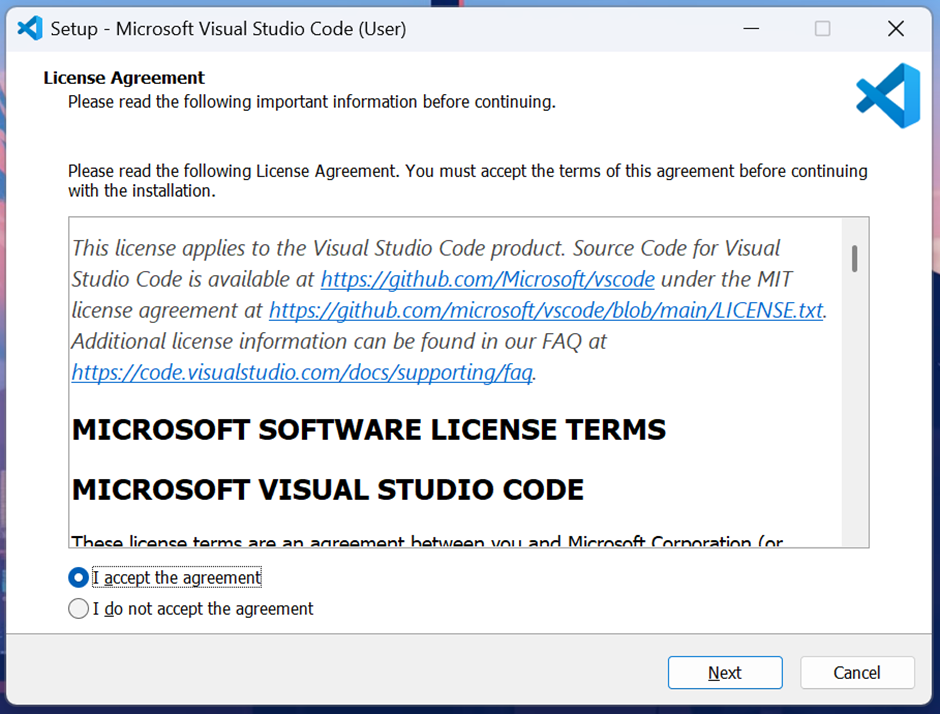
Go to the official website: https://code.visualstudio.com/
-
Download and install.


-
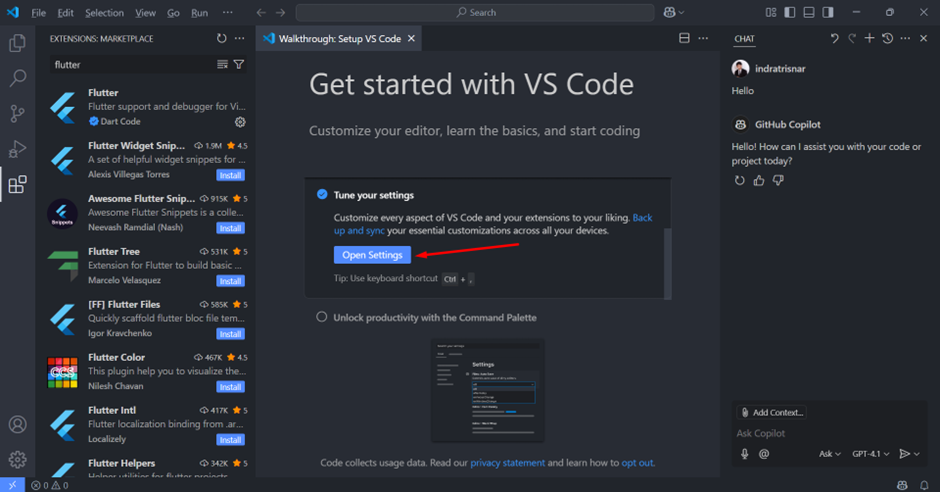
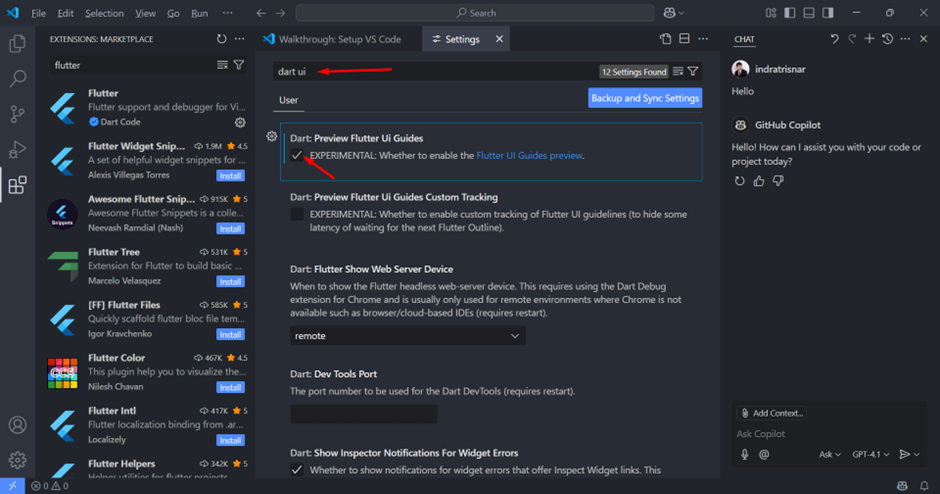
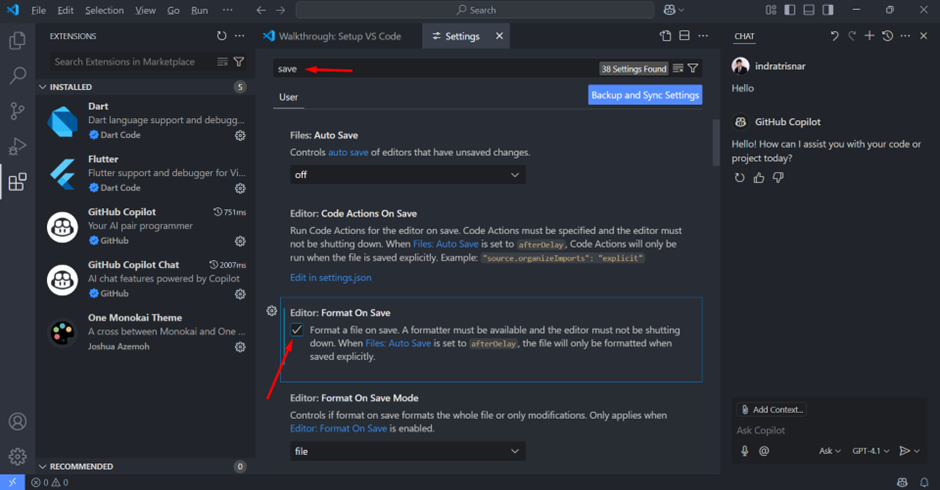
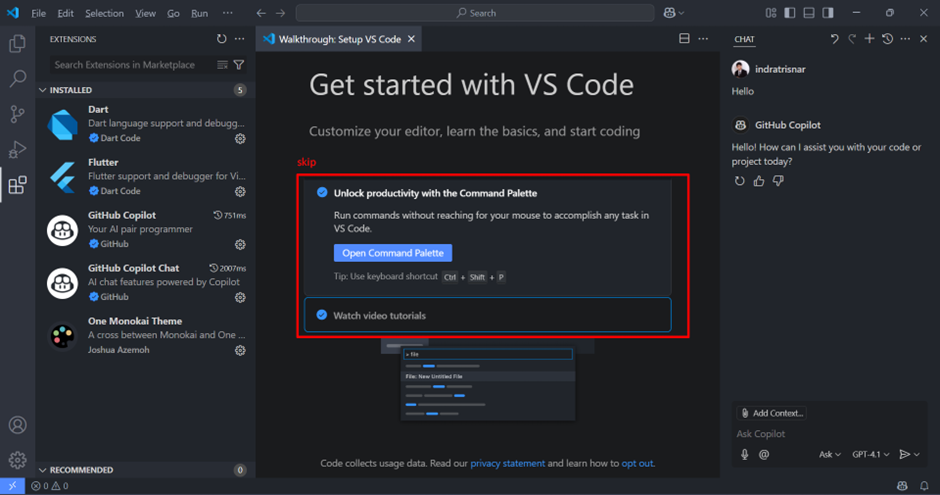
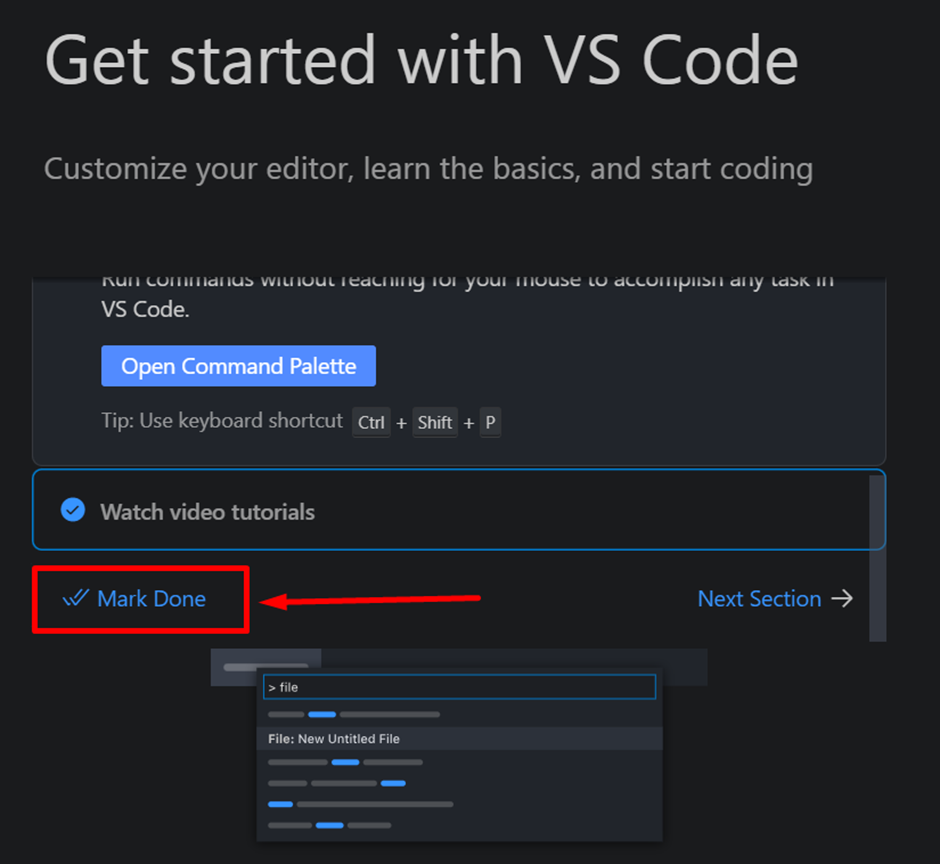
After installation, configure it.

-
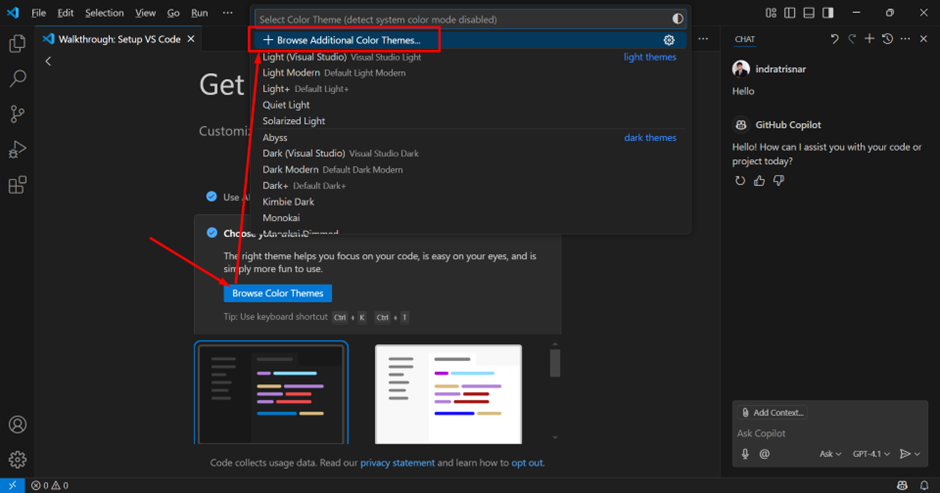
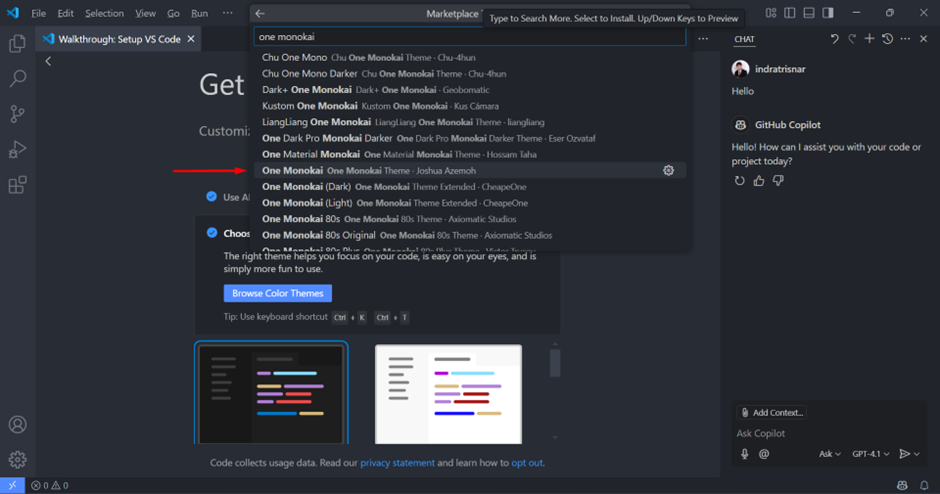
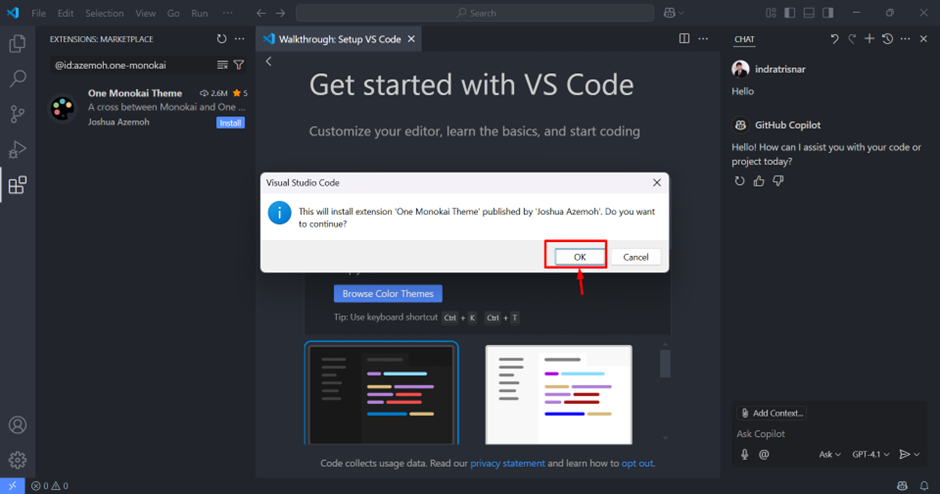
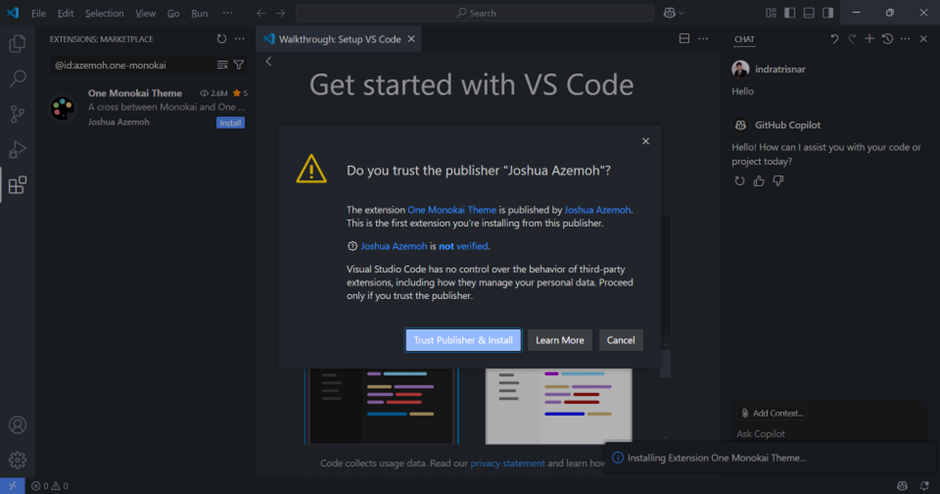
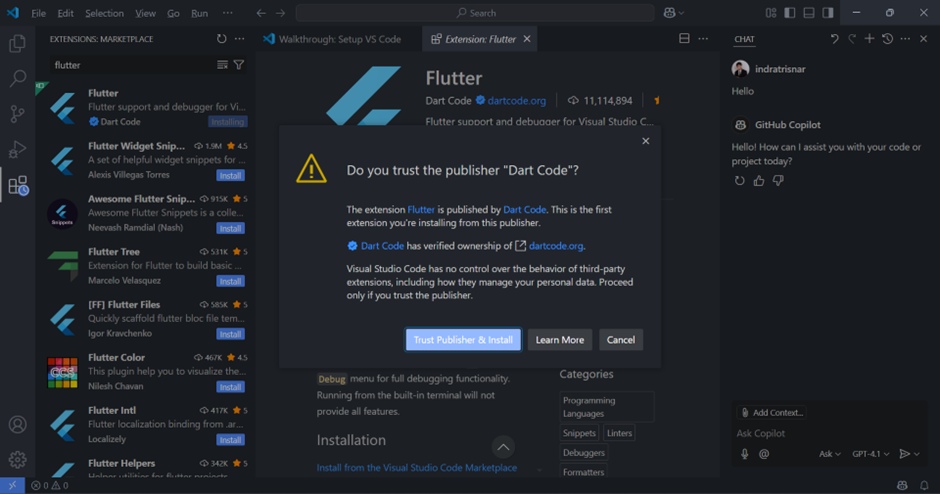
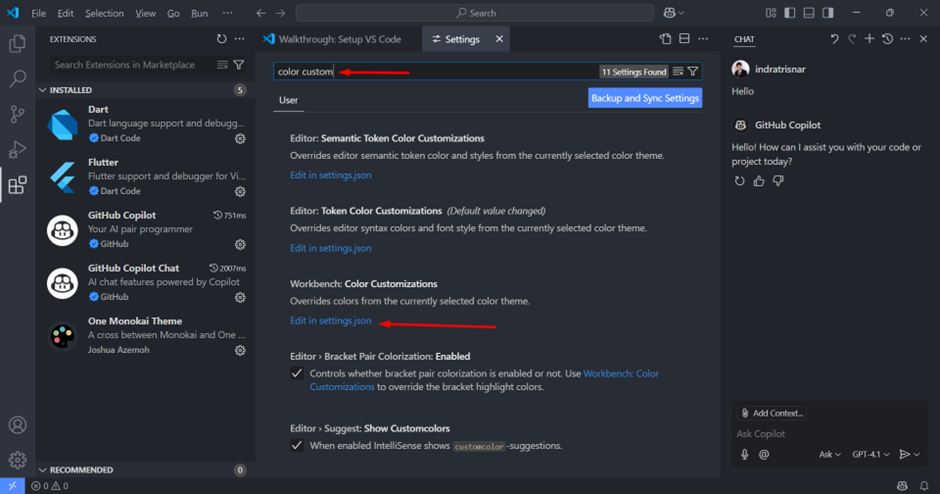
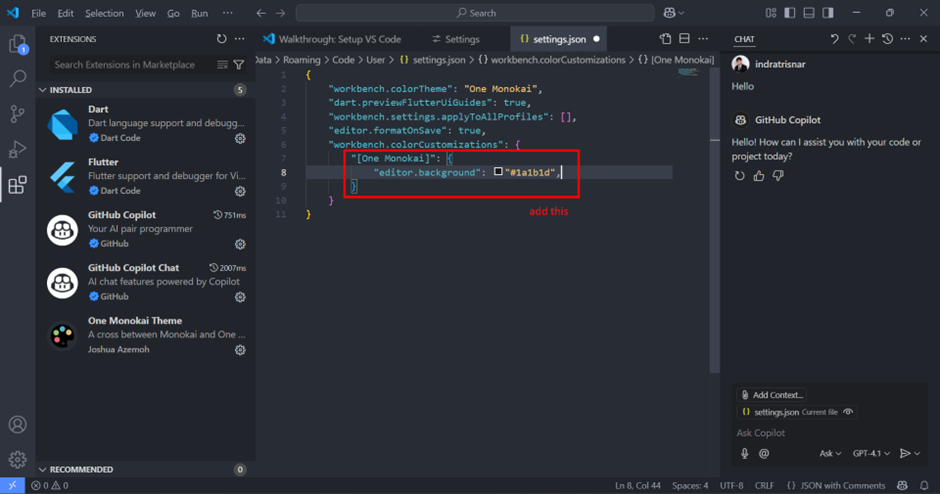
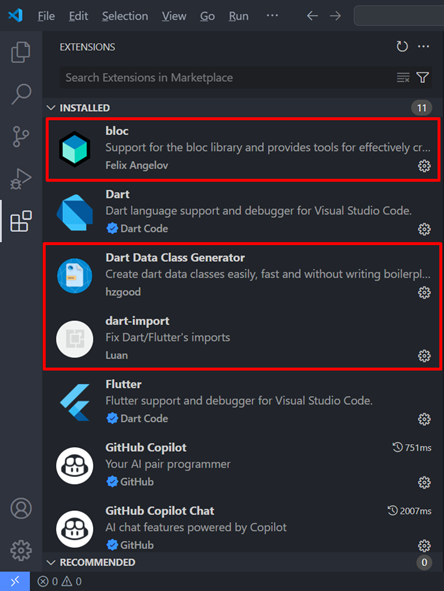
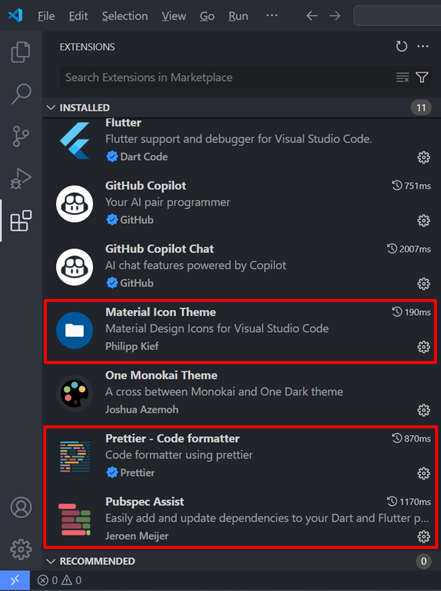
Install additional extensions. When installing "Material Icon Theme," apply the icon theme.

-
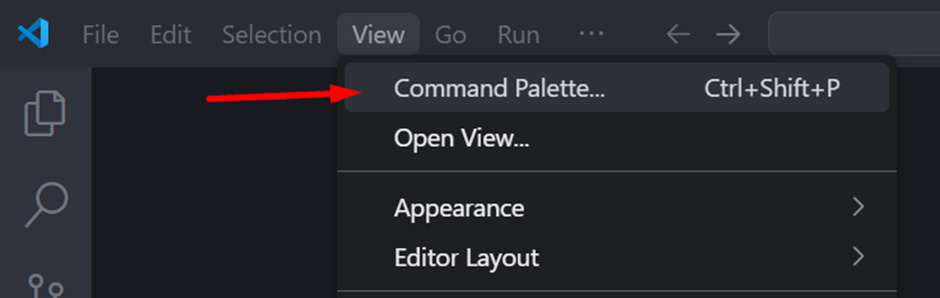
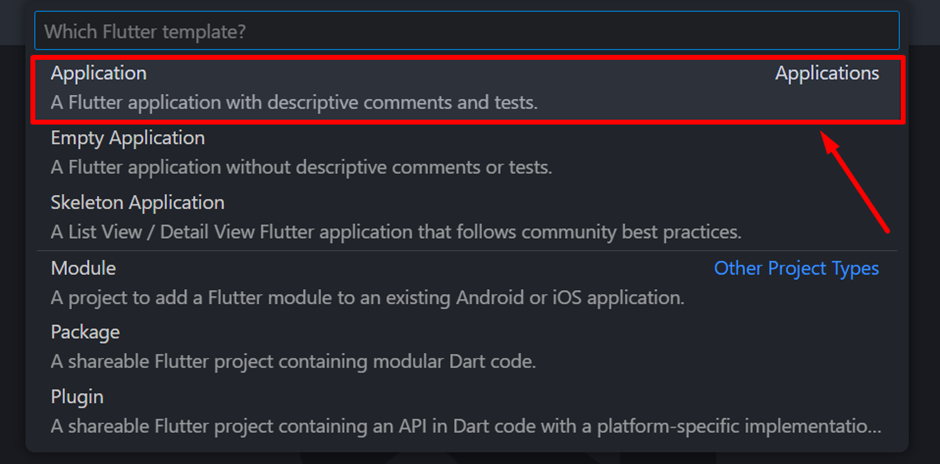
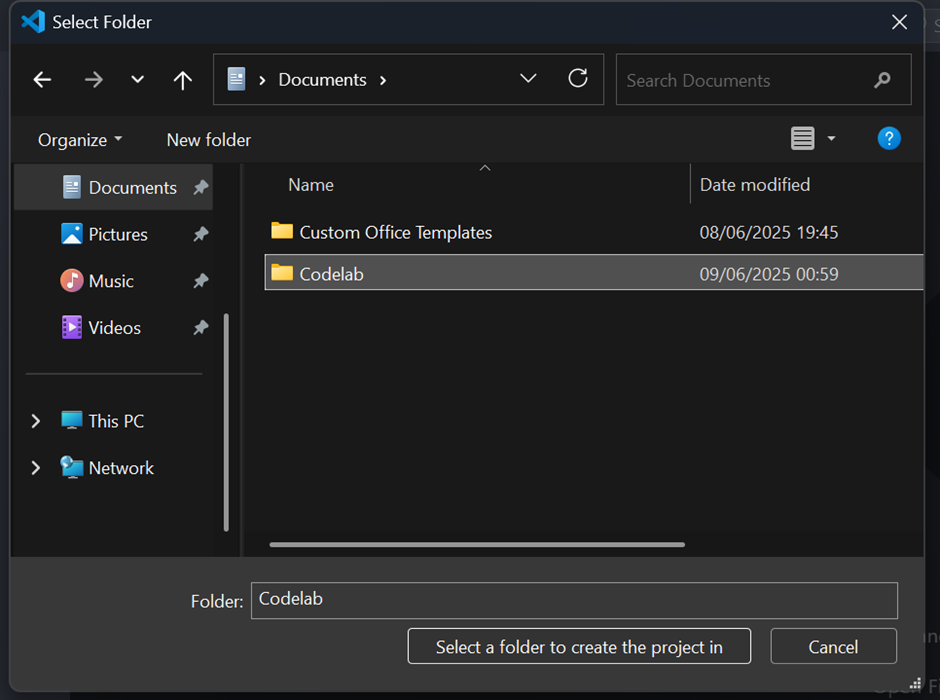
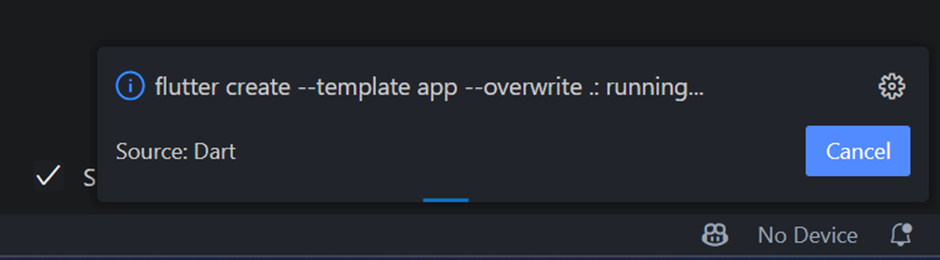
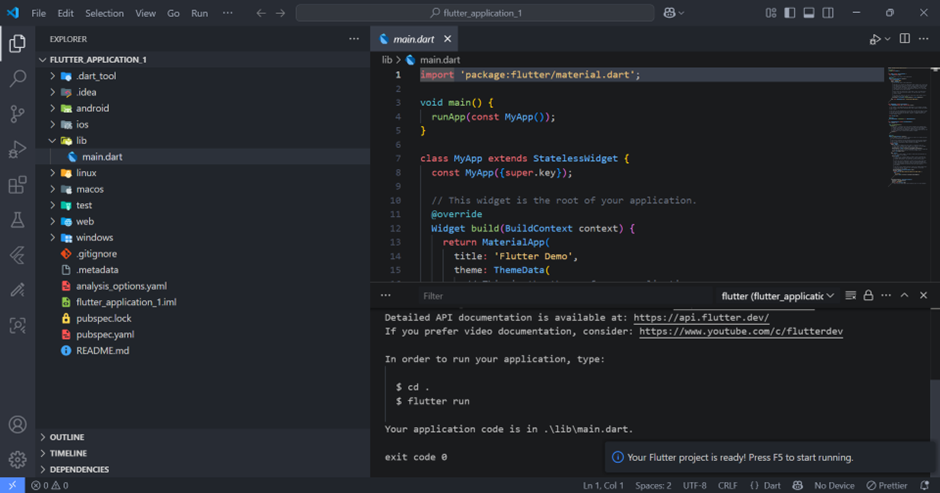
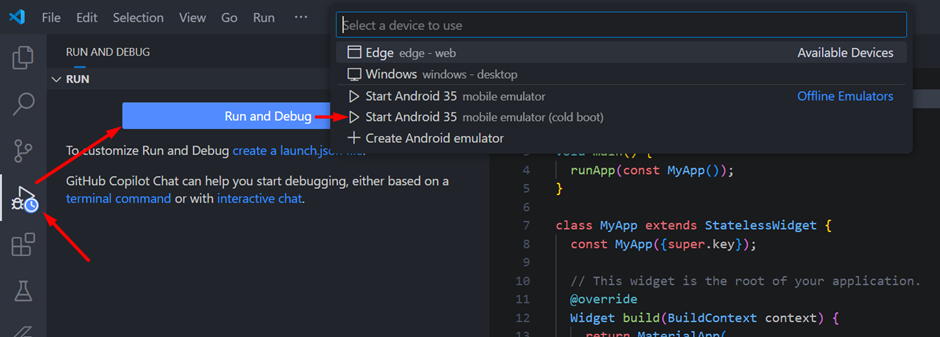
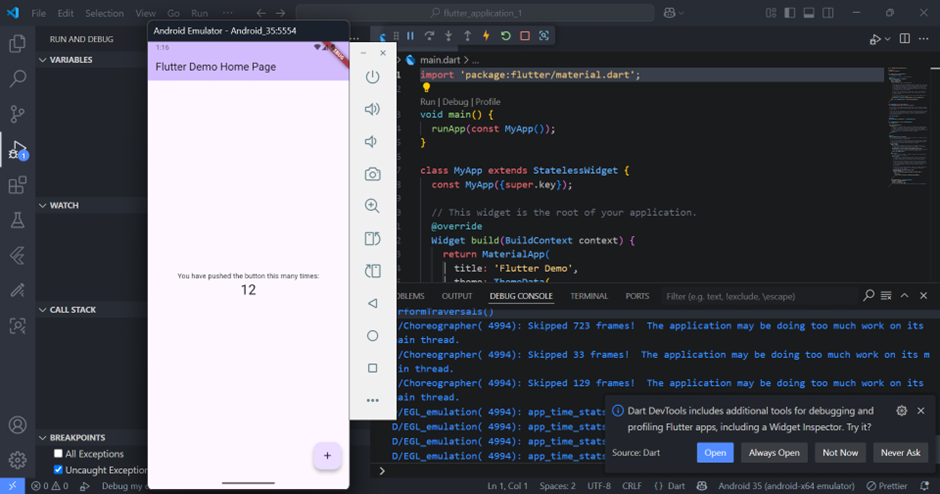
Start create new flutter project. For the first time running an app, it may take a long time.


@semi-required
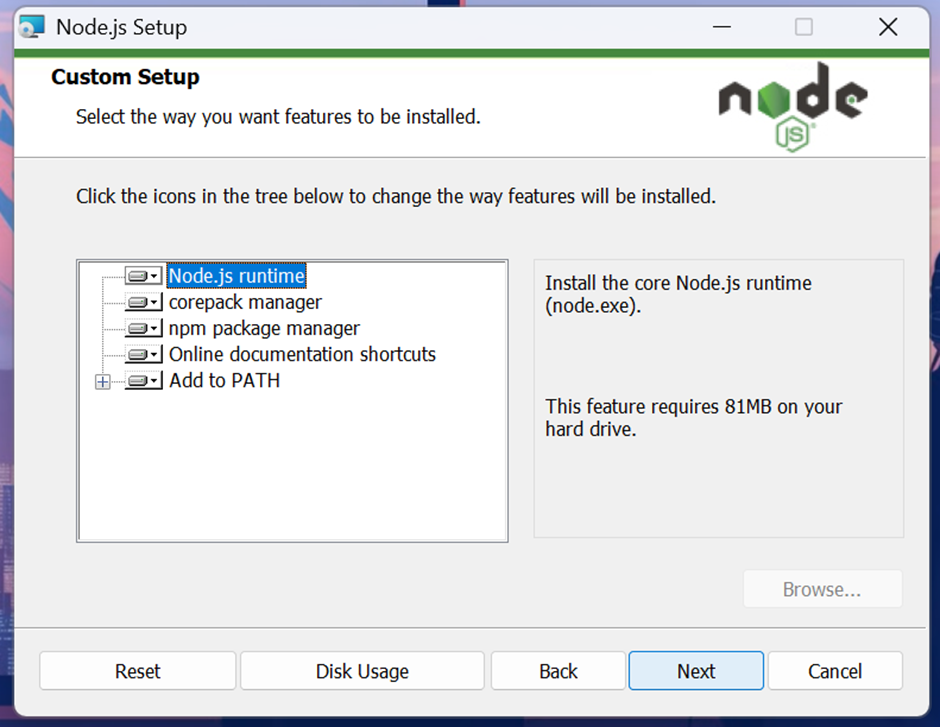
NPM (NodeJS) -> to install Firebase CLI
-
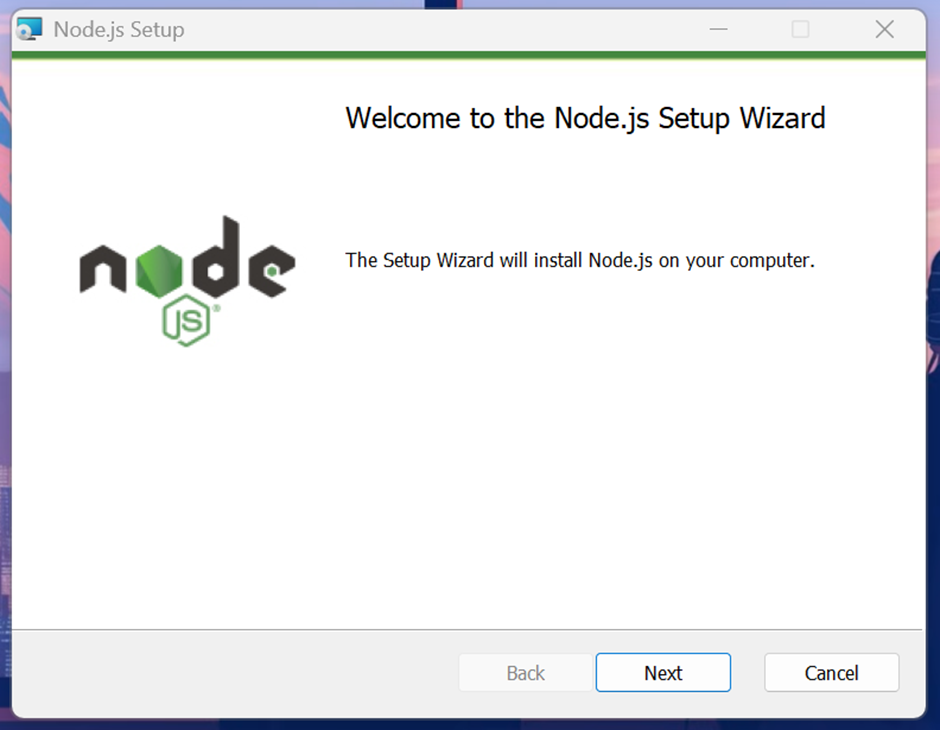
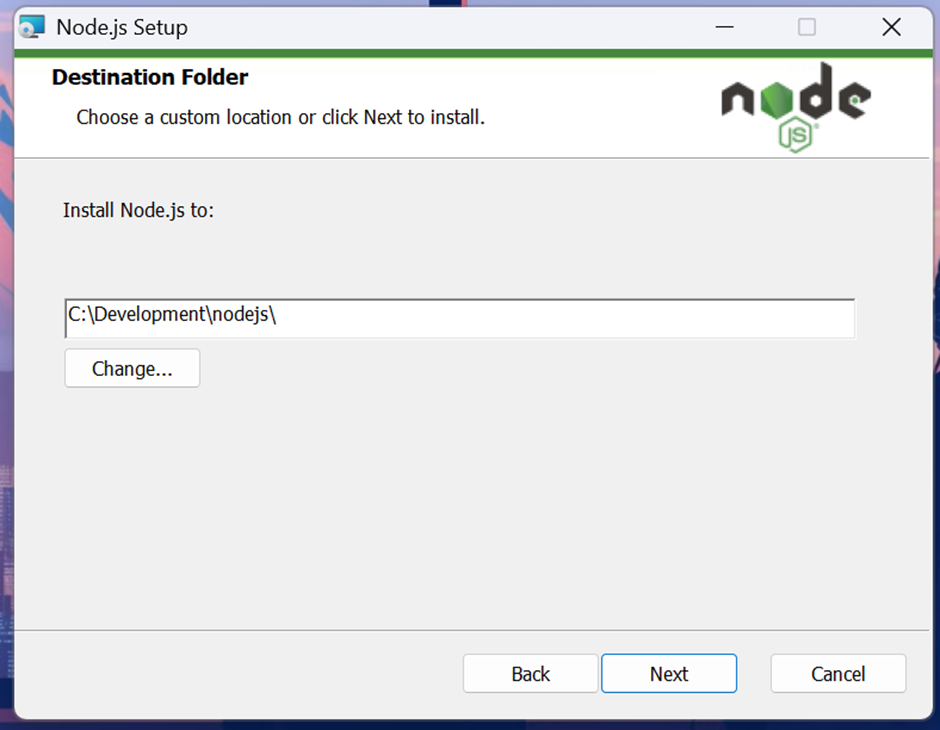
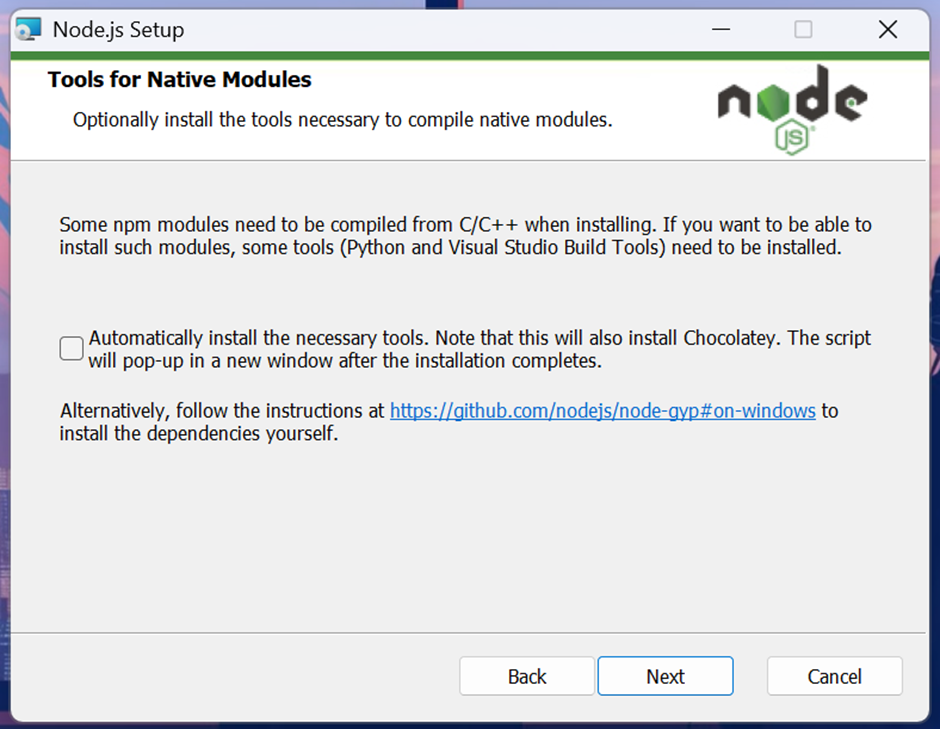
Download the installer latest version from https://nodejs.org/en/download. Then start to install.

-
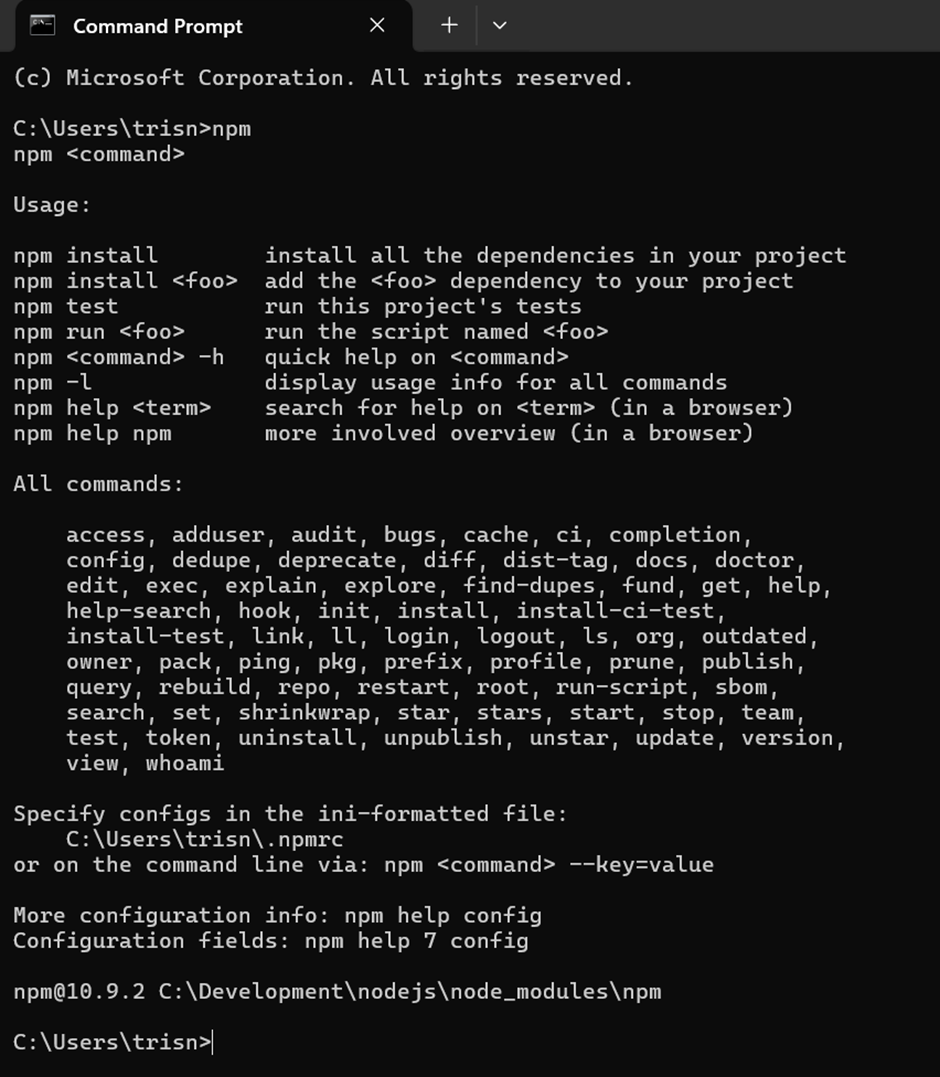
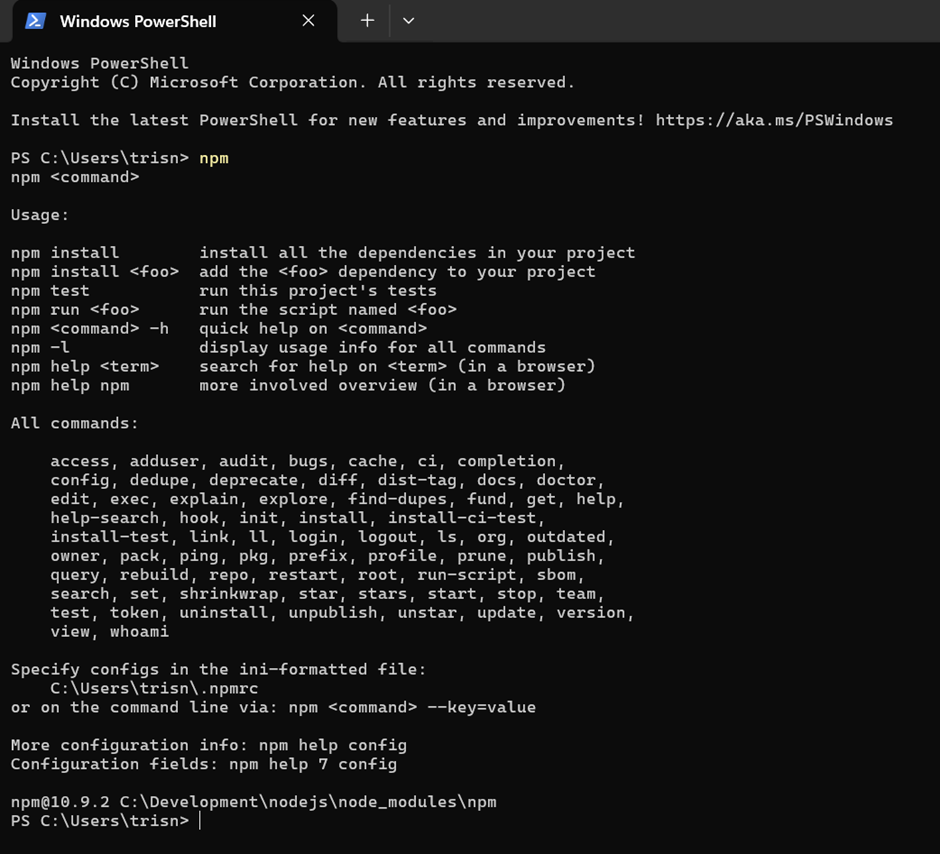
After installation, check via terminal using command
node. Check also fornpm.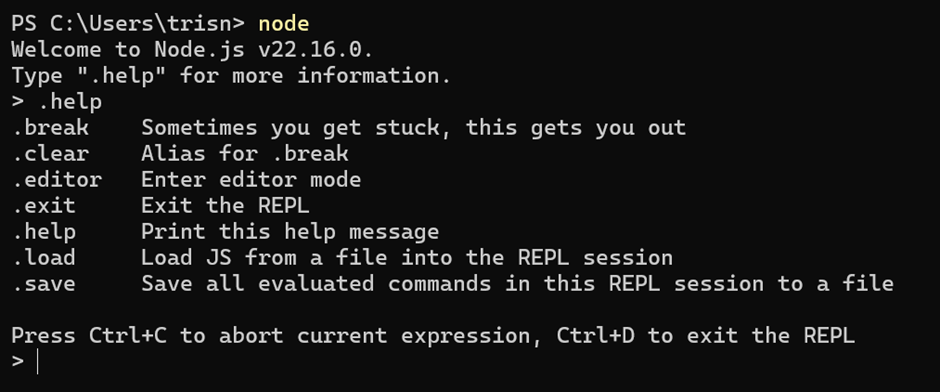
-
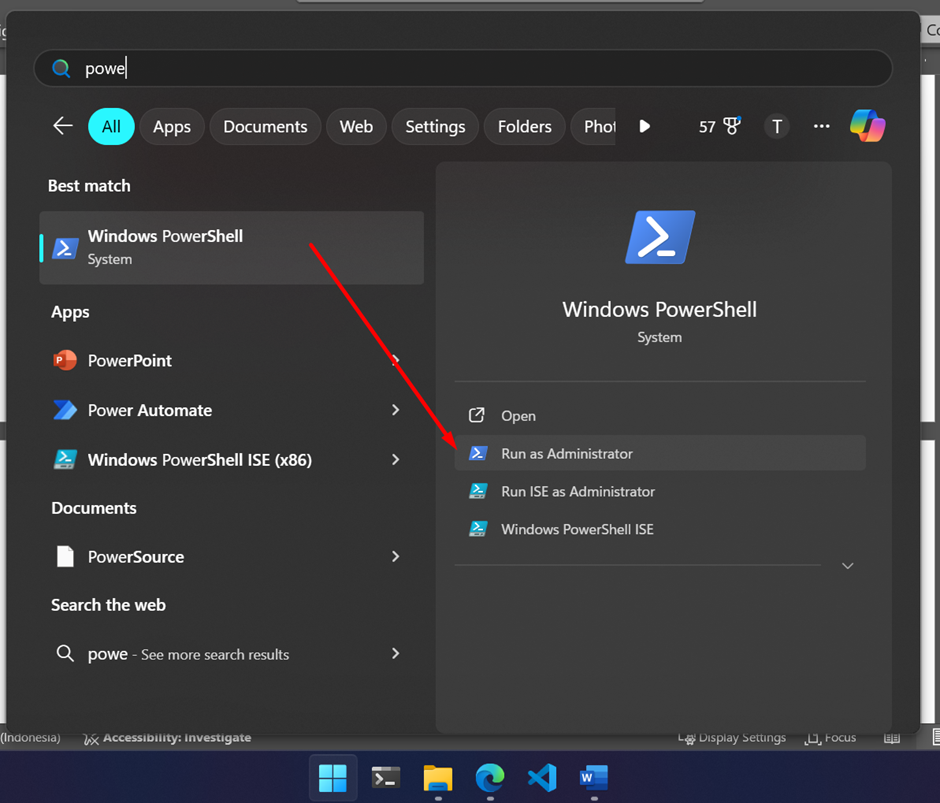
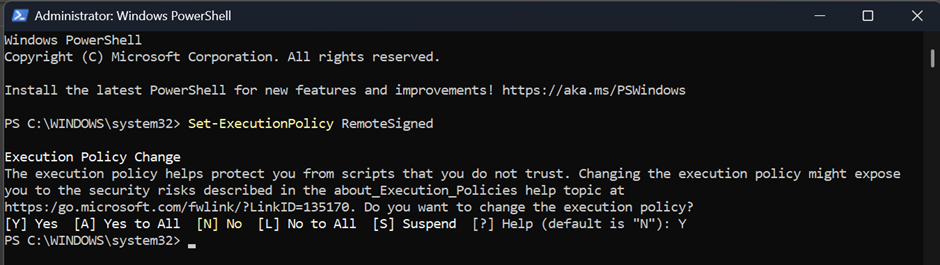
When you run
npmon PowerShell and if the response is an error, re-open PowerShell as Administrator, then run this command:Set-ExecutionPolicy RemoteSignedAfter that checknpmagain.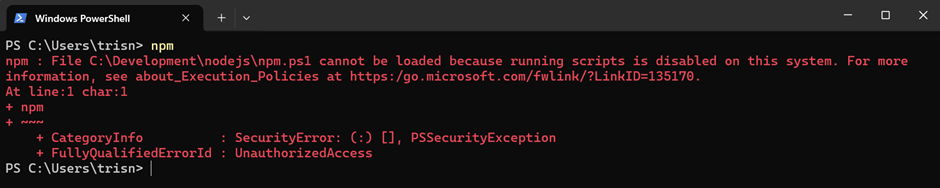
-
Now you can use
npmto install Firebase CLI.
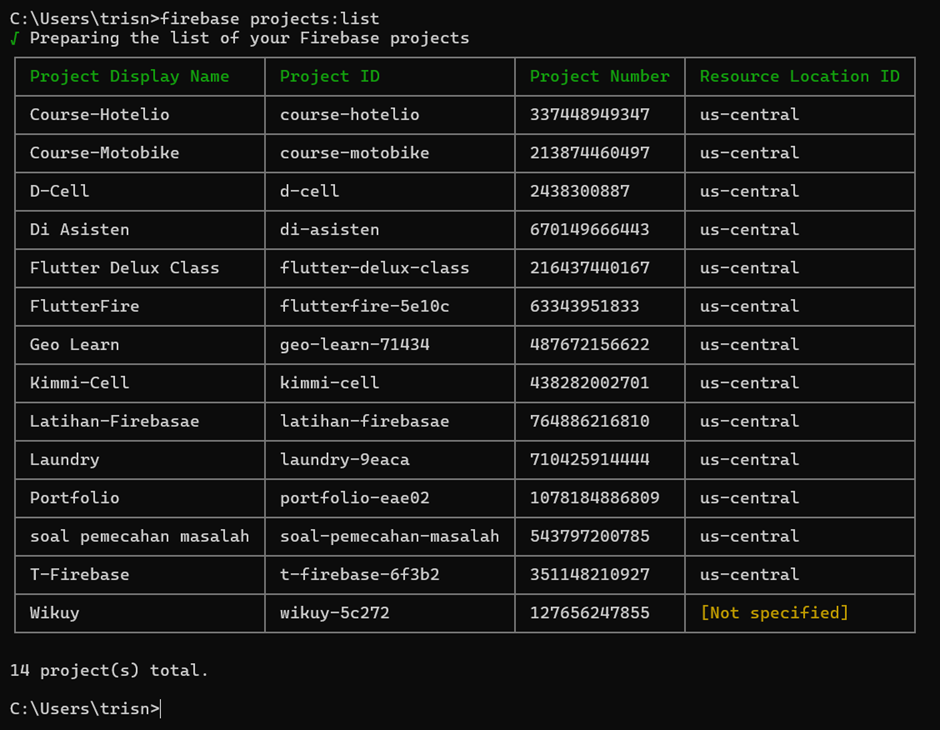
Firebase CLI
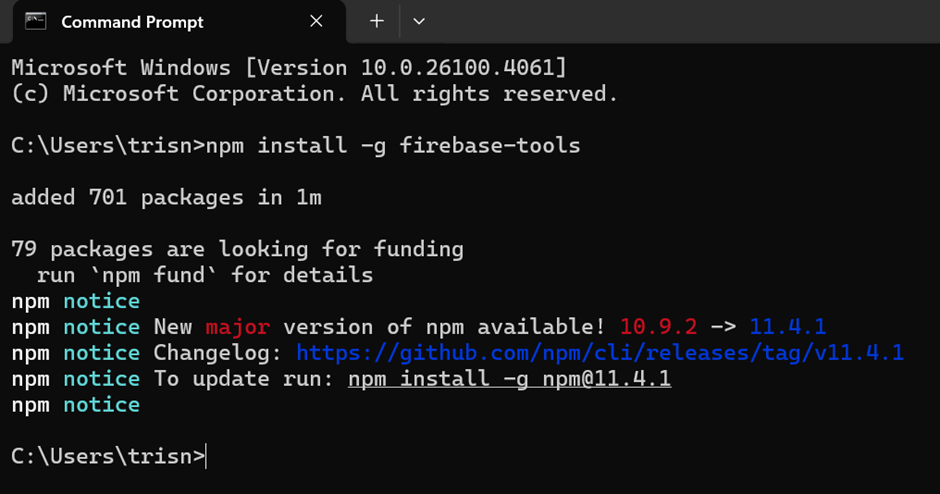
To install Firebase CLI via npm, run this command:
npm install -g firebase-tools
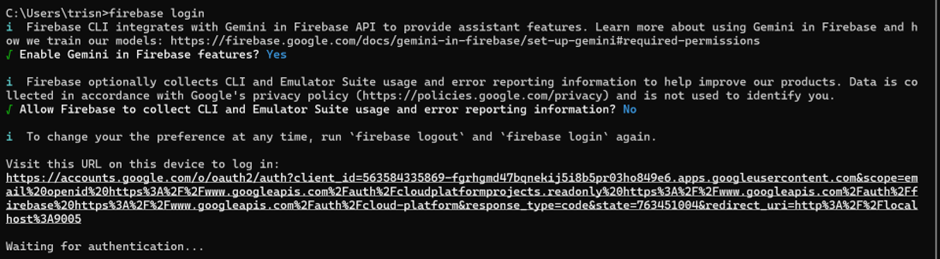
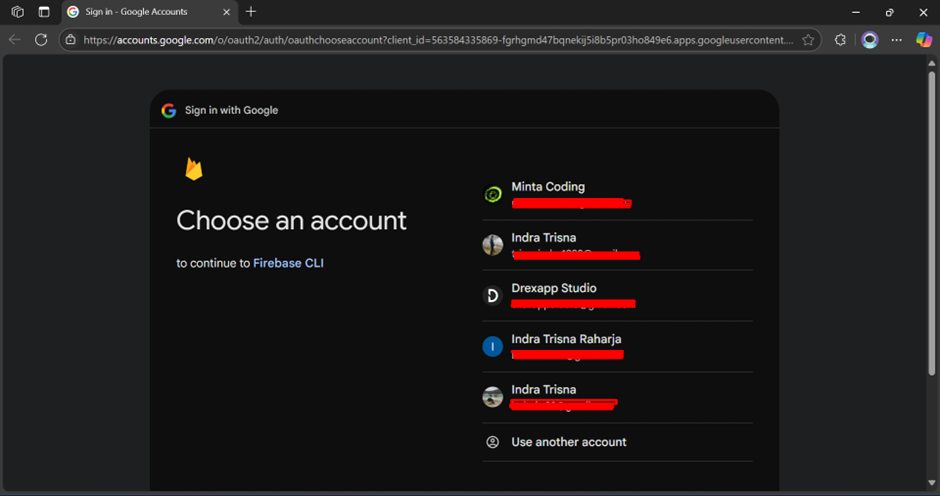
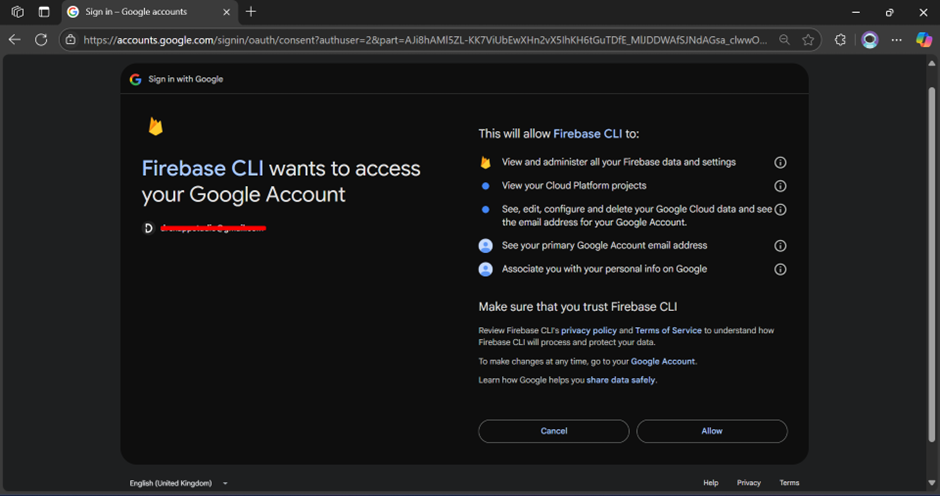
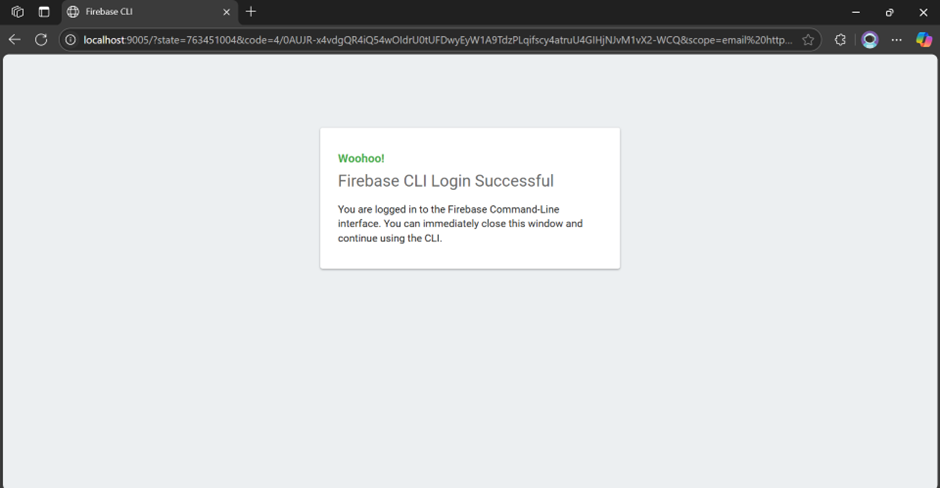
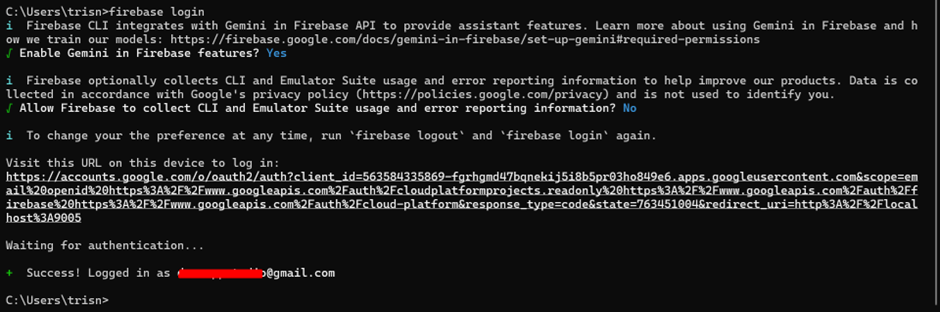
After installed, login and test Firebase CLI.
@optional
Mirror App
Mirroring app to access mobile app which is used to run Flutter app. I recommend: Vysor
-
Download from https://www.vysor.io/ then install.
-
Just run the executable file then you can use it directly.
-
If you want cleaner/better Mirroring Graphic, you have to upgrade to premium (paid account). But this is cheaper than MirrorTo and best for Universal Mobile Programmer.
- Free Plan

- Premium Plan
Postman
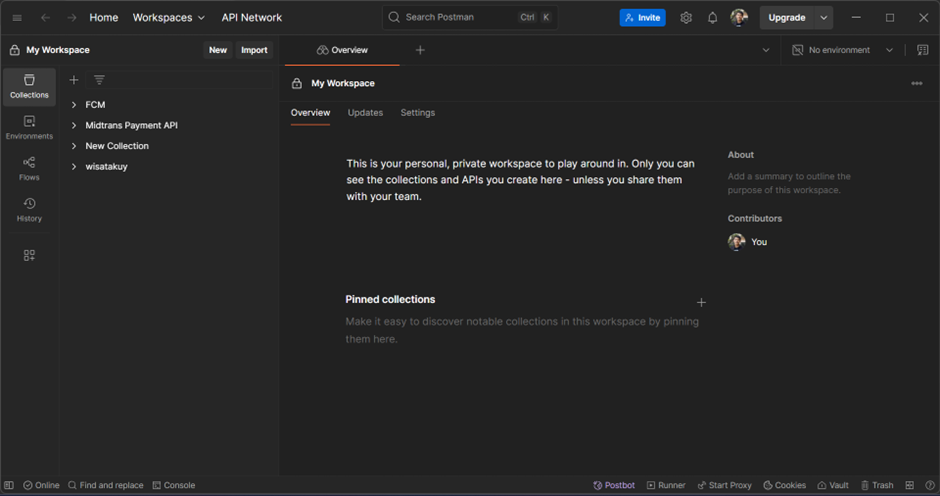
I use Postman to check API before implementing it in Flutter.
-
Download from https://www.postman.com/downloads/ then install.
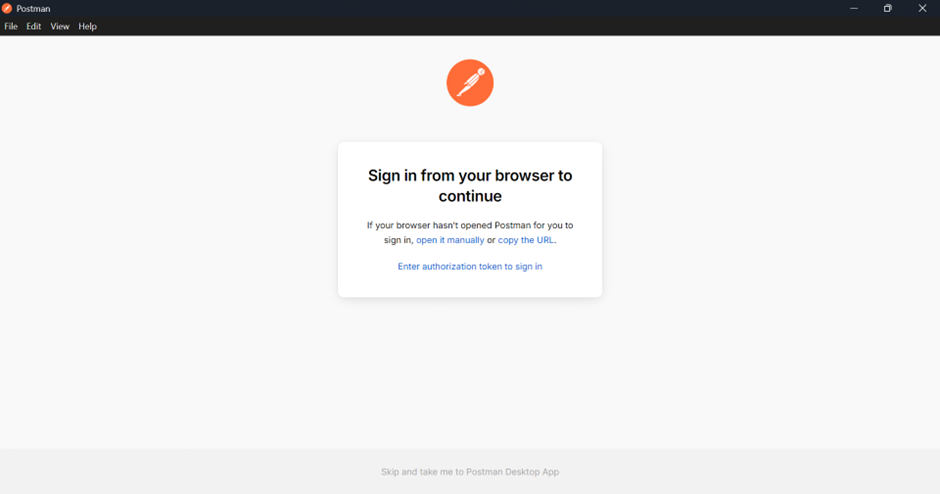
-
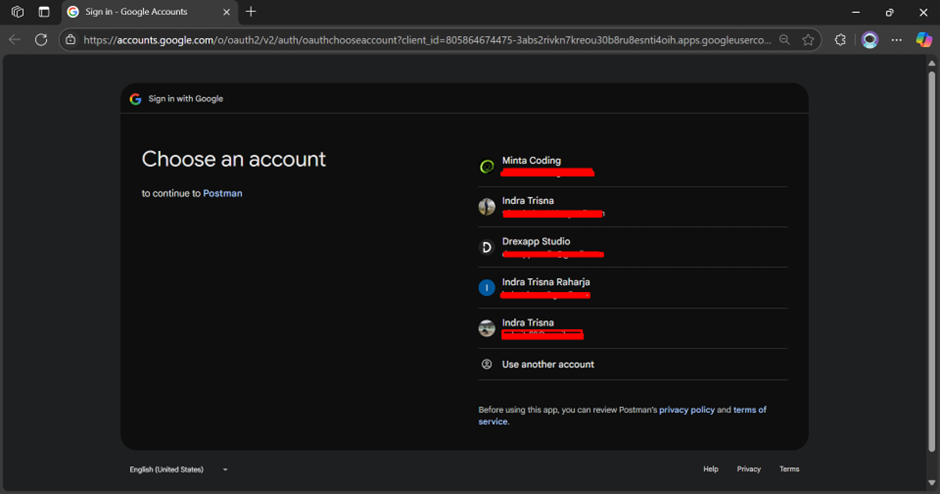
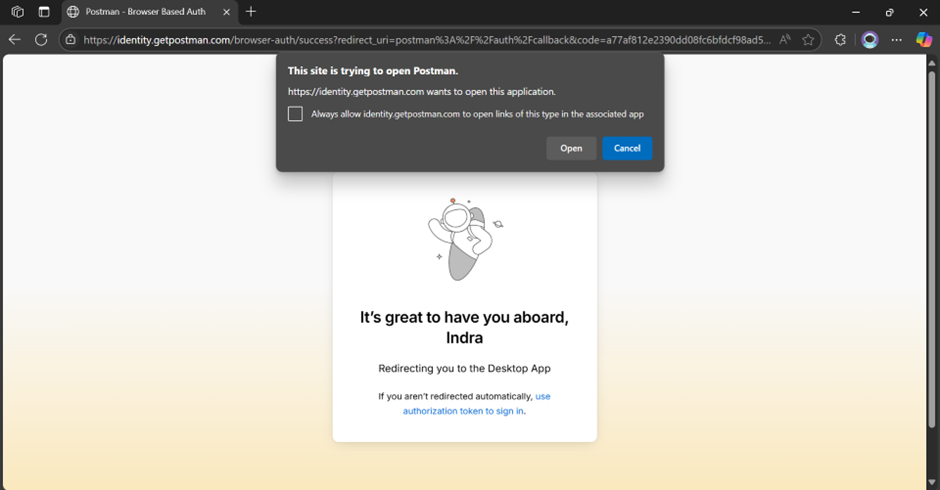
I already have an account connected to Postman via Google. So, I choose "Continue with Google."
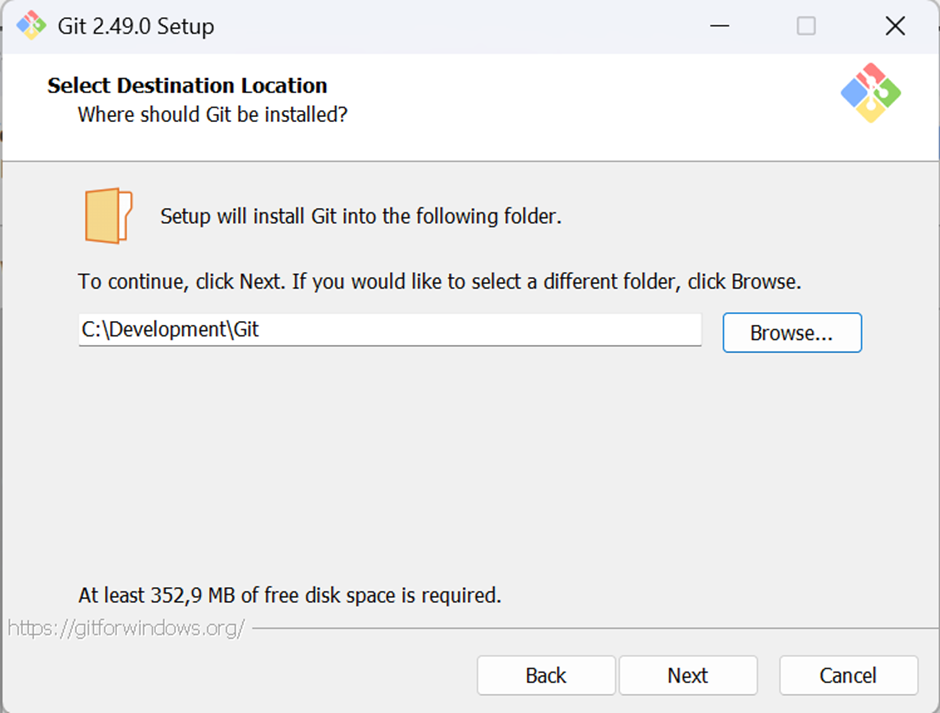
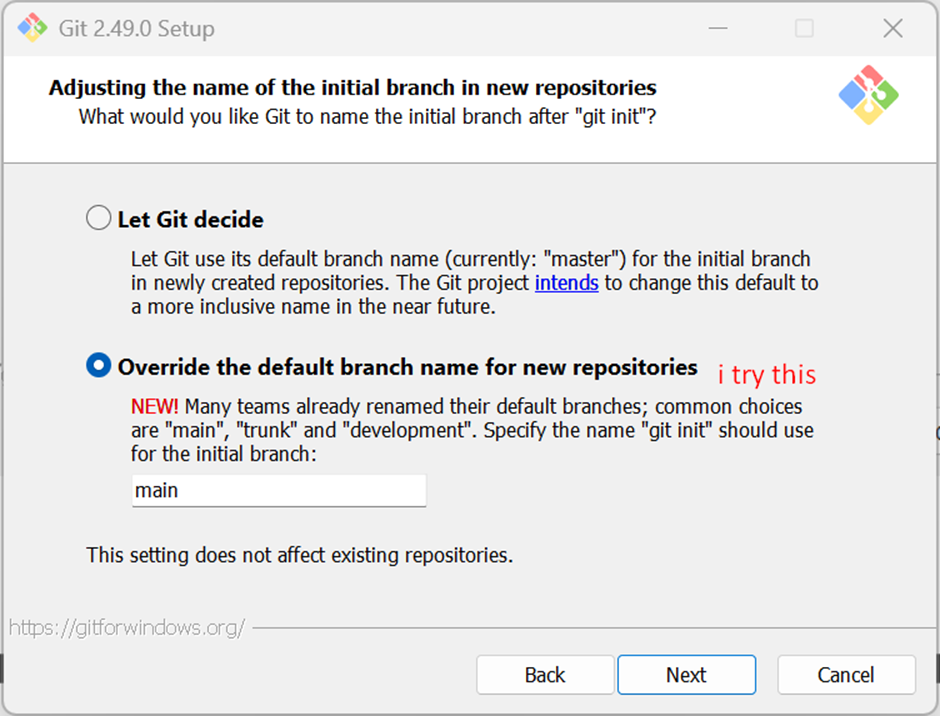
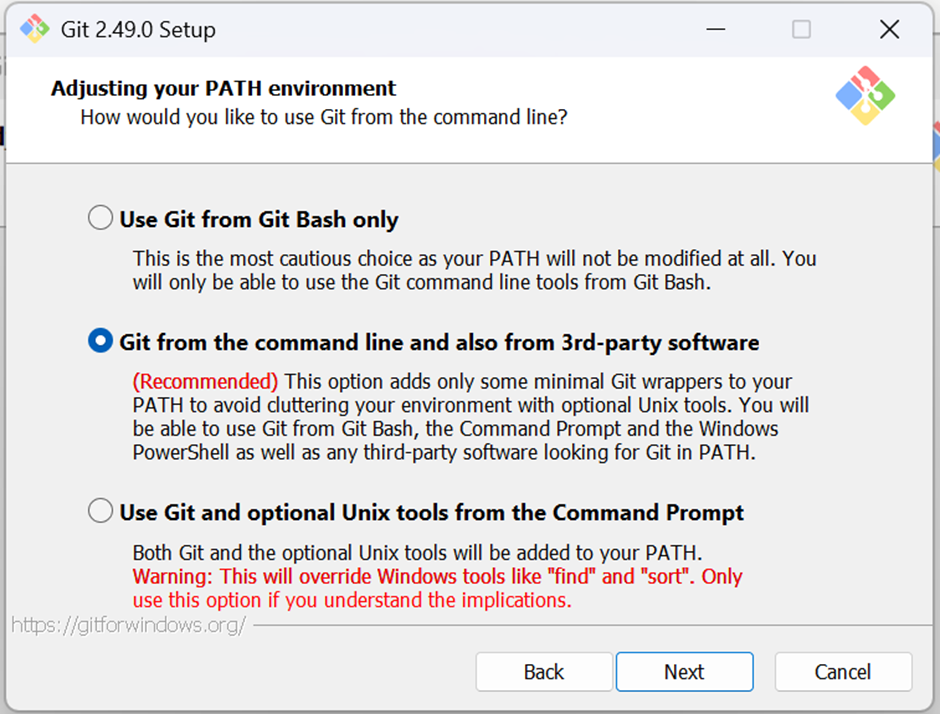
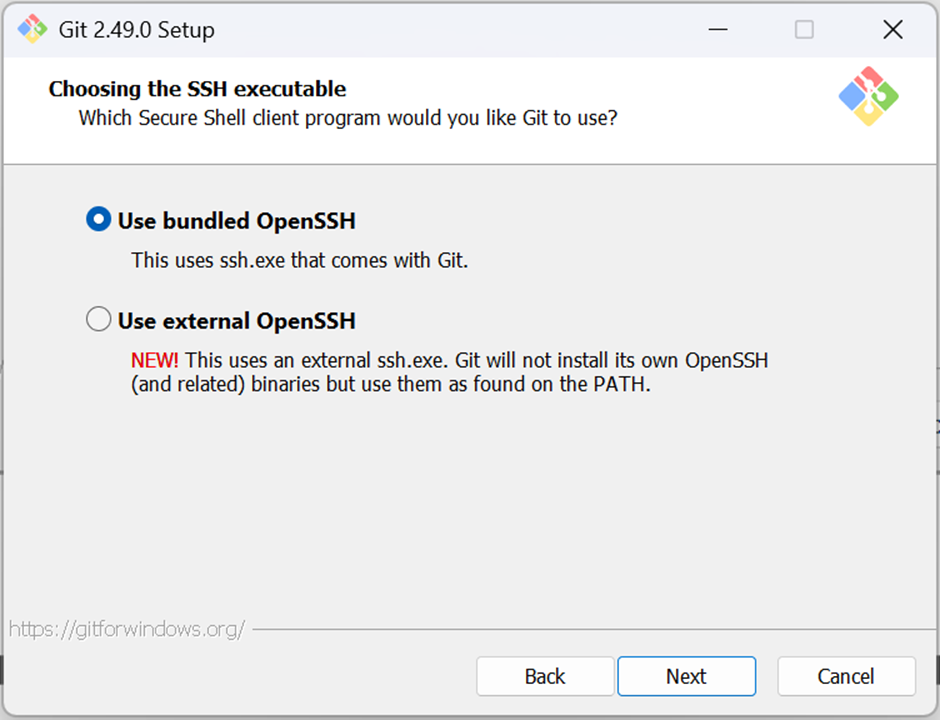
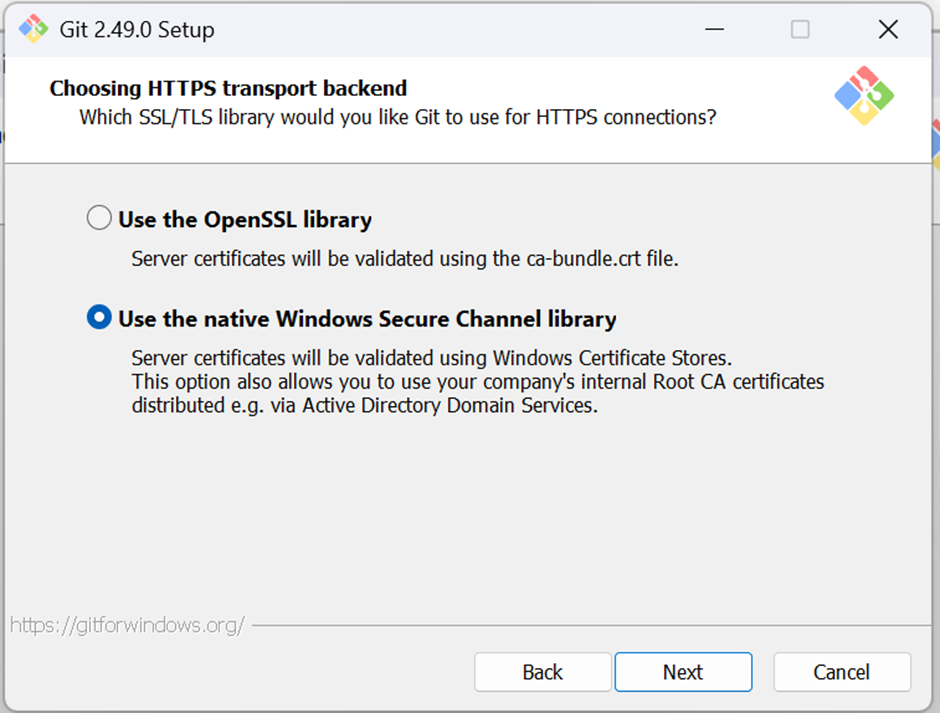
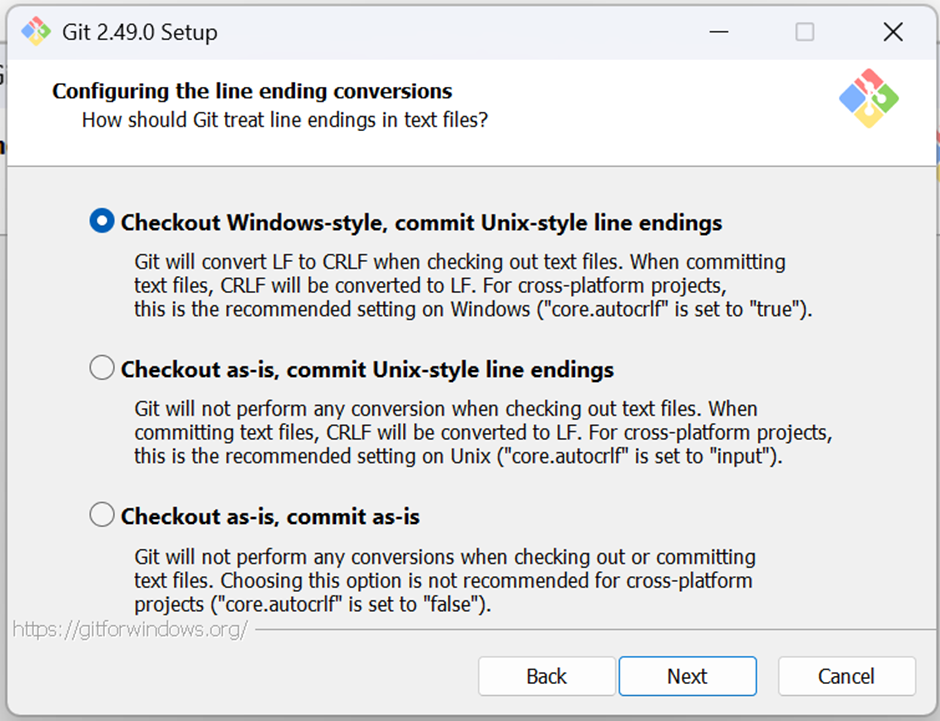
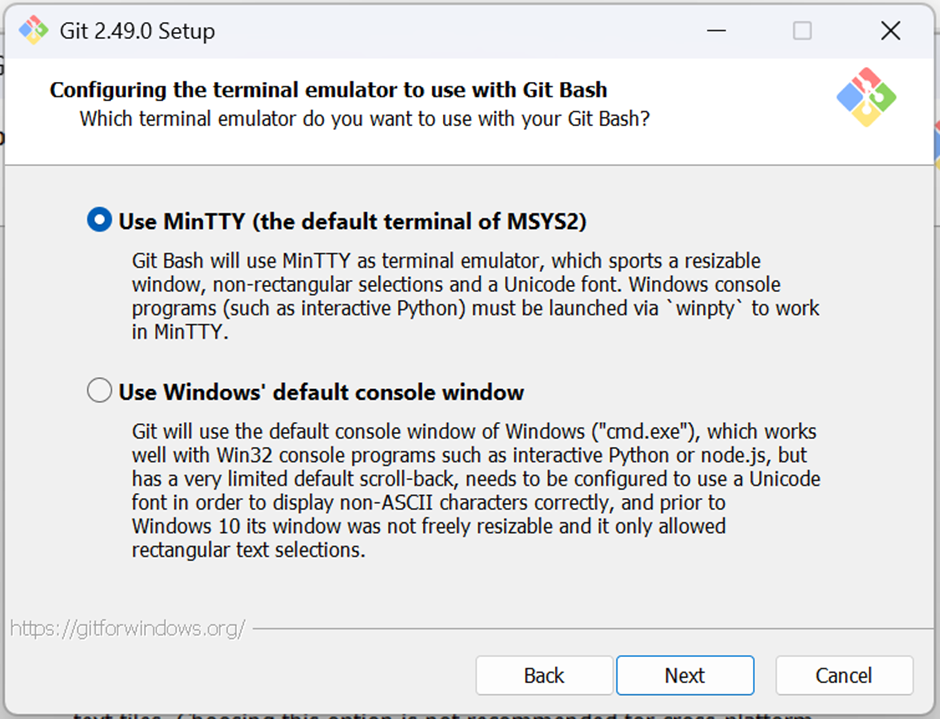
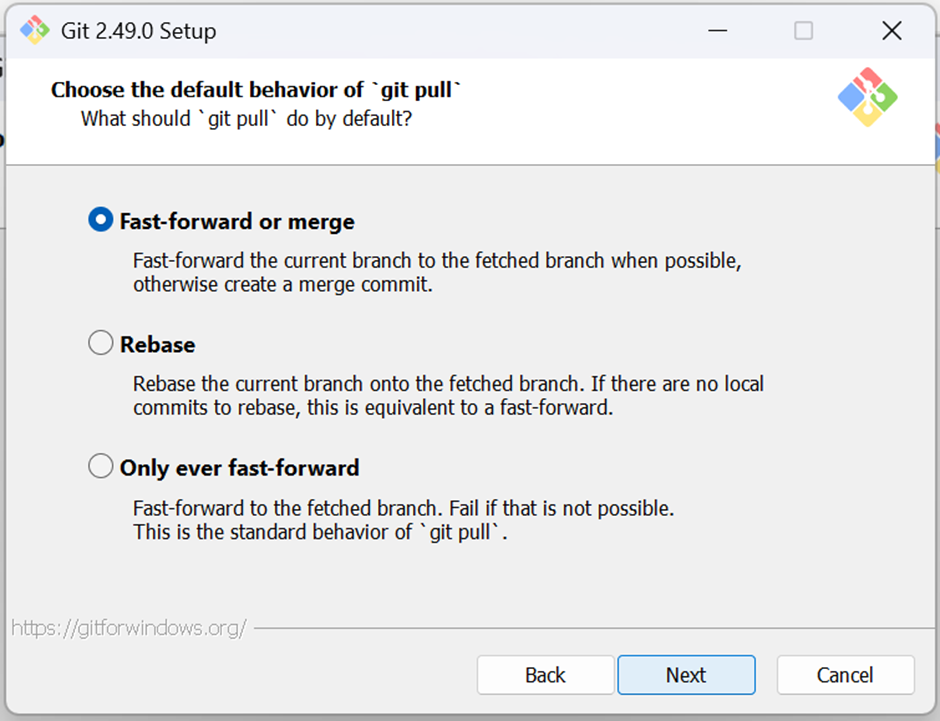
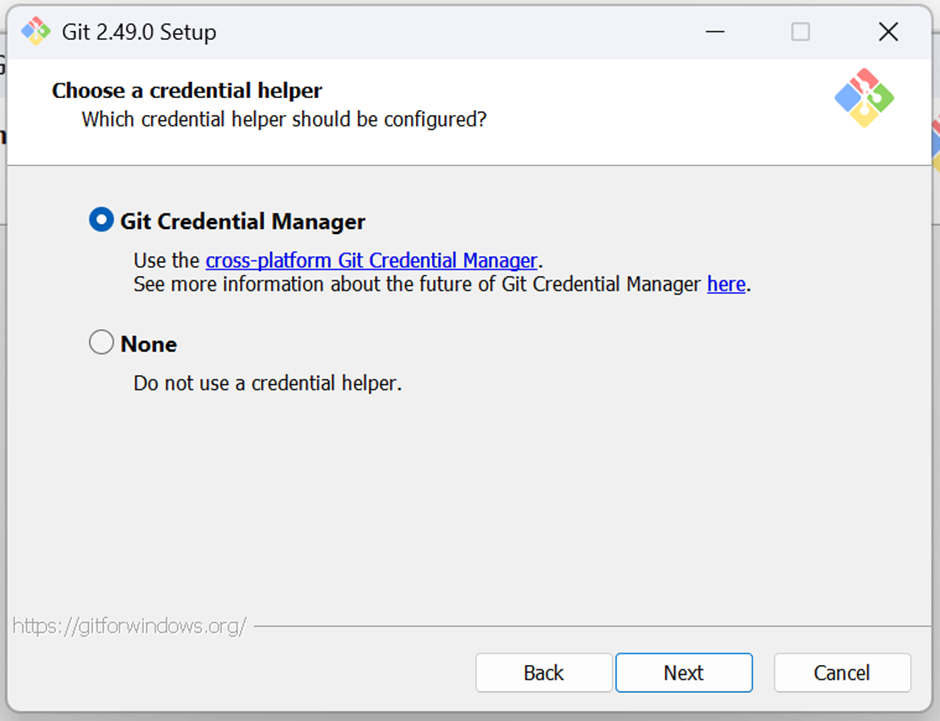
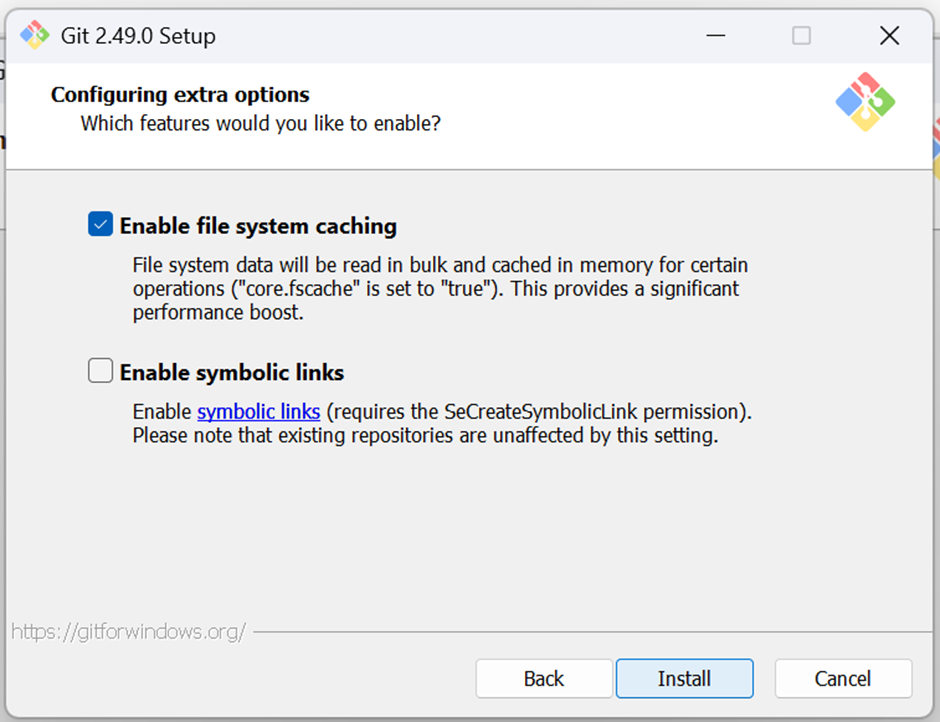
Git (for Version Control)
-
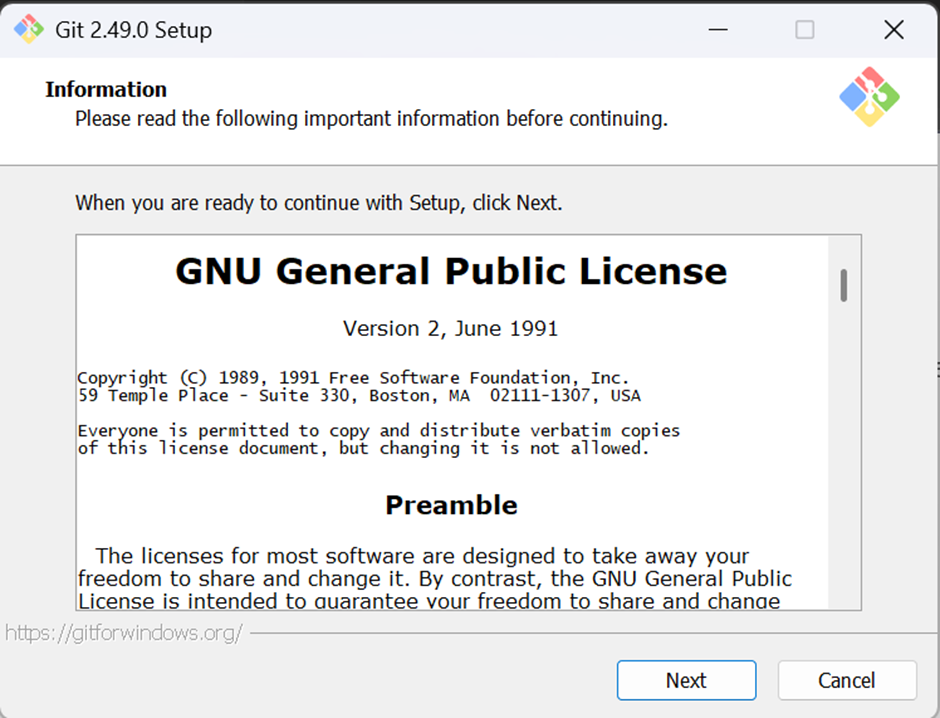
Download from this website: https://git-scm.com/downloads
-
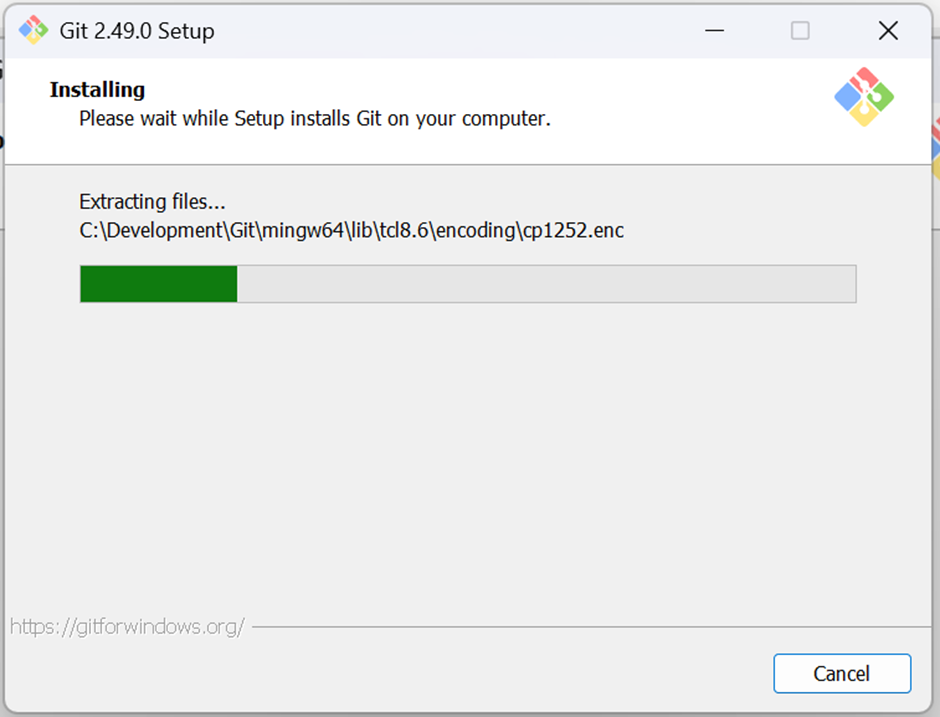
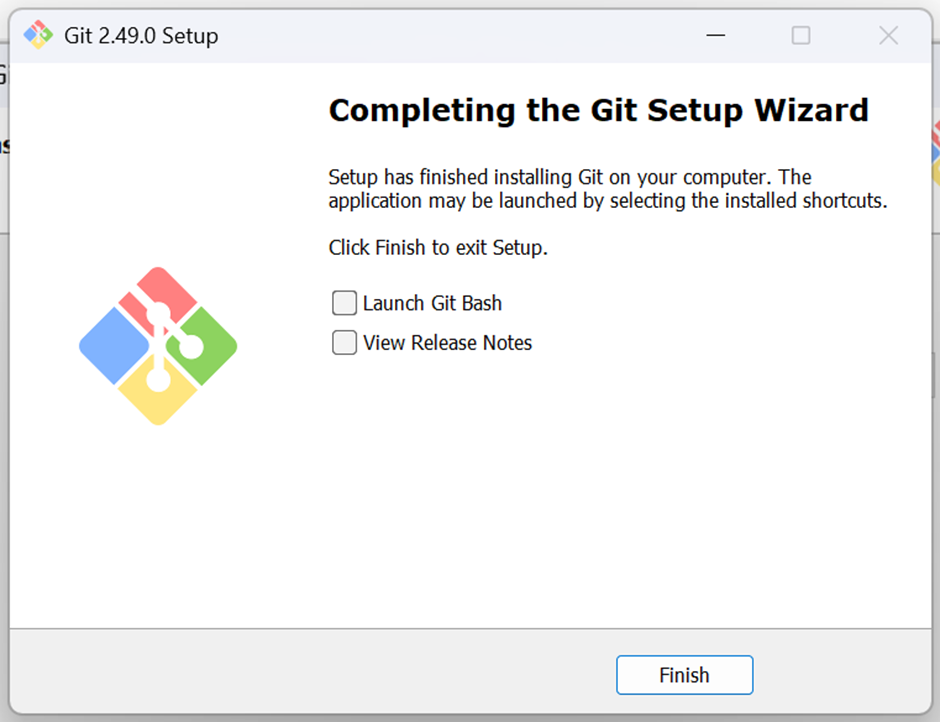
Open then install.

-
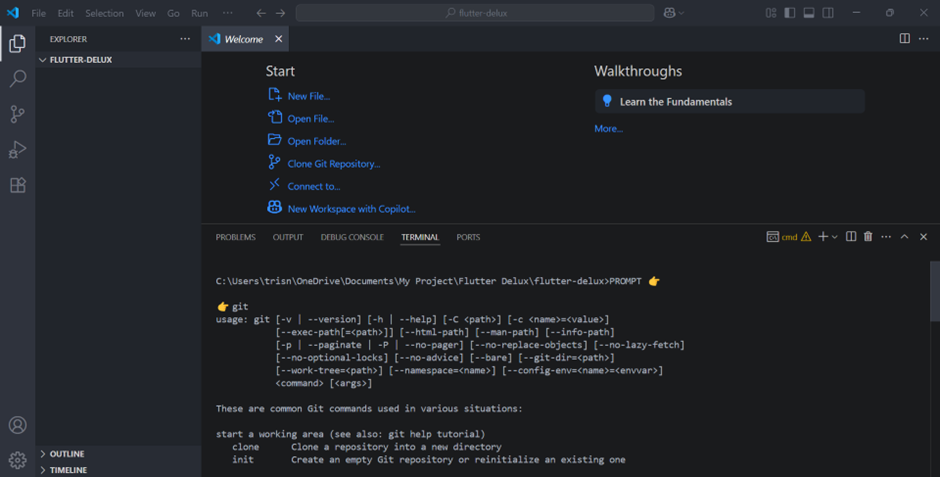
Test command
gitin your terminal.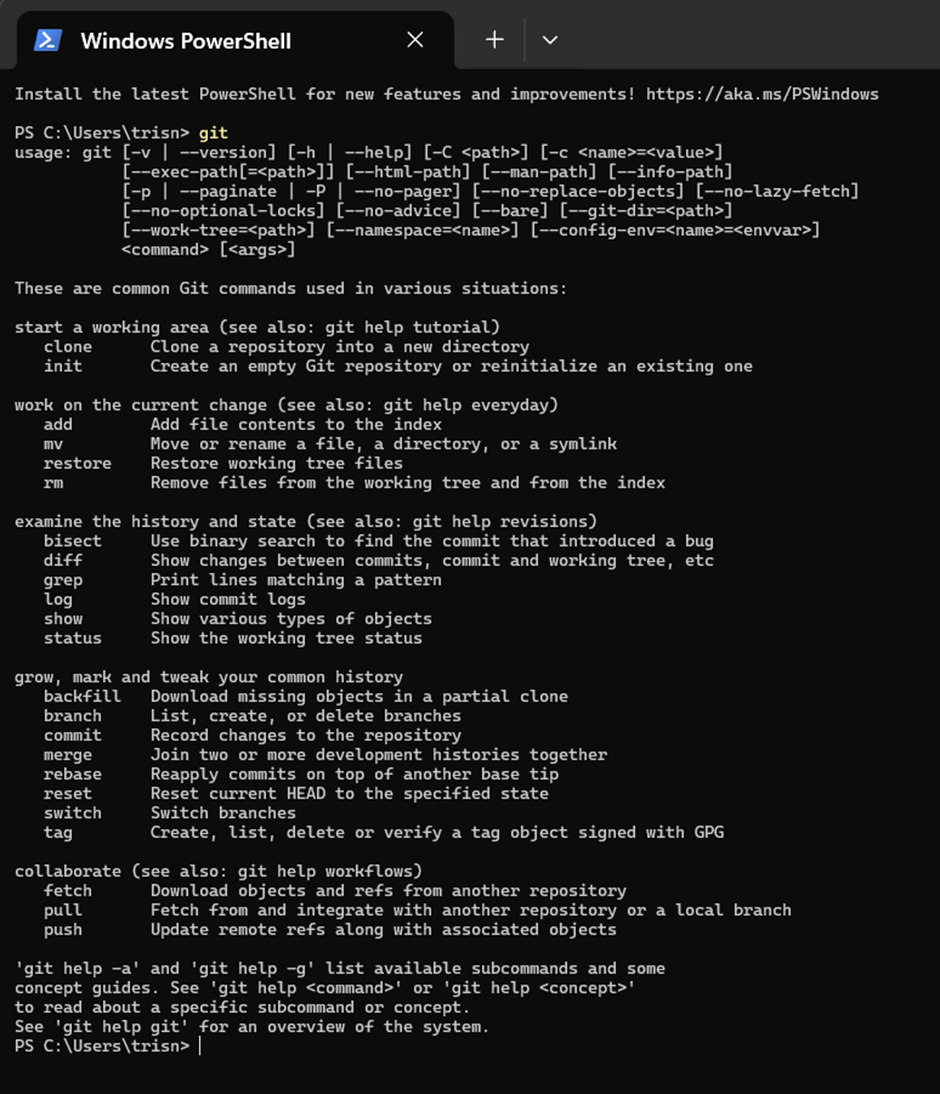
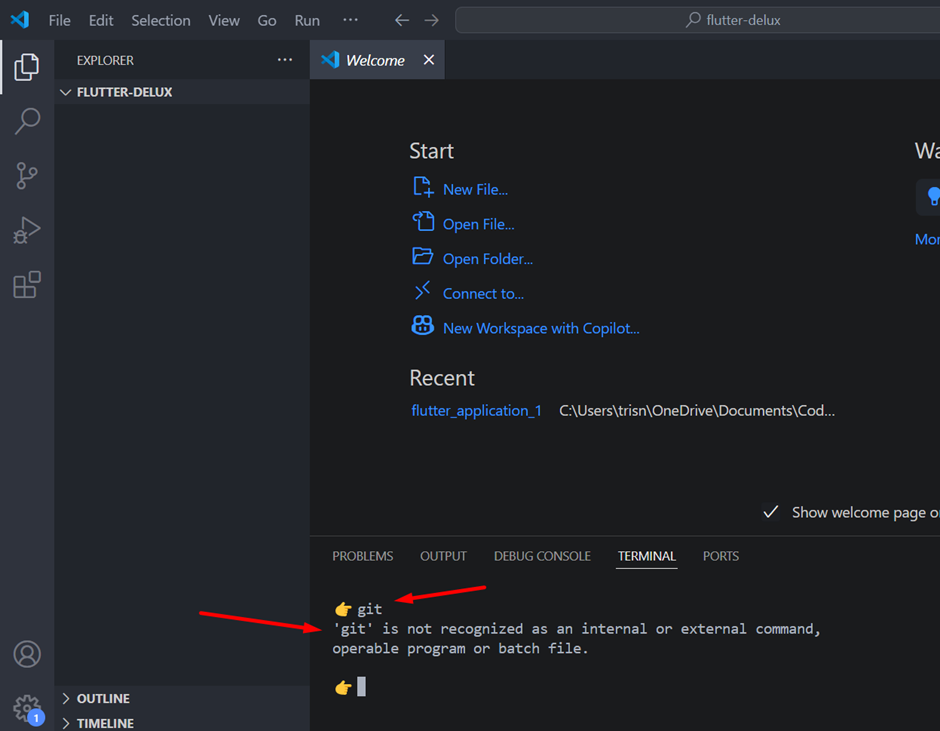
-
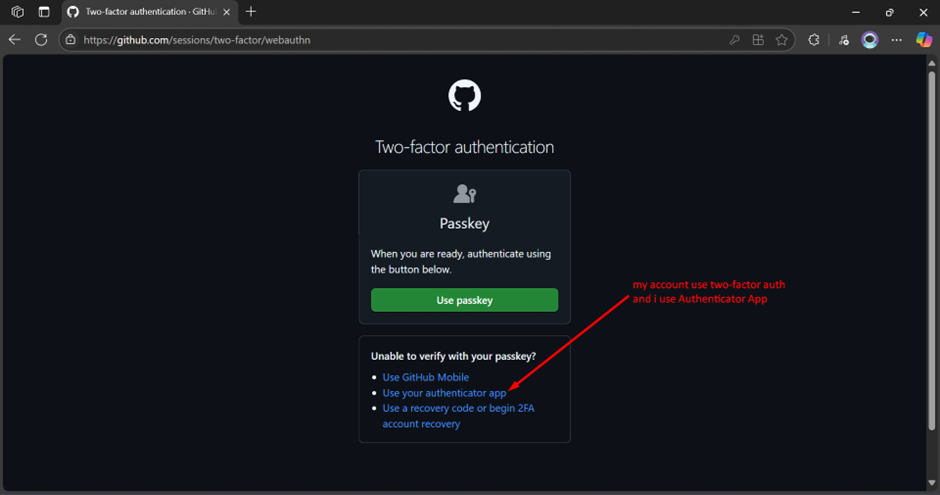
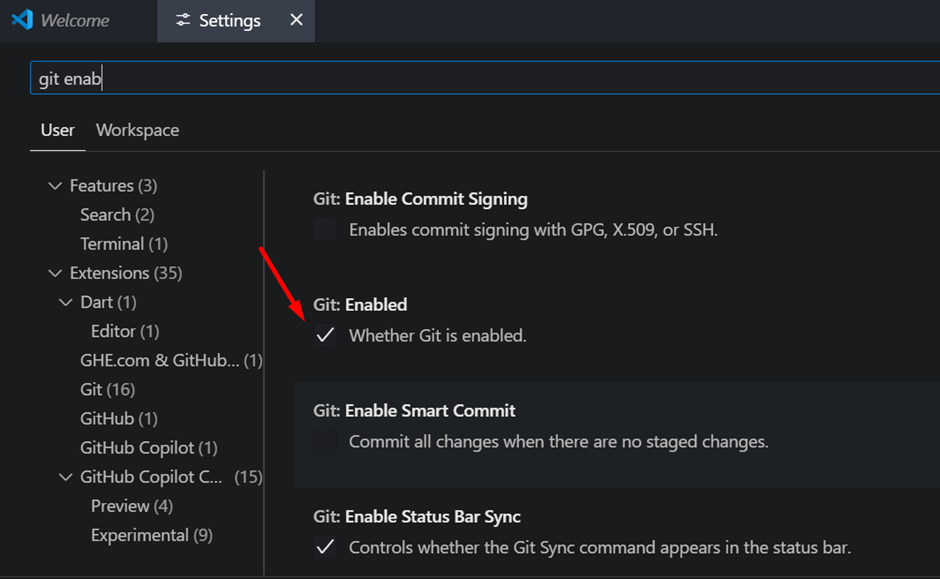
When you test in VS Code and it shows an error that 'git' is not recognized, to solve this, you can go to VS Code settings.
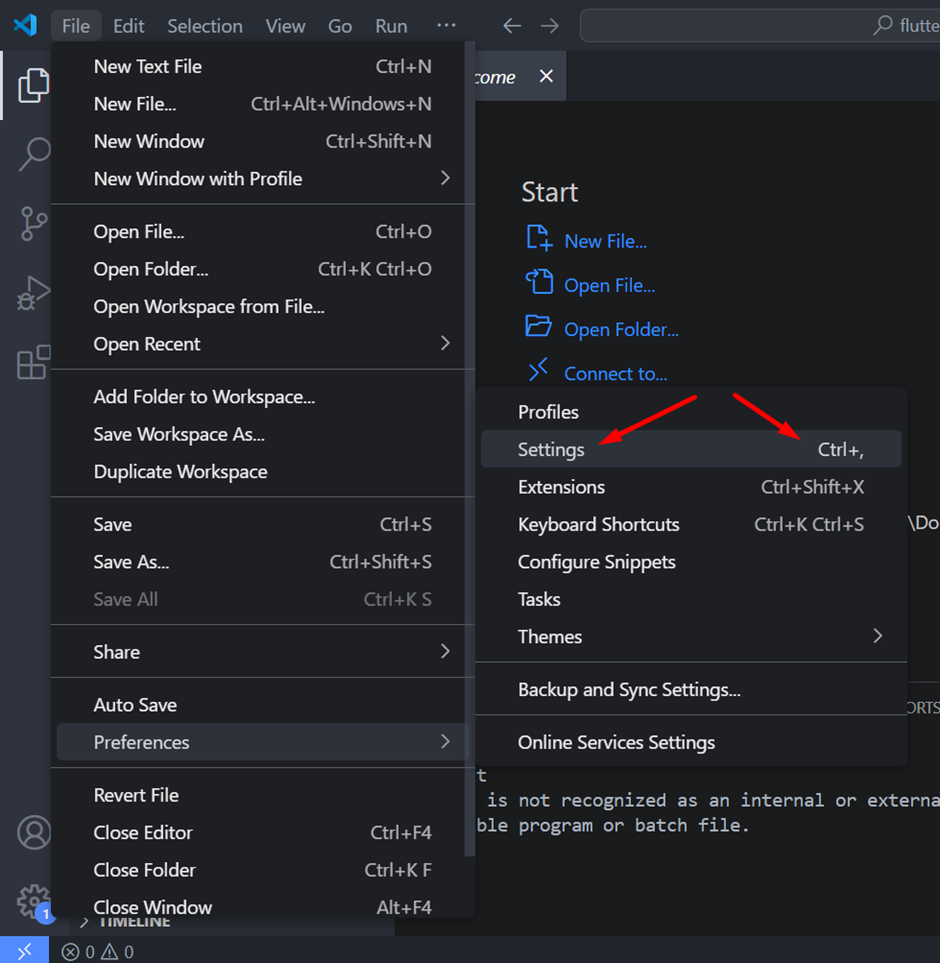
-
Make sure that git is enabled.
-
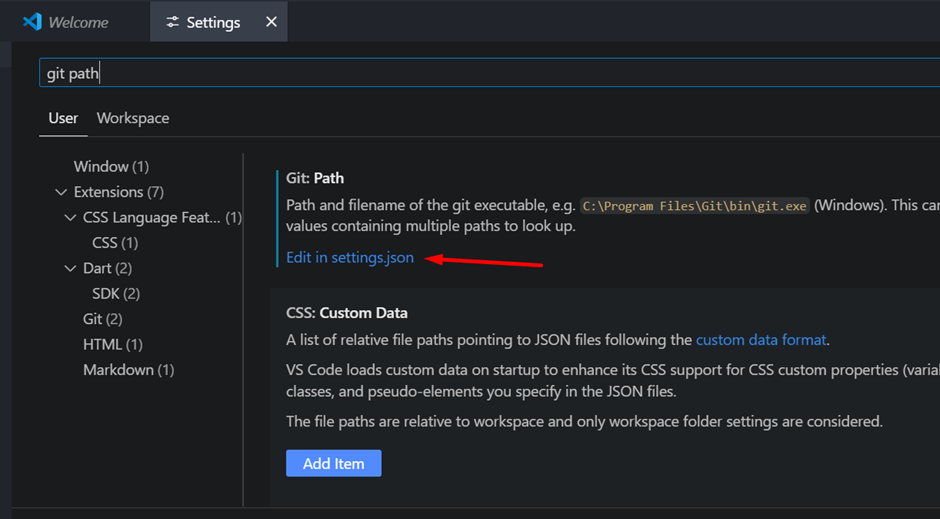
Set up the path for git for VS Code. Git path for the system is already done during git installation. You can open Environment variables again. At the system variable path, you will see that git is already there.
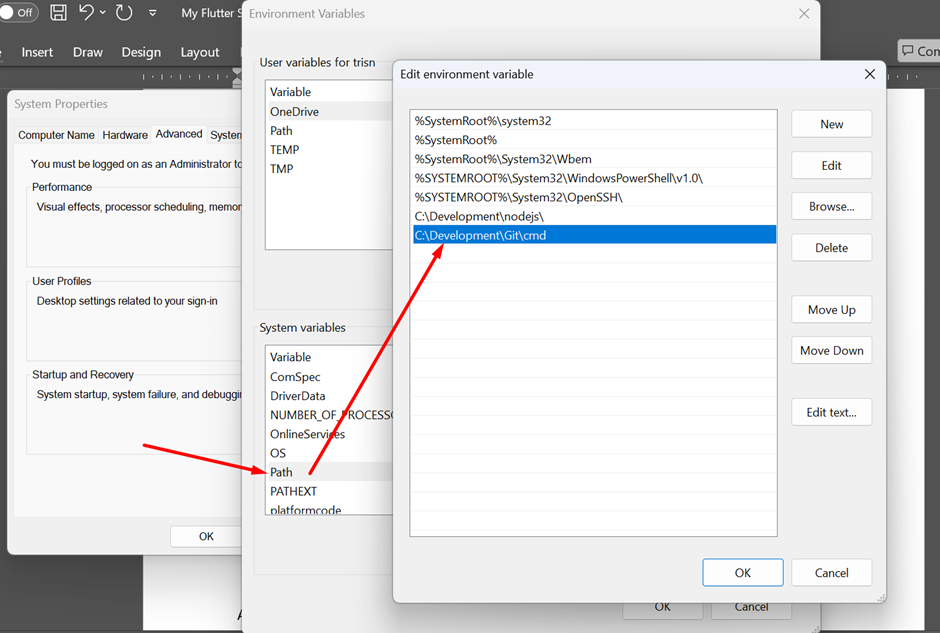
-
Copy that path, and paste it into VS Code settings.
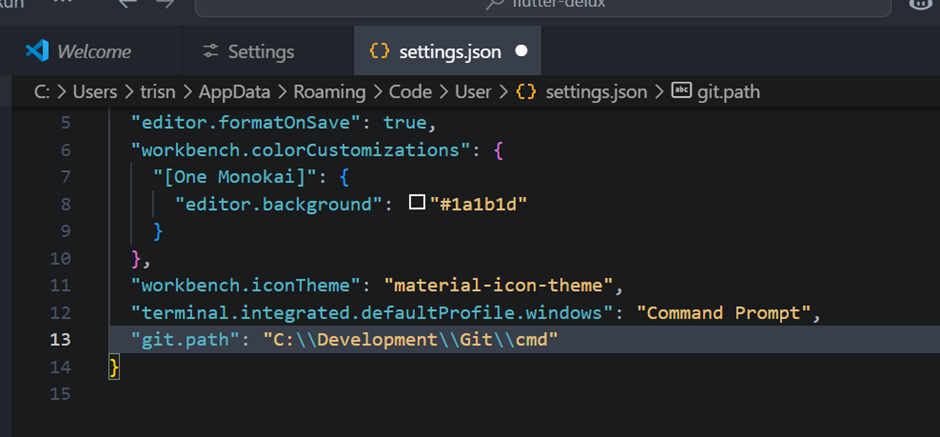
-
Save and restart VS Code. Check the git command again.
-
If your terminal gets a warning, just click
Relaunch Terminal.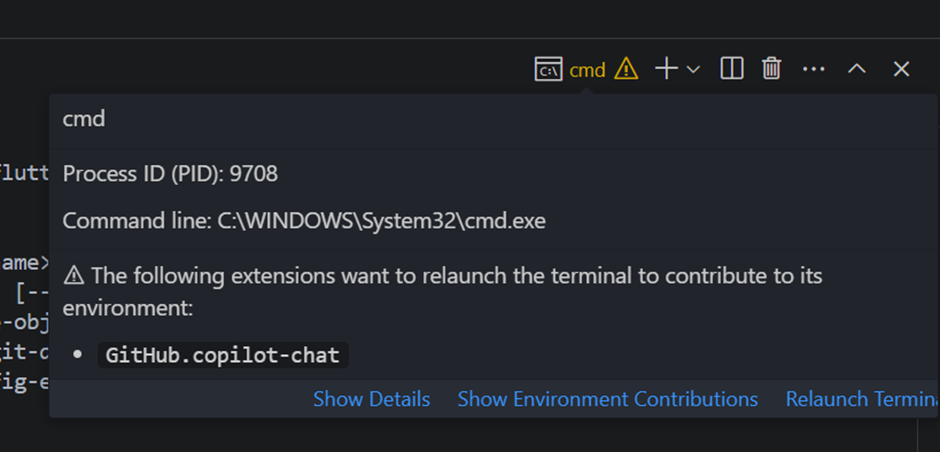
After all these steps, you have a development environment same as mine.