How to Build Live Streaming App with Flutter and ZEGOCLOUD Kit
To make streaming app, you need to understand about data stream or realtime data. Basically to consume data stream you can use custom web socket, but this need expert knowledge about handle data stream in the backend and your server. ZEGOCLOUD can be one solution to the problem of handling data streams for video streaming.
Now, we will build a Live Streaming App using ZEGOCOLOUD Kit. If you don't have zegocloud account, zegocloud offers free credit for new users. By registering a new account, you can get 10,000 minutes for free.
Prepare
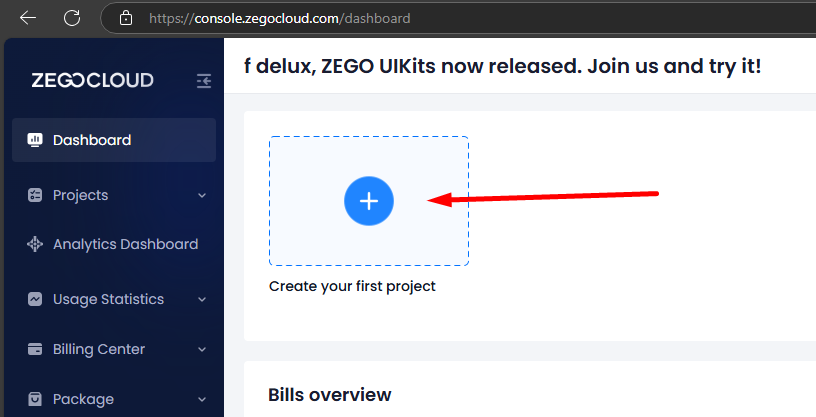
- Create your zegocloud project at zegocloud dashboard.s
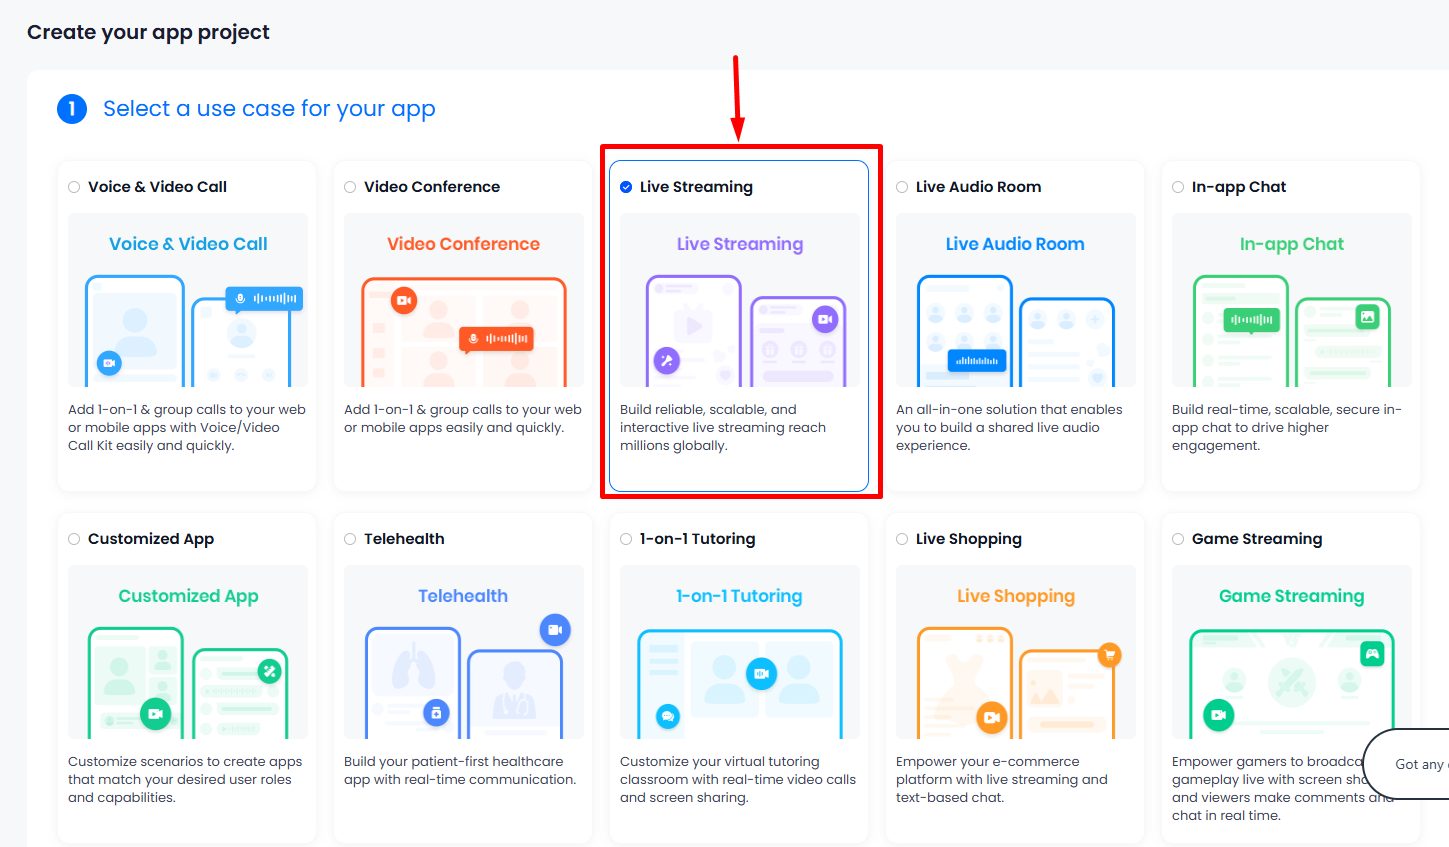
- Select Live Streaming.
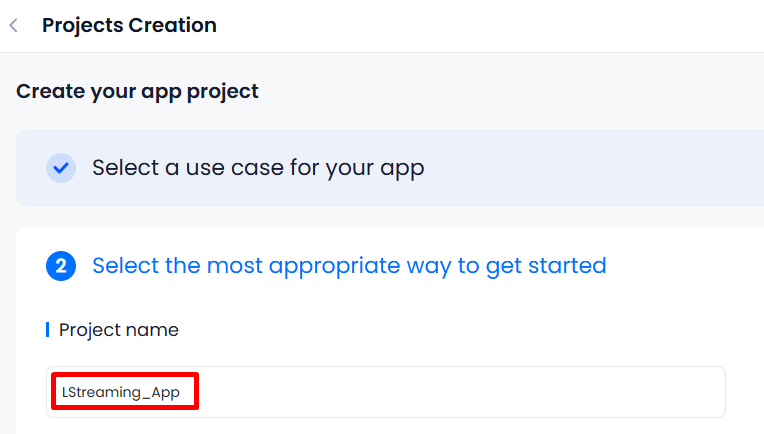
- Input project name, e.g., "LStreaming_App".
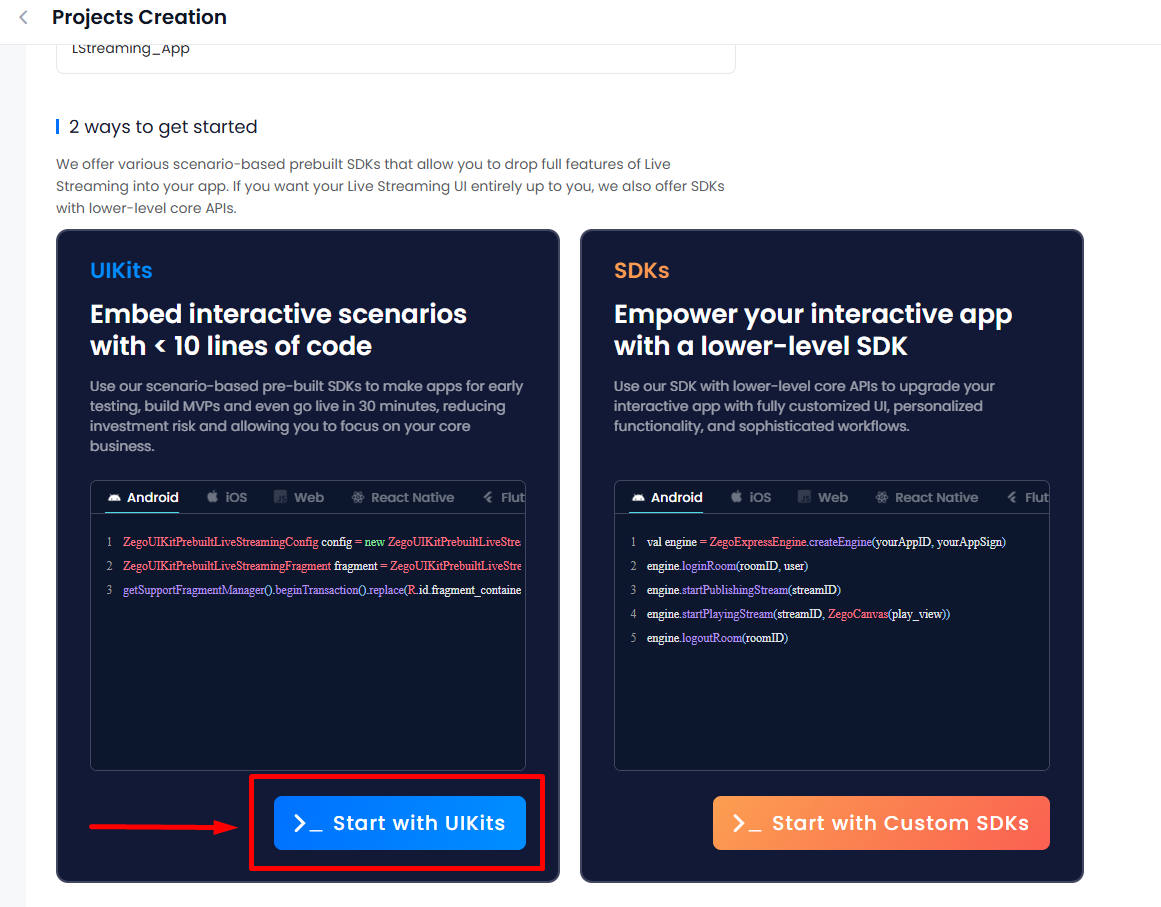
- Start with UIKits.
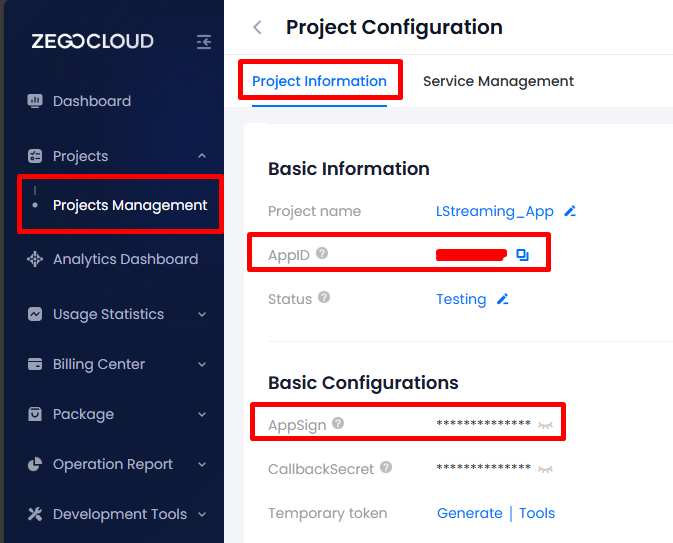
- Open Detail Project ZEGOCLOUD in Project Information Tab, you will find AppID and AppSign. Kepp this secret and don't share to public.
After create ZEGOCLOUD project for Live Streaming. Move on to creating a Flutter App.
- Flutter: 3.29.0
- IDE: Visual Studio Code
- OS: Microsoft Windows 11
- Android Studio: 2024.2
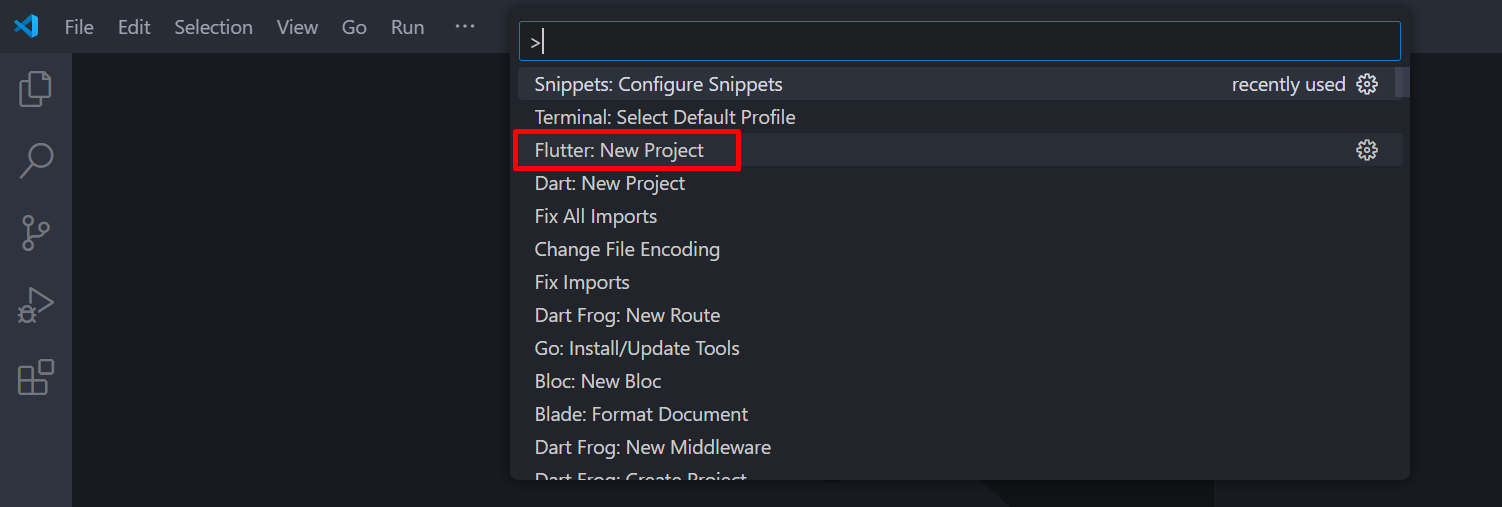
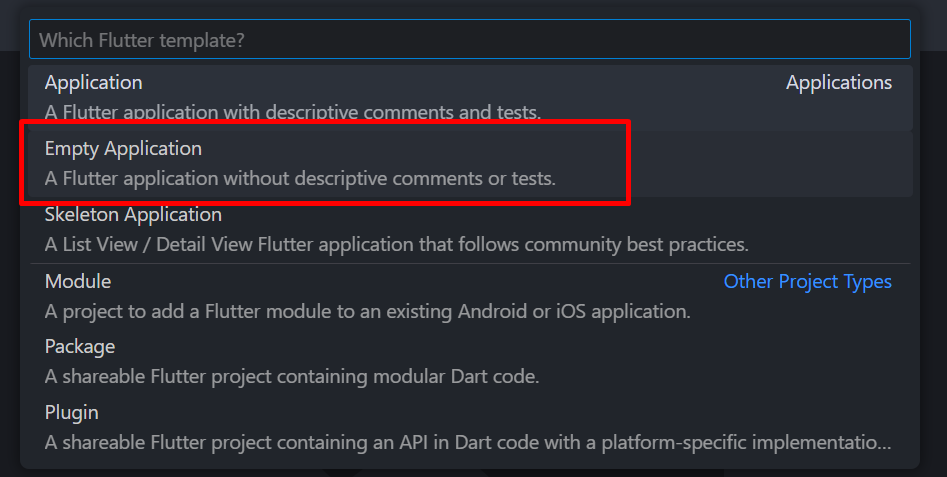
- Create Flutter project.

- Run this command to add uikit live streaming package from zegocloud.
flutter pub add zego_uikit_prebuilt_live_streaming
- Create new Class to store ZEGOCLOUD Secret keys.

class ZegocloudKeys {
  static const appId = 0;
  static const appSign = '';
}
- Check here to setup Android Gradle which are using Android Studio latest version and Flutter latest version.
Configure Project
Android
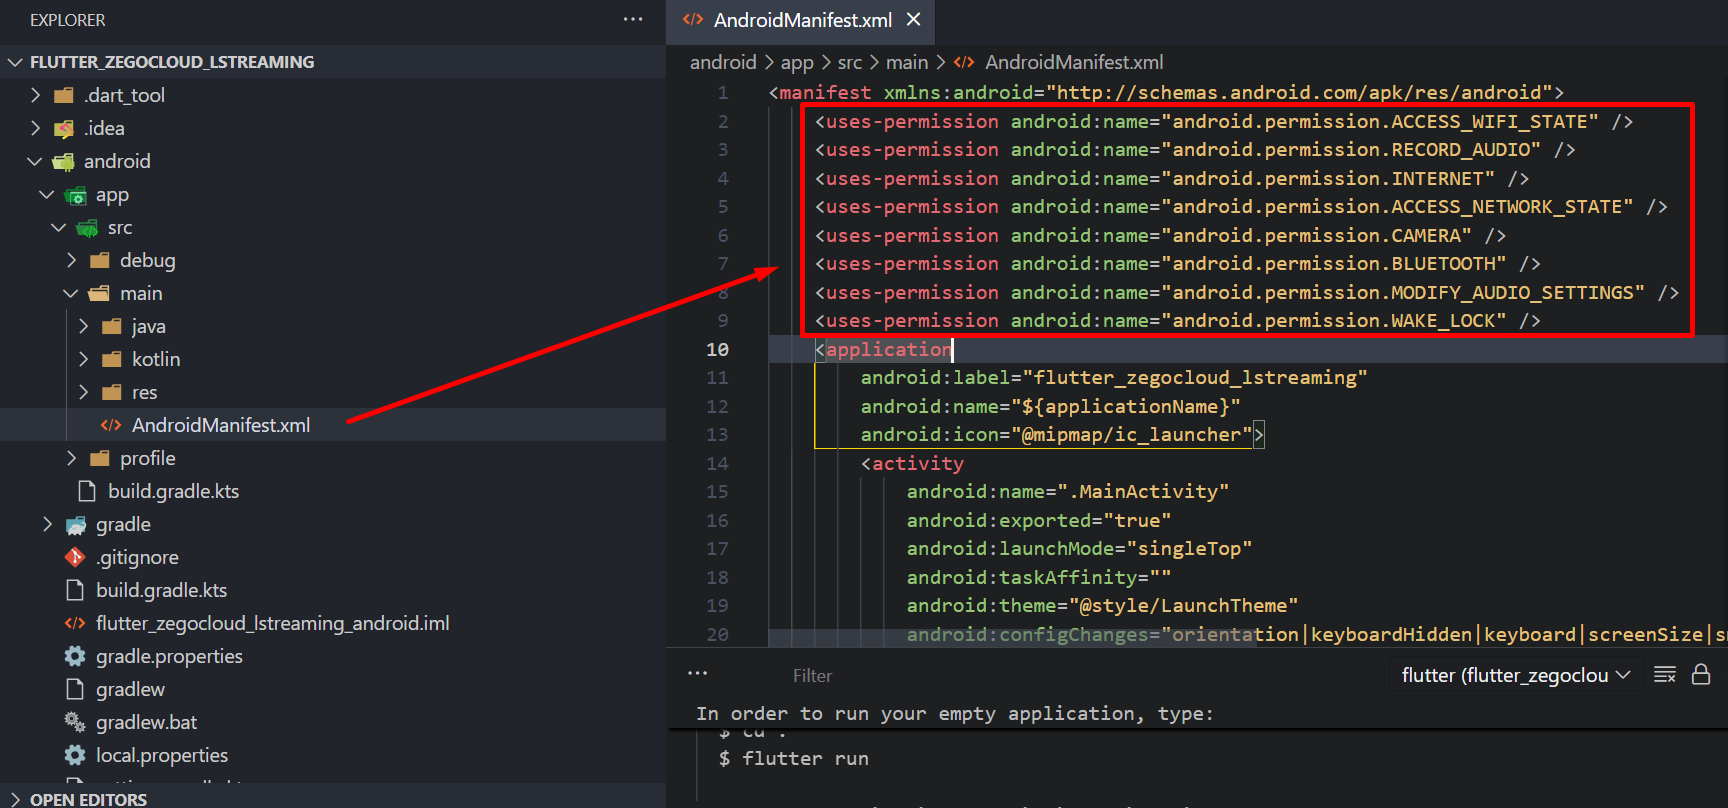
Add these permission to Android manifest inside manifest tag.
<uses-permission android:name="android.permission.ACCESS_WIFI_STATE" />
<uses-permission android:name="android.permission.RECORD_AUDIO" />
<uses-permission android:name="android.permission.INTERNET" />
<uses-permission android:name="android.permission.ACCESS_NETWORK_STATE" />
<uses-permission android:name="android.permission.CAMERA" />
<uses-permission android:name="android.permission.BLUETOOTH" />
<uses-permission android:name="android.permission.MODIFY_AUDIO_SETTINGS" />
<uses-permission android:name="android.permission.WAKE_LOCK" />
Prevent code obfuscation for Android.
-keep class **.zego.** { *; }
# to shrink your code with R8 add below
-dontwarn com.itgsa.opensdk.mediaunit.KaraokeMediaHelper
- .gradle.kts
- .gradle
...
android {
    ...

    buildTypes {
        release {
            // TODO: Add your own signing config for the release build.
            // Signing with the debug keys for now, so `flutter run --release` works.
            signingConfig = signingConfigs.getByName("debug")
            proguardFiles(getDefaultProguardFile("proguard-android.txt"), "proguard-rules.pro")
        }
    }
}

...
...
android {
    ...

    buildTypes {
        release {
            // TODO: Add your own signing config for the release build.
            // Signing with the debug keys for now, so `flutter run --release` works.
            signingConfig = signingConfigs.getByName("debug")
            proguardFiles getDefaultProguardFile('proguard-android.txt'), 'proguard-rules.pro'
        }
    }
}

...
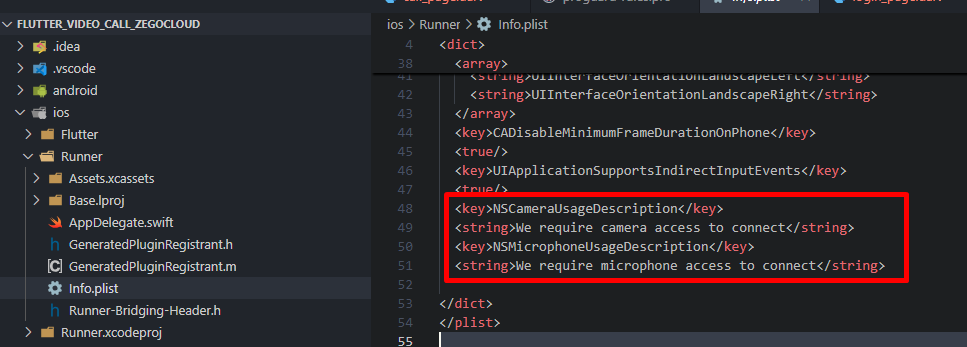
iOS
Add permission to Info.plist inside dict tag.
<key>NSCameraUsageDescription</key>
<string>We require camera access to connect</string>
<key>NSMicrophoneUsageDescription</key>
<string>We require microphone access to connect</string>
To setup Podfile, you can open xcode and add code below
# Start of the permission_handler configuration
target.build_configurations.each do |config|
  config.build_settings['GCC_PREPROCESSOR_DEFINITIONS'] ||= [
    '$(inherited)',
    'PERMISSION_CAMERA=1',
    'PERMISSION_MICROPHONE=1',
  ]
end
# End of the permission_handler configuration
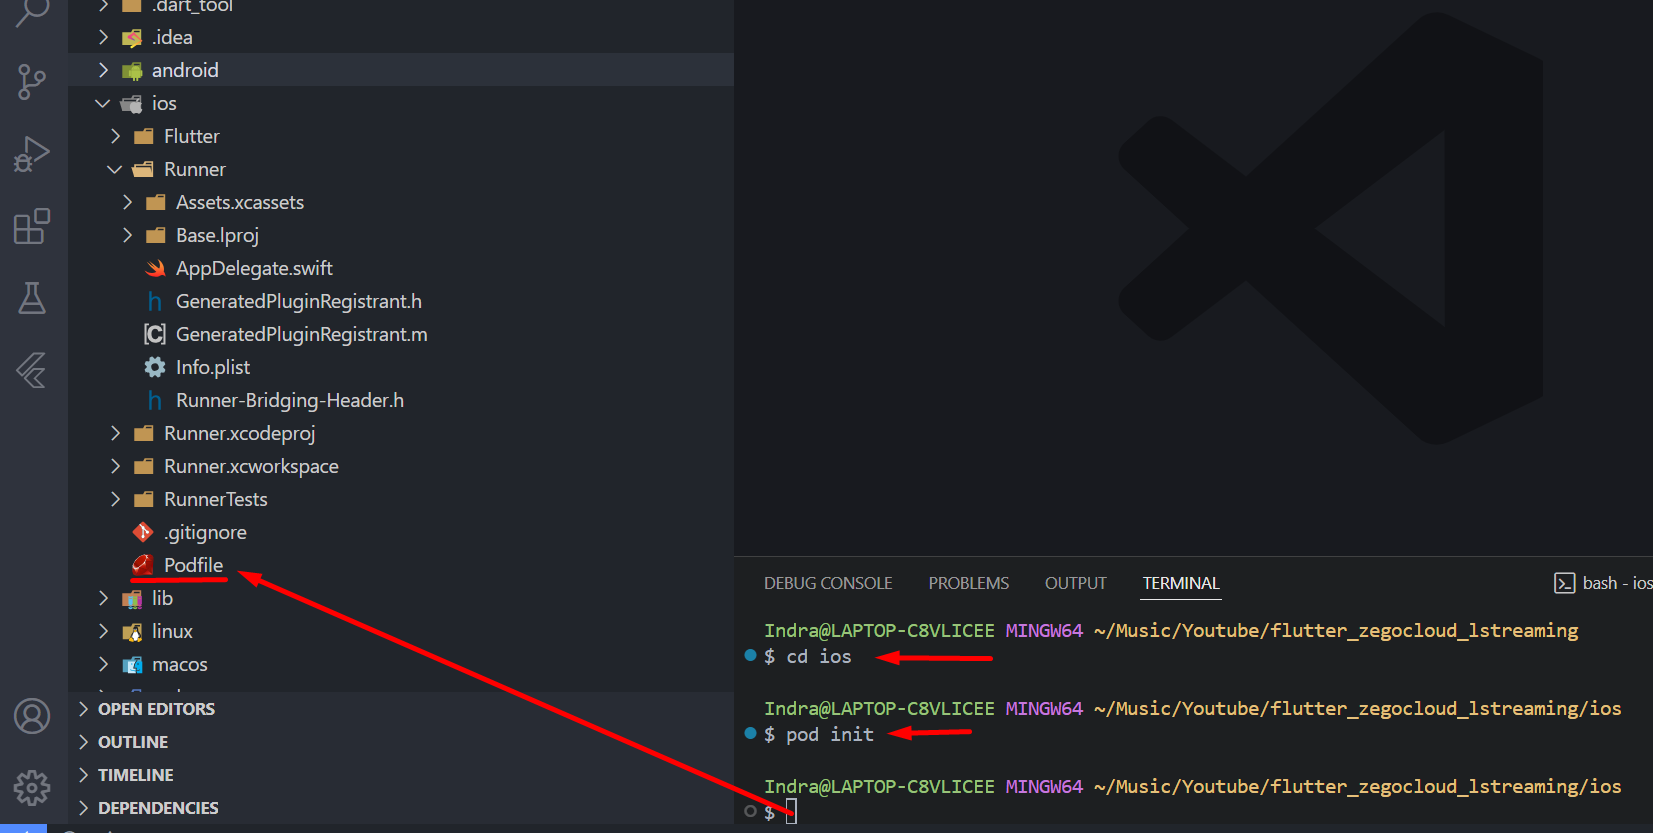
But, if you are using windows like me, you need to install Ruby and Cocoapods then you can generate Podfile. Run pod init to generate Podfile.
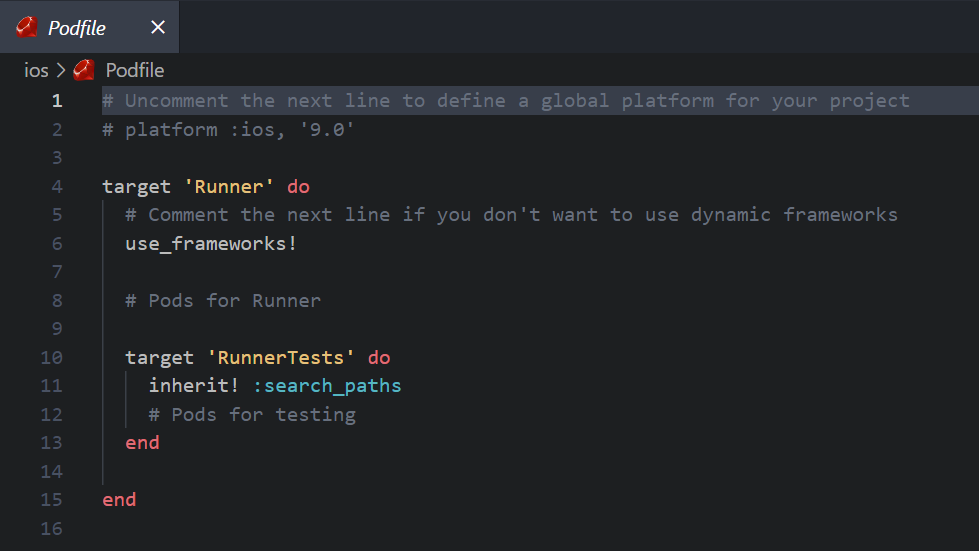
This Podfile is not like in XCode. Edit Podfile like this:
# Uncomment the next line to define a global platform for your project
# platform :ios, '9.0'

target 'Runner' do
  # Comment the next line if you don't want to use dynamic frameworks
  use_frameworks!

  # Pods for Runner

  target 'RunnerTests' do
    inherit! :search_paths
    # Pods for testing
  end

end

post_install do |installer|
  installer.pods_project.targets.each do |target|
    flutter_additional_ios_build_settings(target)

    # Start of the permission_handler configuration
    target.build_configurations.each do |config|
      config.build_settings['GCC_PREPROCESSOR_DEFINITIONS'] ||= [
        '$(inherited)',
        'PERMISSION_CAMERA=1',
        'PERMISSION_MICROPHONE=1',
      ]
    end
    # End of the permission_handler configuration

  end
end
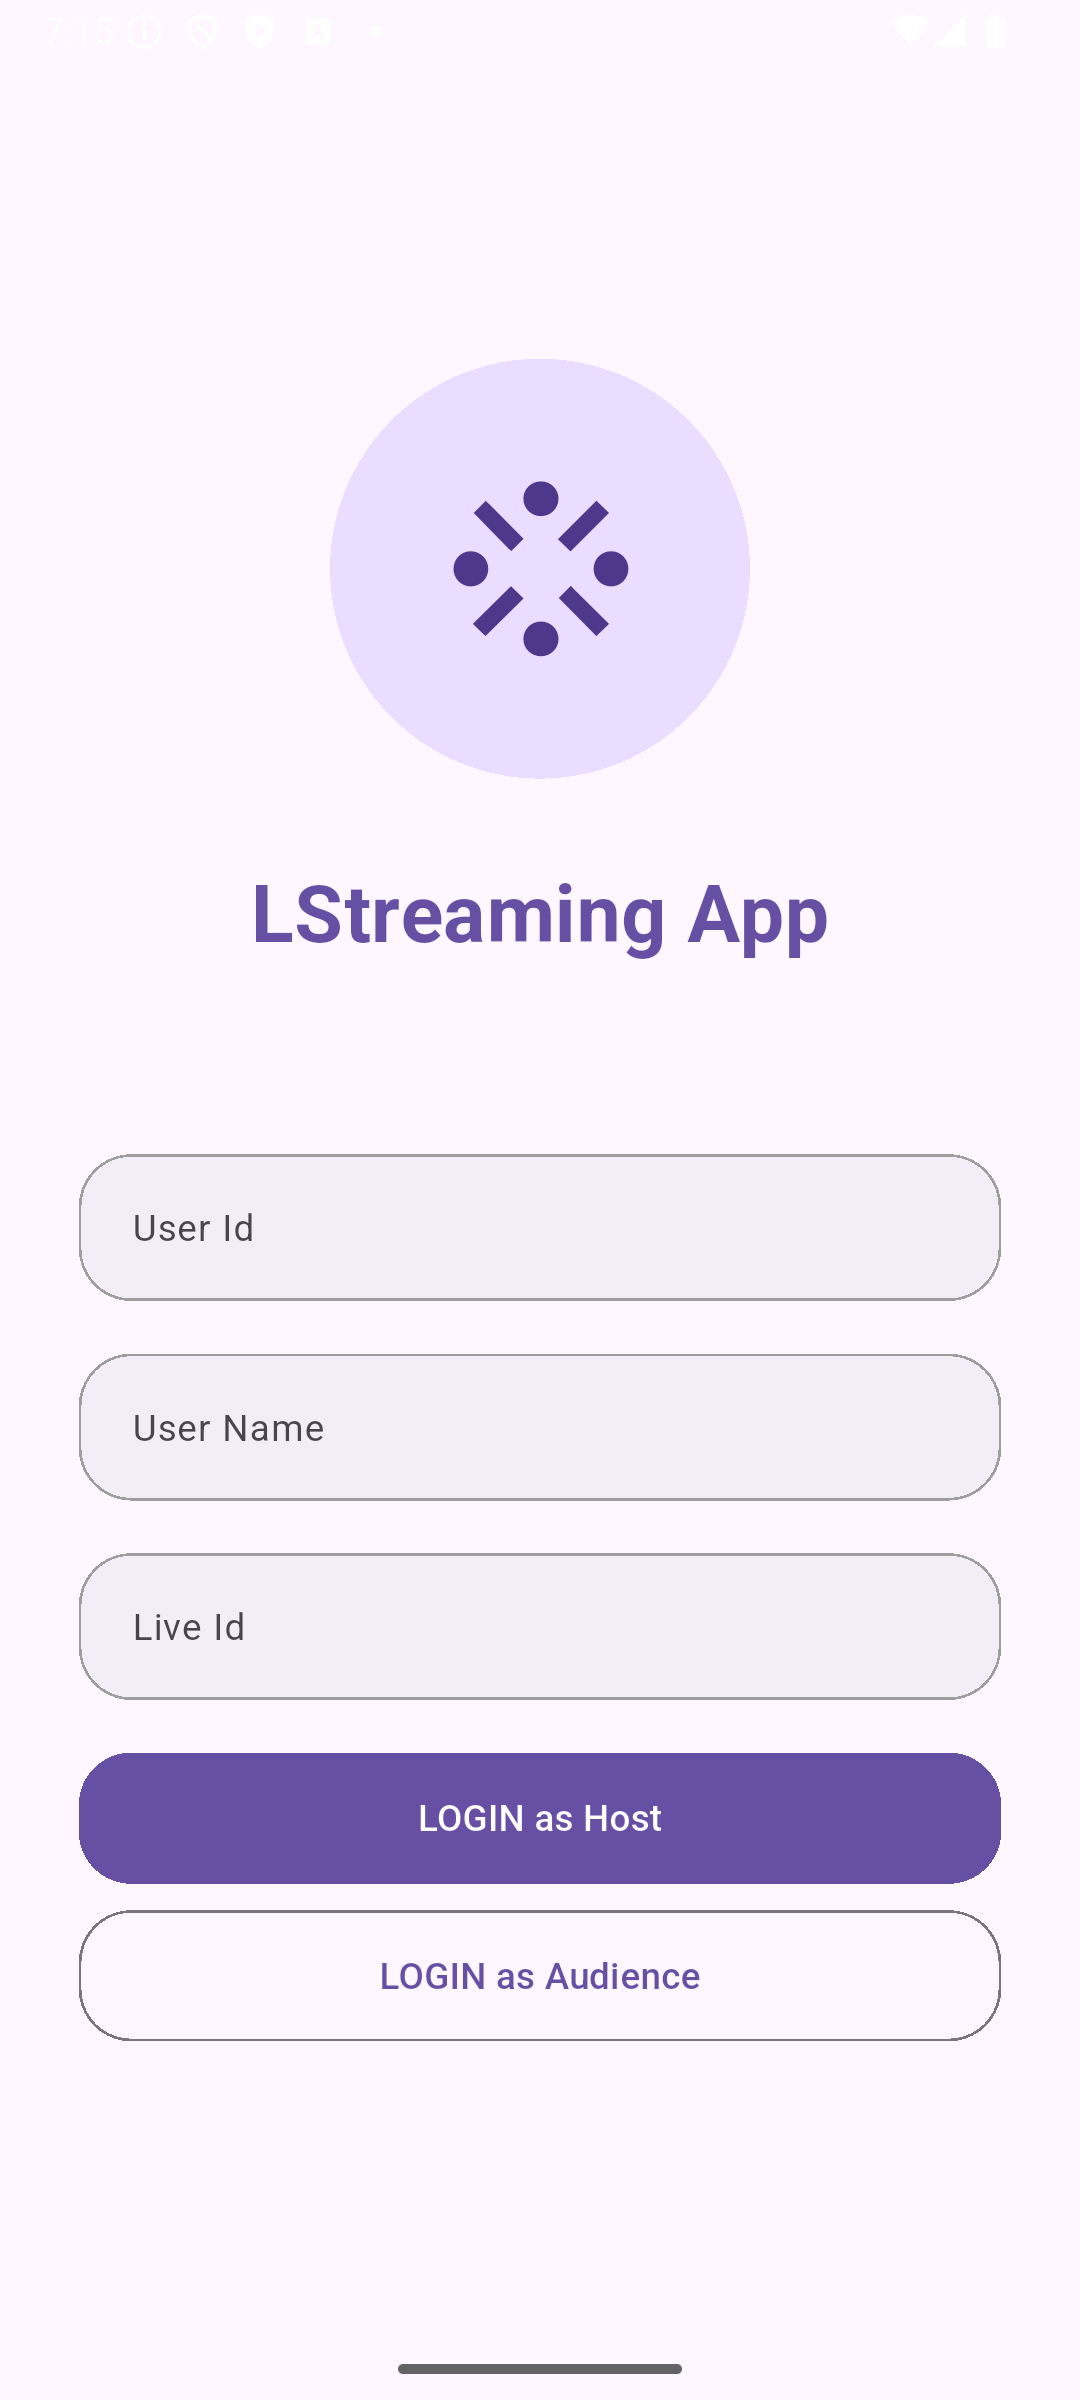
Login Page
First we create an entry point page to get user id and username. You can also add live id input from the beginning and make logic for login as host or not. We can use Flutter Delux Auth Template for this needs.
Open auth template, copy & paste to login_page.dart also modify it first like below.
lib/pages/login_page.dart
import 'package:flutter/material.dart';
import 'package:d_input/d_input.dart';
import 'package:gap/gap.dart';
class LoginPage extends StatefulWidget {
const LoginPage({super.key});
State<LoginPage> createState() => _LoginPageState();
}
class _LoginPageState extends State<LoginPage> {
final _userIdController = TextEditingController();
final _userNameController = TextEditingController();
final _liveIdController = TextEditingController();
void _executeLogin(bool isHost) {
final userId = _userIdController.text;
if (userId == '') return _showInvalidMessage('User Id must be filled');
final userName = _userNameController.text;
if (userName == '') return _showInvalidMessage('User Name must be filled');
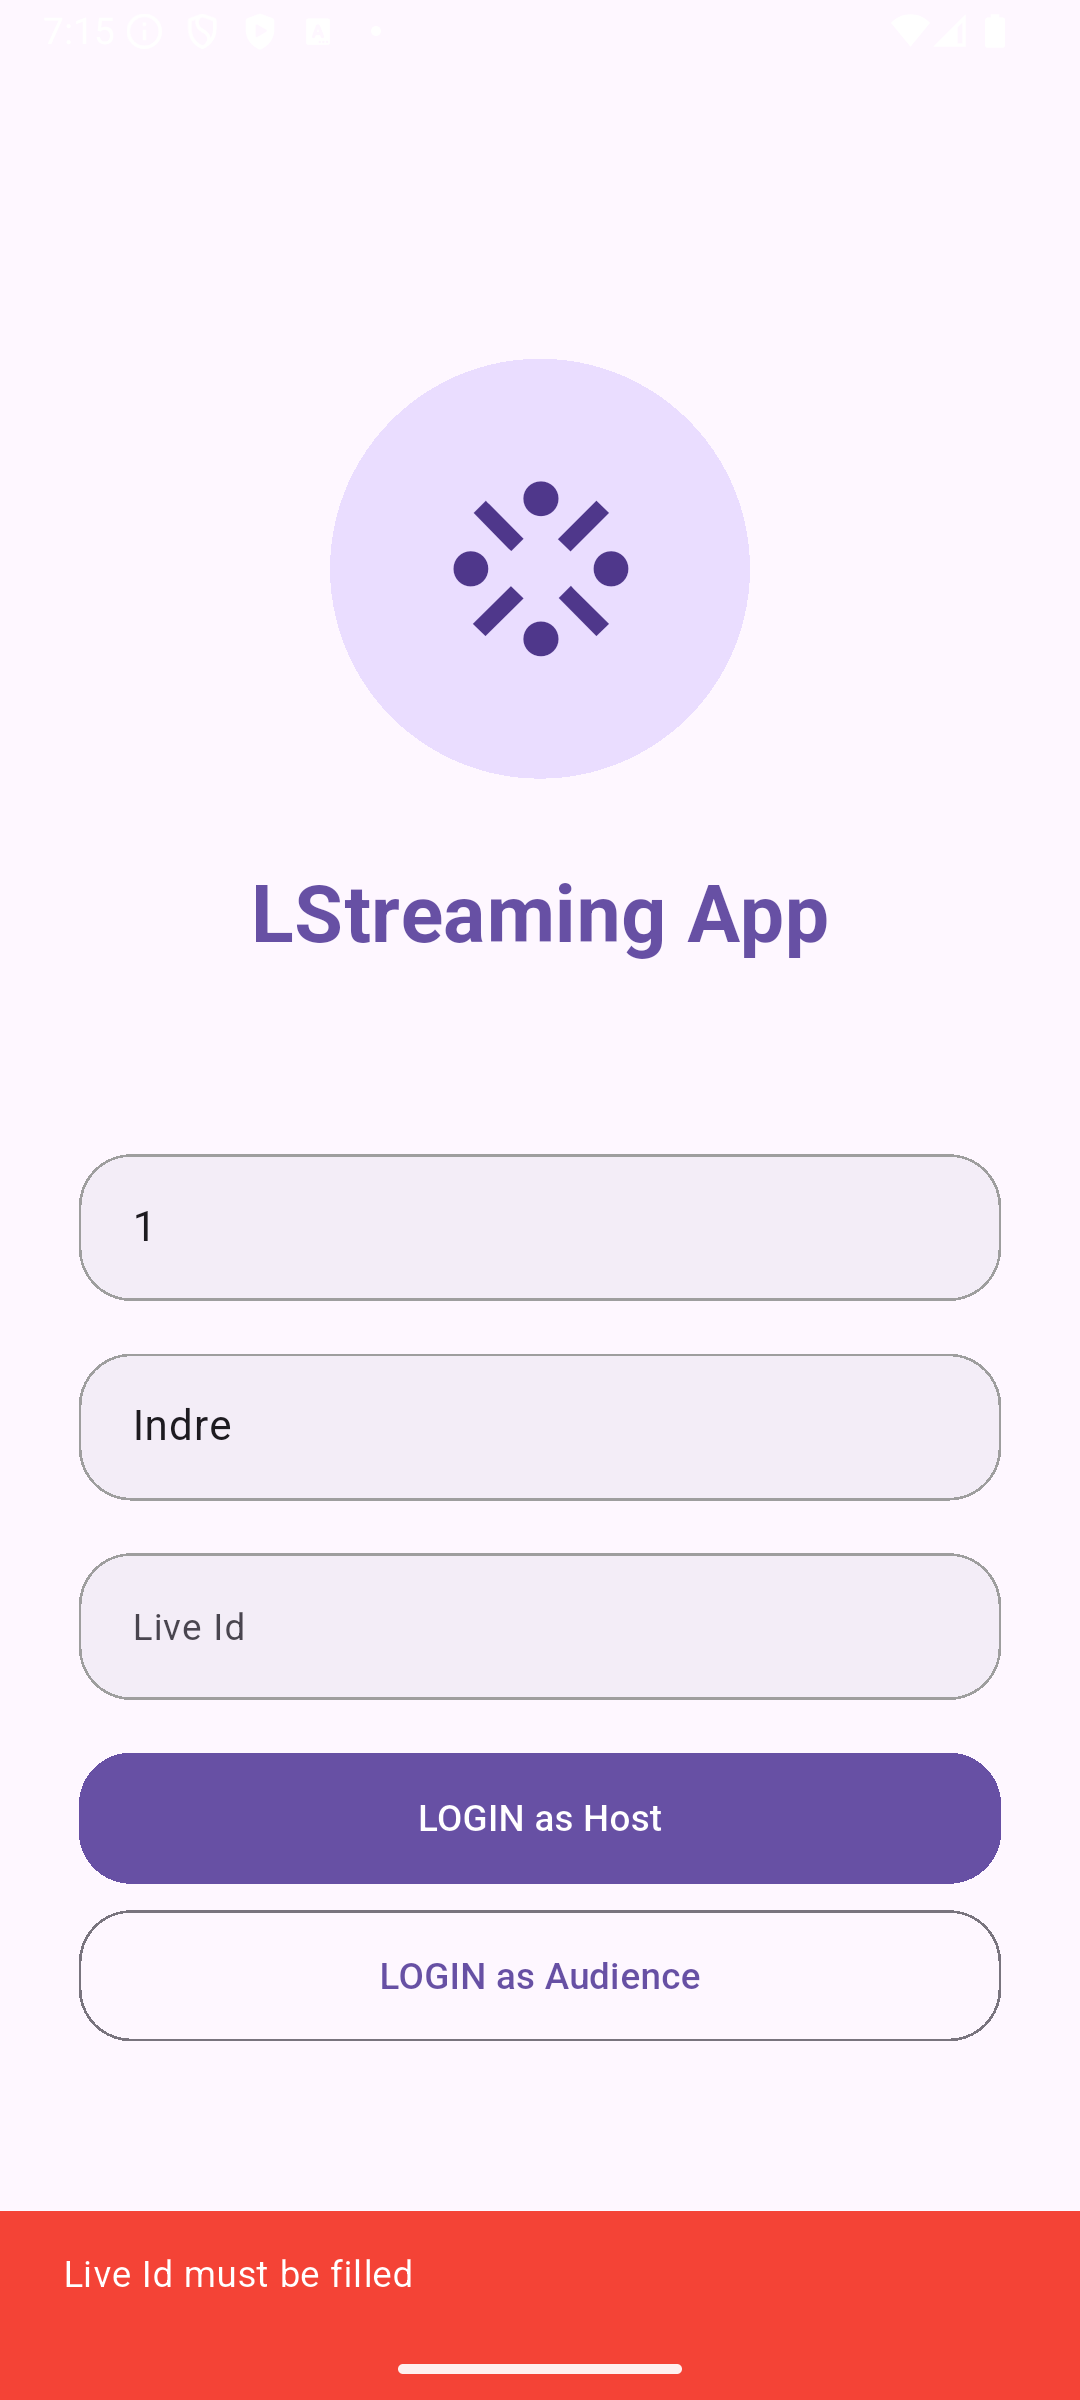
final liveId = _liveIdController.text;
if (liveId == '') return _showInvalidMessage('Live Id must be filled');
Navigator.pushNamed(
context,
'/live',
arguments: {
'userId': userId,
'userName': userName,
'liveId': liveId,
'isHost': isHost,
},
);
}
void dispose() {
_userIdController.dispose();
_userNameController.dispose();
_liveIdController.dispose();
super.dispose();
}
Widget build(BuildContext context) {
return Scaffold(
body: LayoutBuilder(
builder: (context, constraints) {
return SingleChildScrollView(
child: ConstrainedBox(
constraints: BoxConstraints(minHeight: constraints.maxHeight),
child: Padding(
padding: const EdgeInsets.all(30),
child: Column(
mainAxisAlignment: MainAxisAlignment.center,
children: [
CircleAvatar(
radius: 80,
child: Icon(Icons.stream, size: 80),
),
Gap(30),
Text(
'LStreaming App',
style: TextStyle(
fontWeight: FontWeight.bold,
fontSize: 30,
color: Theme.of(context).primaryColor,
),
),
Gap(70),
DInputMix(controller: _userIdController, hint: 'User Id'),
Gap(20),
DInputMix(
controller: _userNameController,
hint: 'User Name',
),
Gap(20),
DInputMix(controller: _liveIdController, hint: 'Live Id'),
Gap(10),
SizedBox(
width: double.infinity,
height: 50,
child: FilledButton(
style: ButtonStyle(
shape: WidgetStatePropertyAll(
RoundedRectangleBorder(
borderRadius: BorderRadius.circular(20),
),
),
),
onPressed: () => _executeLogin(true),
child: Text('LOGIN as Host'),
),
),
Gap(20),
SizedBox(
width: double.infinity,
height: 50,
child: OutlinedButton(
style: ButtonStyle(
shape: WidgetStatePropertyAll(
RoundedRectangleBorder(
borderRadius: BorderRadius.circular(20),
),
),
),
onPressed: () => _executeLogin(false),
child: Text('LOGIN as Audience'),
),
),
],
),
),
),
);
},
),
);
}
void _showInvalidMessage(String message) {
ScaffoldMessenger.of(context).showSnackBar(
SnackBar(
content: Text(message, style: TextStyle(color: Colors.white)),
duration: Duration(seconds: 2),
backgroundColor: Colors.red,
),
);
}
}
Run flutter pub add d_input gap to add package required based on template.
Inside Material App, setup launch route to Login page.
import 'package:flutter/material.dart';
import 'package:flutter_zegocloud_lstreaming/pages/login_page.dart';
void main() {
WidgetsFlutterBinding.ensureInitialized();
runApp(const MainApp());
}
class MainApp extends StatelessWidget {
const MainApp({super.key});
Widget build(BuildContext context) {
return MaterialApp(
debugShowCheckedModeBanner: false,
routes: {'/': (context) => LoginPage()},
);
}
}
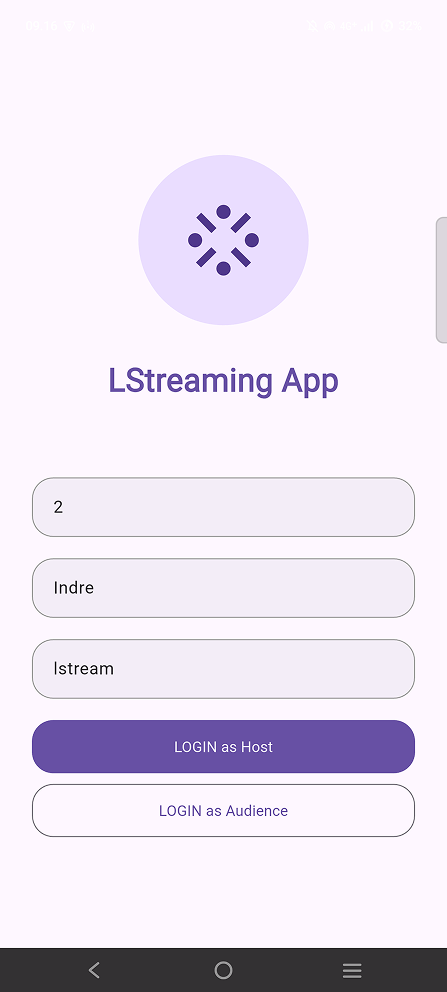
Login Page will be like this:
Live Page
Arguments
Create Live Page class with Stateless Widget and create 4 argument to receive data were sent from Login Page.
...

  const LivePage({
    super.key,
    required this.userId,
    required this.userName,
    required this.liveId,
    required this.isHost,
  });
  final String userId;
  final String userName;
  final String liveId;
  final bool isHost;

  ...
Register live page to route in MaterialApp.
...
return MaterialApp(
  debugShowCheckedModeBanner: false,
  routes: {
    '/': (context) => LoginPage(),
    '/live': (context) {
      final data = ModalRoute.settingsOf(context)?.arguments as Map?;
      if (data == null) {
        return Scaffold(appBar: AppBar(title: Text('Invalid Argument')));
      }
      return LivePage(
        userId: data['userId'],
        userName: data['userName'],
        liveId: data['liveId'],
        isHost: data['isHost'],
      );
    },
  },
);
...
Live Page Full Code
Here for live page full code. Set input from Login page to LiveSTreamingKit Widget. AppId & AppSign was call from ZegocloudKeys class. Set user view based on role when Login with Live Streaming Config.
import 'package:flutter/material.dart';
import 'package:flutter_zegocloud_lstreaming/config/zegocloud_keys.dart';
import 'package:zego_uikit_prebuilt_live_streaming/zego_uikit_prebuilt_live_streaming.dart';
class LivePage extends StatelessWidget {
const LivePage({
super.key,
required this.userId,
required this.userName,
required this.liveId,
required this.isHost,
});
final String userId;
final String userName;
final String liveId;
final bool isHost;
Widget build(BuildContext context) {
return SafeArea(
child: ZegoUIKitPrebuiltLiveStreaming(
appID: ZegocloudKeys.appId,
appSign: ZegocloudKeys.appSign,
userID: userId,
userName: userName,
liveID: liveId,
config:
isHost
? ZegoUIKitPrebuiltLiveStreamingConfig.host()
: ZegoUIKitPrebuiltLiveStreamingConfig.audience(),
),
);
}
}
Flow
| Sequence | ||
|---|---|---|
| User Open App | ||
| ↓ | ||
| Redirect to Login Page | ||
| ↓ | ||
| Input, Login as Role | ||
| ↓ | ↔ | ↓ |
| Host | Audience | |
| ↓ | ↓ | |
| Start Live Streaming | Waiting Host to Start | |
| ↔ | ||
| Interaction (Such as chats) |
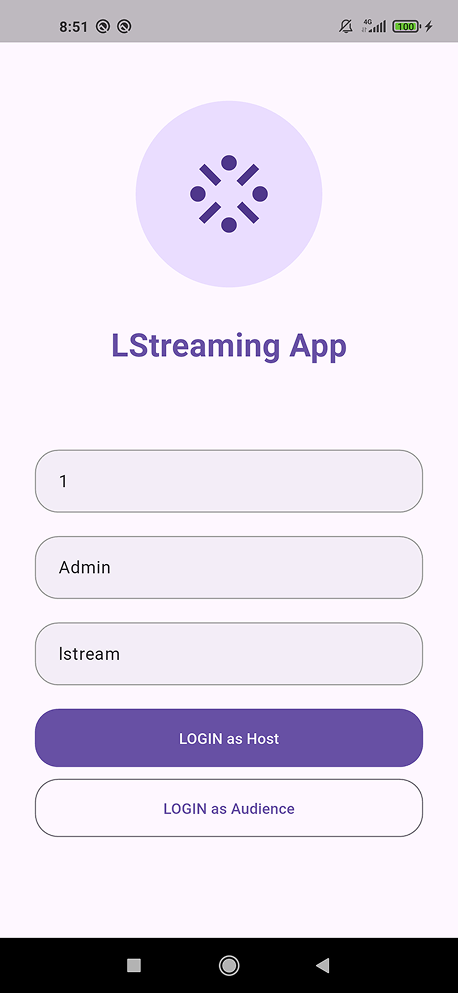
Final Result
Here are some views of the final results. Test using OS Android 10 and 15.
Host
| Login | Prepare Live | Face Effect | Live Started |
|---|---|---|---|
 | 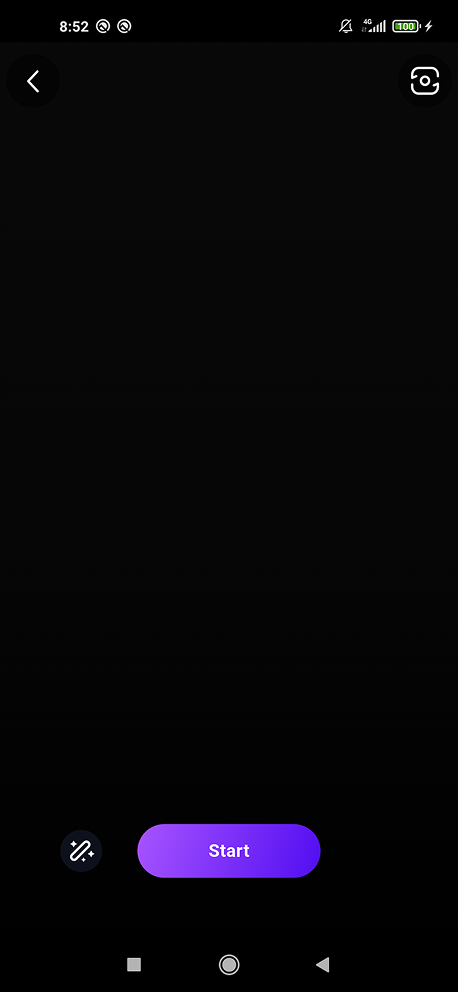 | 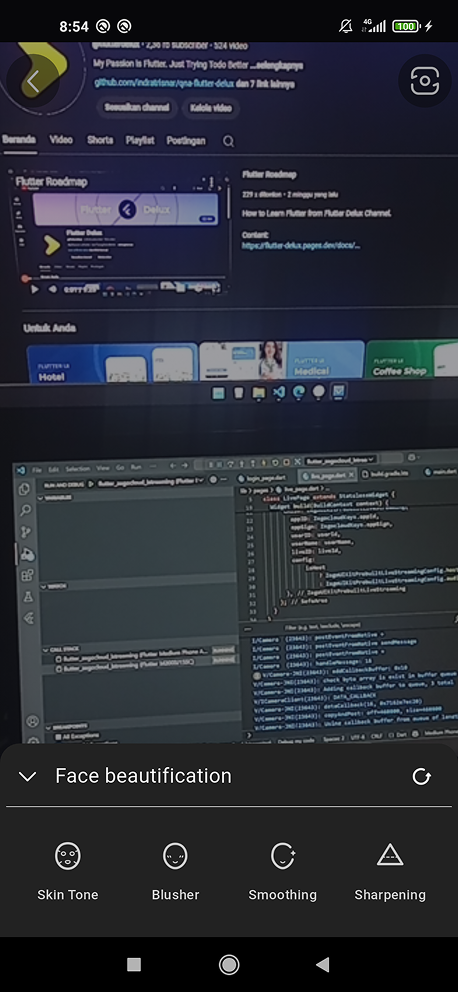 | 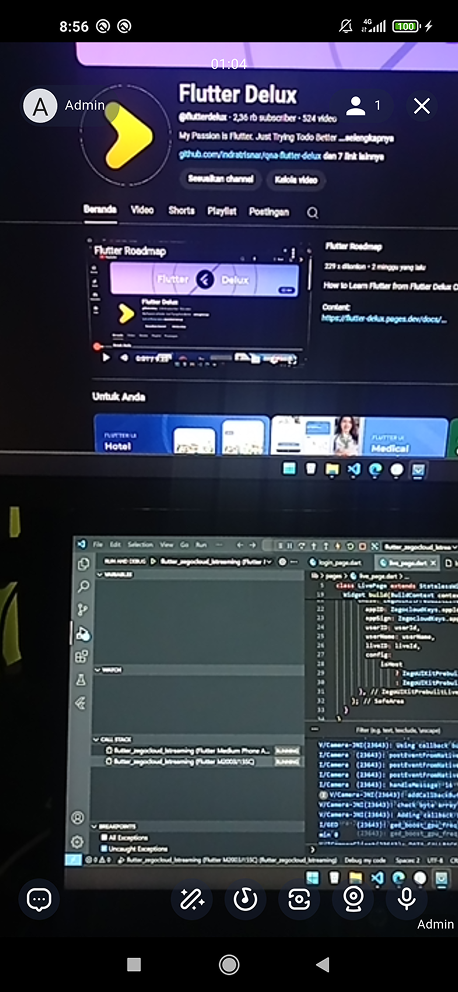 |
| Permission | Audio Effect | Front Camera | Camera Off |
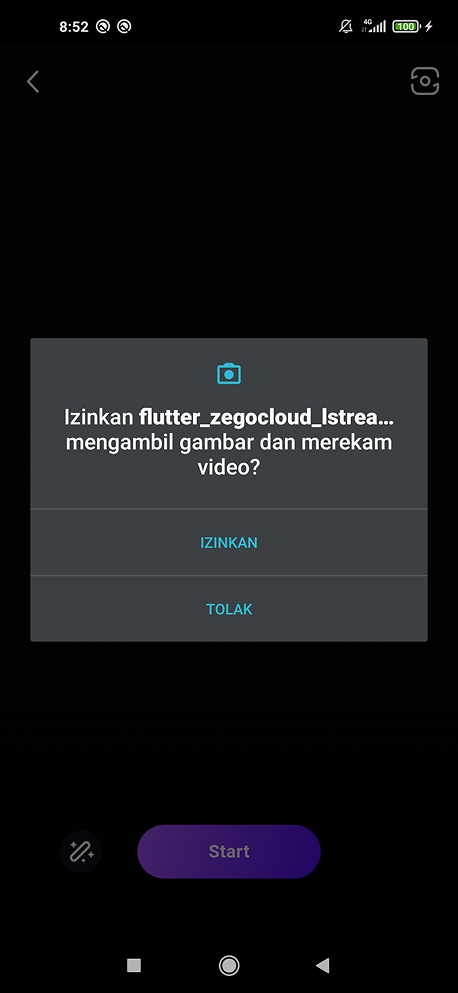 | 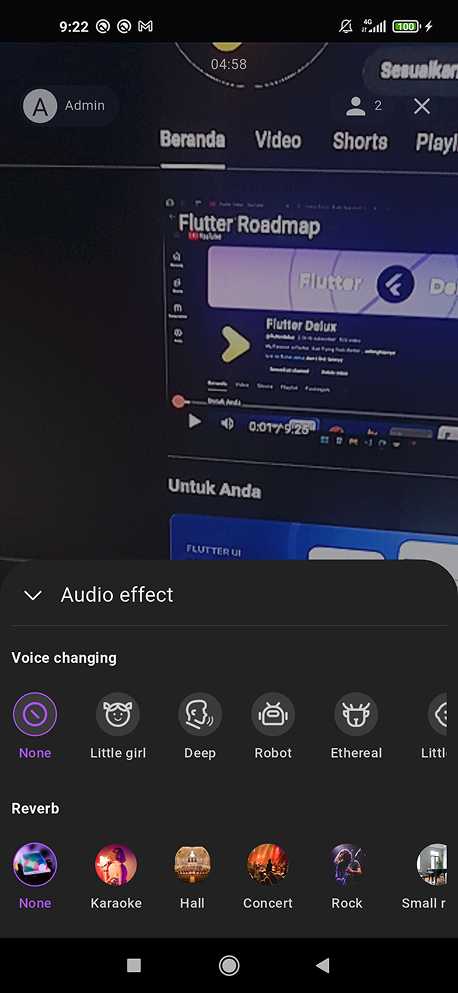 | 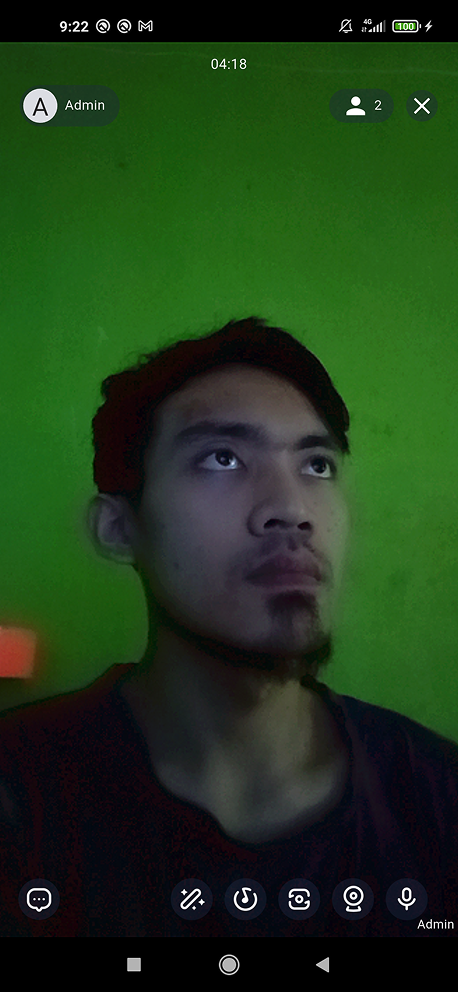 | 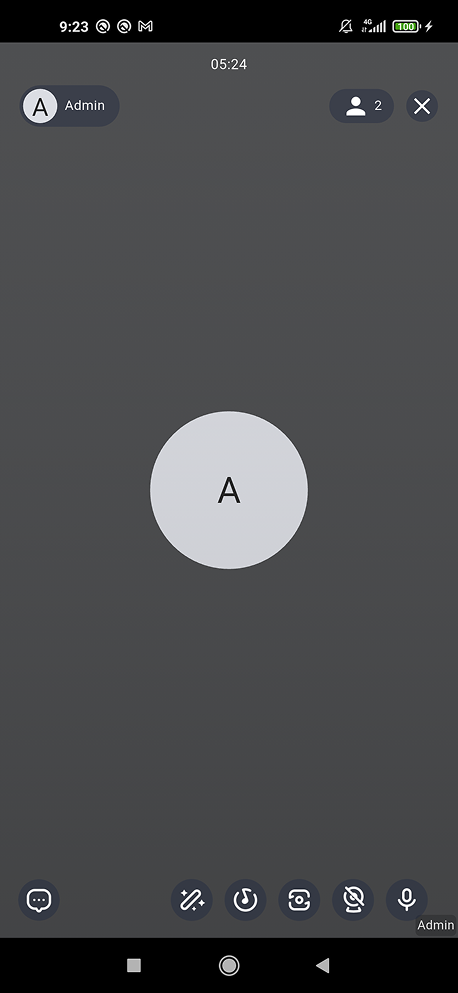 |
| Audience Role | |||
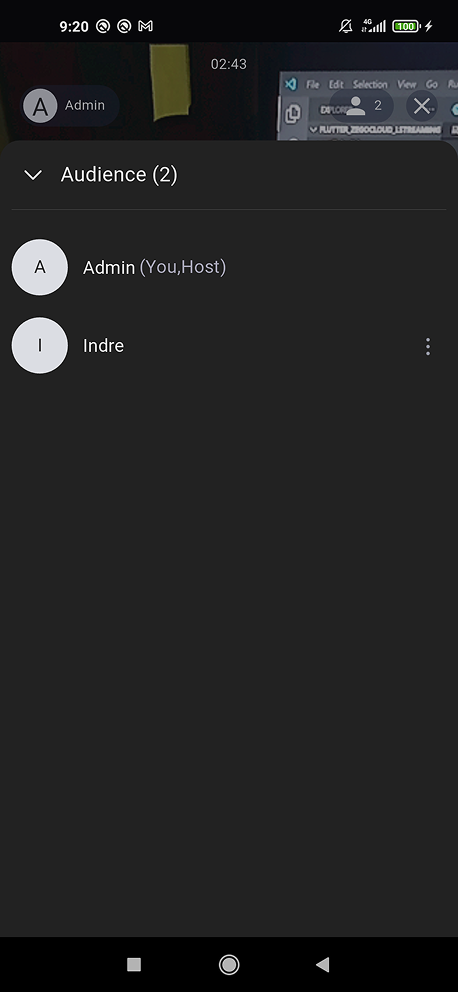 |
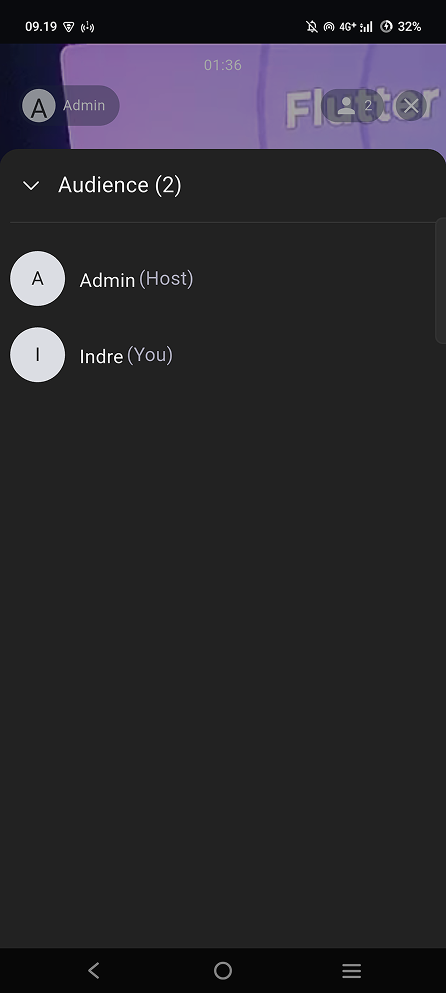
Audience
| Login | In Live | Typing chat | Chats |
|---|---|---|---|
 | 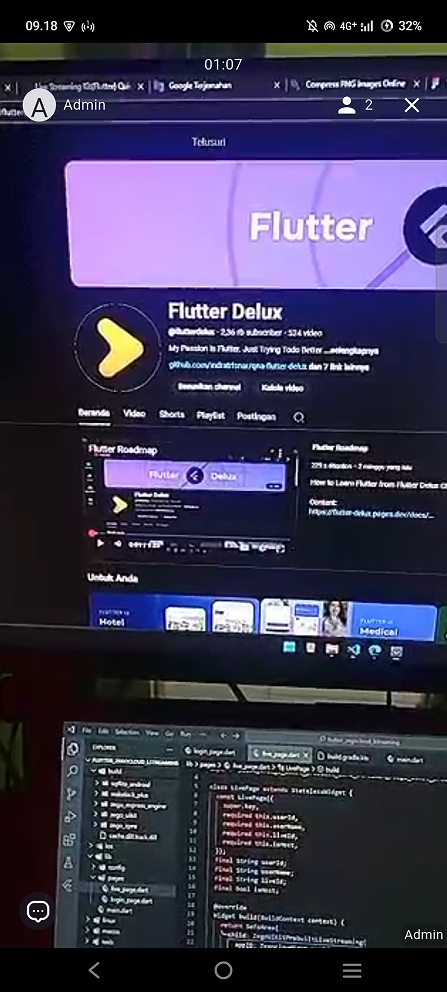 | 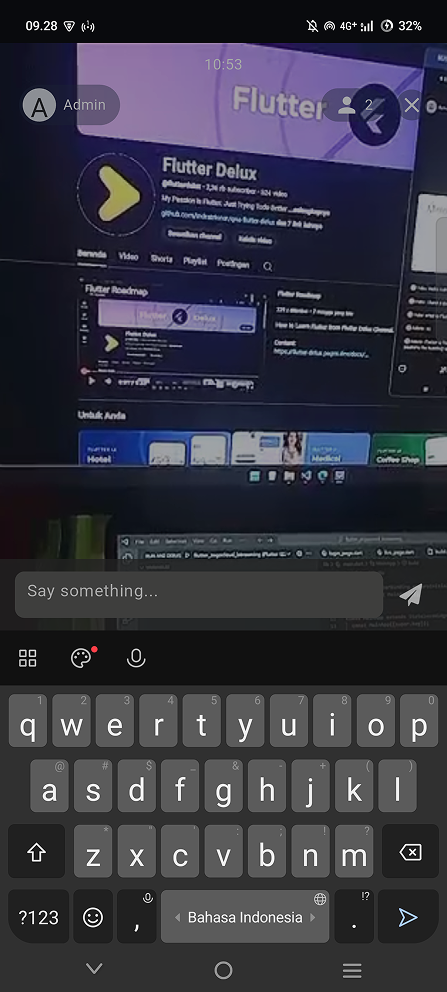 | 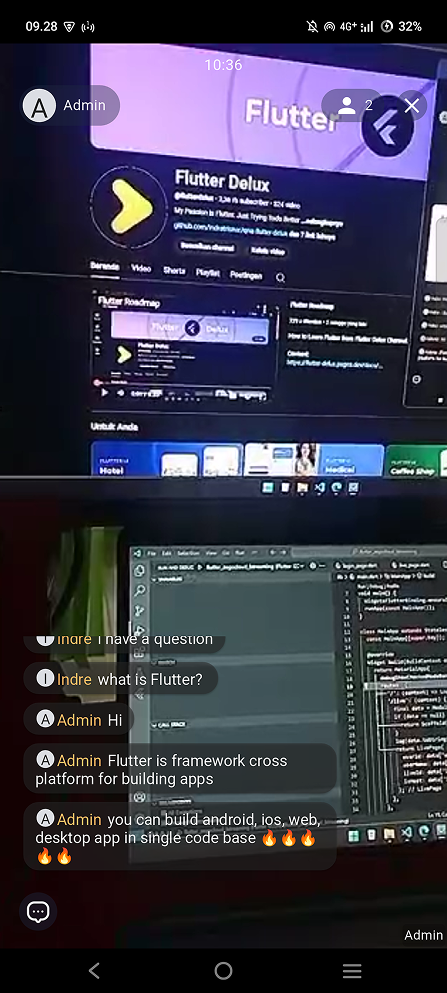 |
| Audience Role | |||
 |