Create Flutter Project after Android Studio Ladybug
· 2 min read
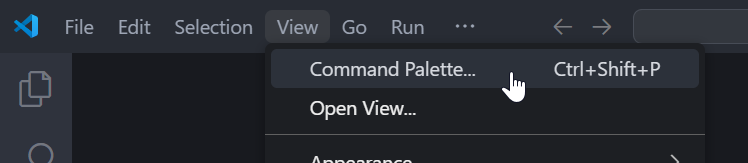
- Open Visual Studio Code then open command palette.
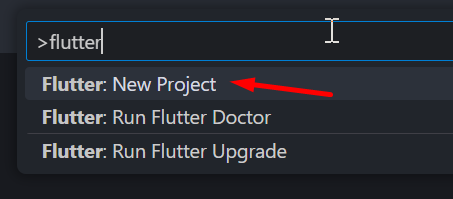
- Type
flutterthen choose Flutter new project.
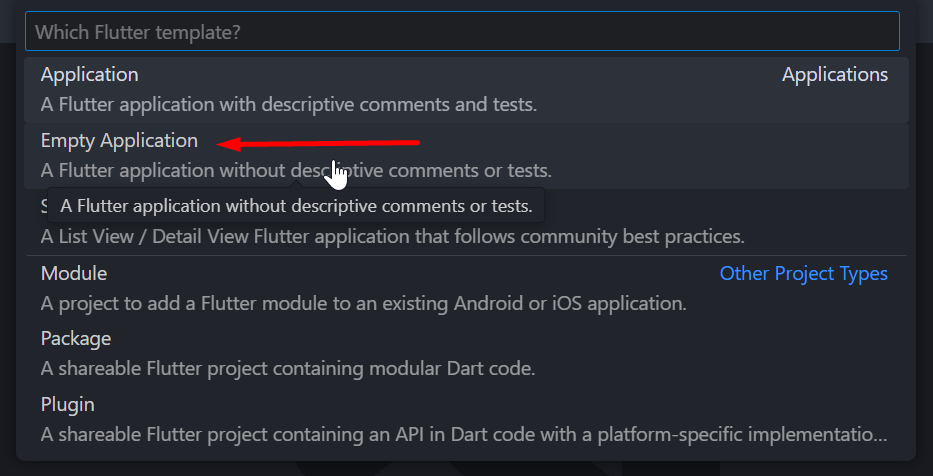
- Choose empty application.
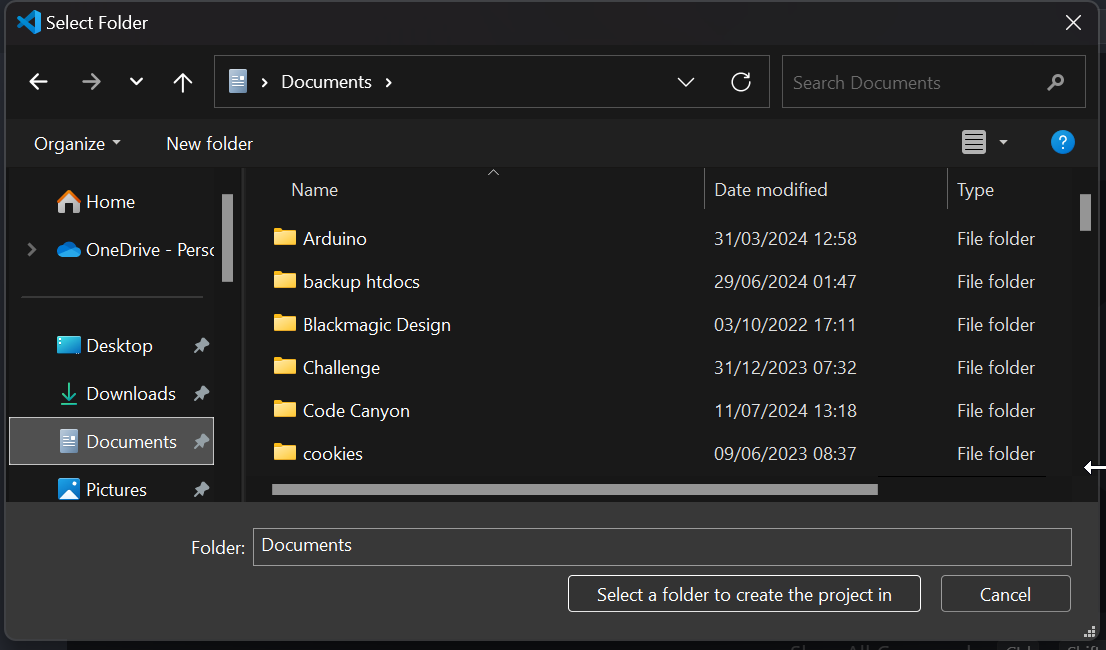
- Choose directory to save project.
- Set project name.

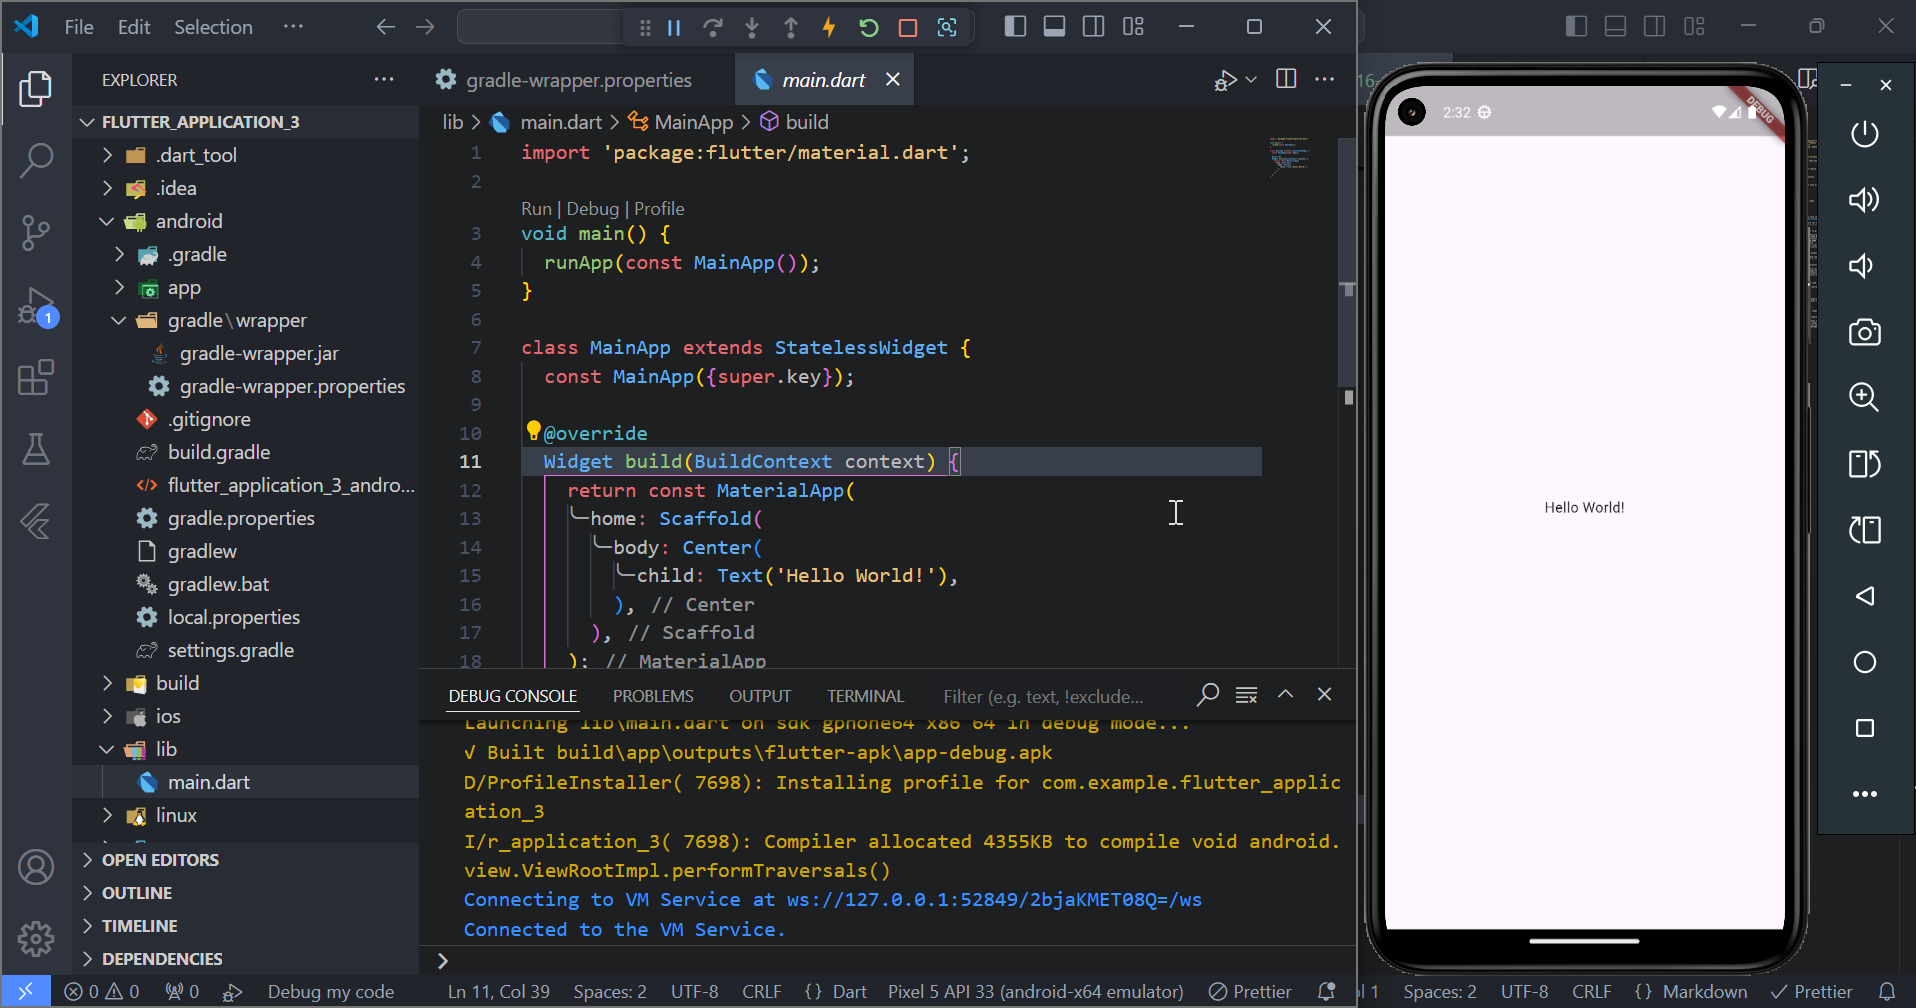
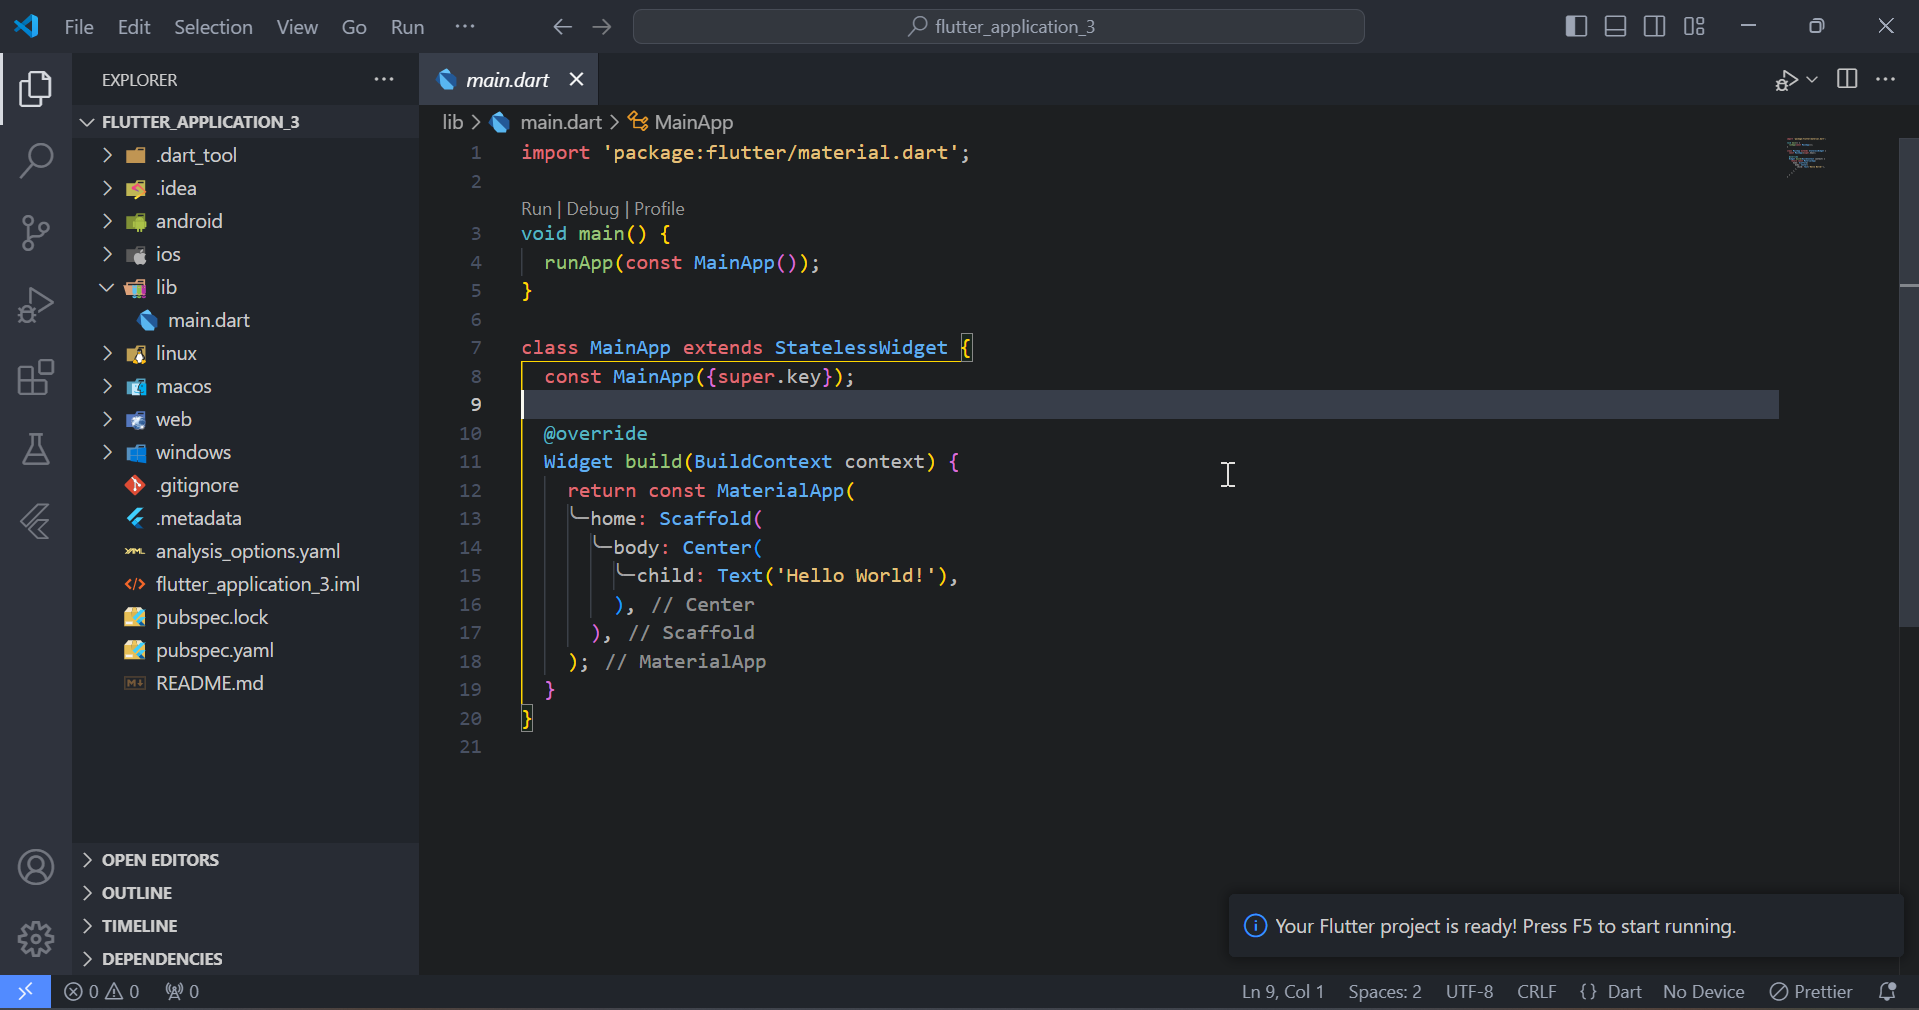
- Flutter project is ready.
- Check java version

- Check compatibility java version to run gradle here
| Java version | Support for toolchains | Support for running Gradle |
|---|---|---|
| 21 | 8.4 | 8.5 |
- Update gradle version in gradle wrapper.
android/gradle/wrapper/gradle-wrapper.properties
distributionBase=GRADLE_USER_HOME
distributionPath=wrapper/dists
zipStoreBase=GRADLE_USER_HOME
zipStorePath=wrapper/dists
# distributionUrl=https\://services.gradle.org/distributions/gradle-7.6.3-all.zip
distributionUrl=https\://services.gradle.org/distributions/gradle-8.4-all.zip
- Choose match gradle plugin version here
| Plugin version | Minimum required Gradle version |
|---|---|
| 8.3 | 8.4 |
android/settings.gradle
plugins {
    id "dev.flutter.flutter-plugin-loader" version "1.0.0"
    // id "com.android.application" version "7.3.0" apply false
    id "com.android.application" version "8.3.0" apply false
    id "org.jetbrains.kotlin.android" version "1.7.10" apply false
}
- Add some JavaCompile code.
android/build.gradle
allprojects {
    repositories {
        google()
        mavenCentral()
    }
    tasks.withType(JavaCompile) {
        options.compilerArgs << '-Xlint:-options'
    }
}
- Edit NDK version for compatibility version. You can use this version or follow suggestion from console when running app.
android/app/build.gradle
android {
    namespace = "com.example.flutter_application_3"
    compileSdk = flutter.compileSdkVersion
    // ndkVersion = flutter.ndkVersion
    ndkVersion = "25.1.8937393"

    ...
}
- Run.